Introduction
Tools
-
-
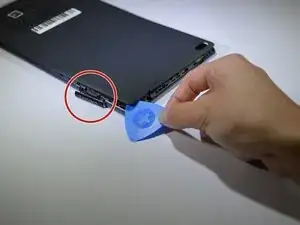
Start at the microSD slot.
-
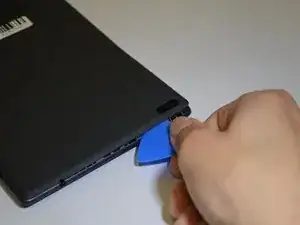
Use the opening pick to slide underneath the back cover of the tablet.
-
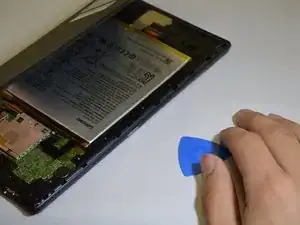
Slide the opening pick around the tablet until the back cover is off.
-
-
-
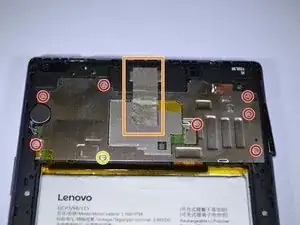
Remove the 8 screws with a Phillips #000 screwdriver [bit].
-
There is a screw under the blue "s" sticker.
-
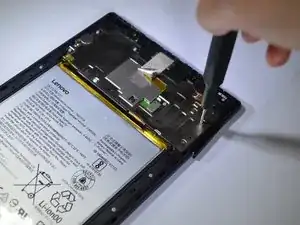
Remove tape holding plate down.
-
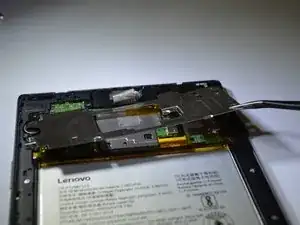
Use precision tweezers or your fingers to remove plate.
-
-
-
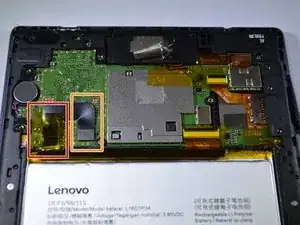
Remove yellow tape.
-
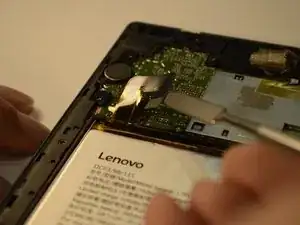
Use a spudger or plastic opening tool to remove the battery's ribbon cable from the motherboard.
-
-
-
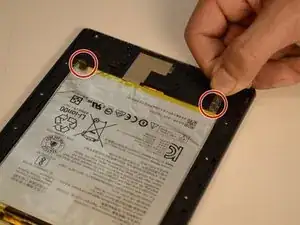
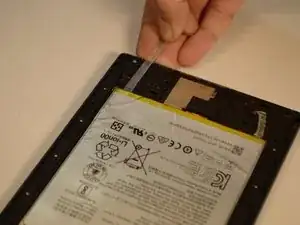
Gently pull on the two stretch release adhesive strips. Do not pull up, pull away from battery.
-
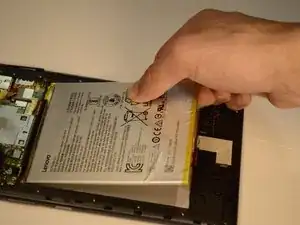
Once the tabs are off, lift the battery up from the frame.
-
-
-
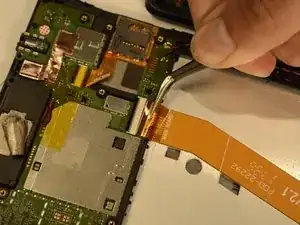
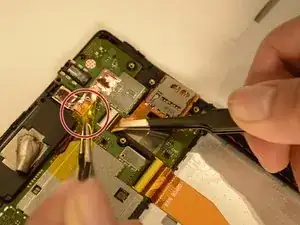
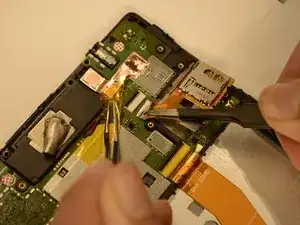
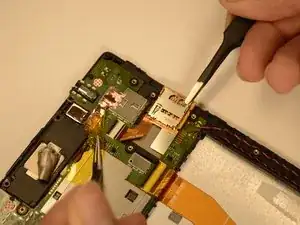
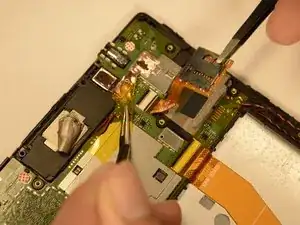
There is a yellow tape holding the microSD card reader connector. Use tweezers to hold down the tape.
-
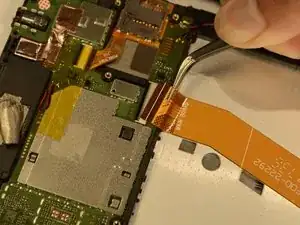
Gently lift the tab on the microSD card reader's ZIF connector, and gently pull the ribbon cable free.
-
-
-
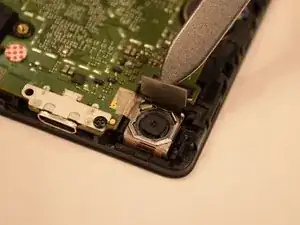
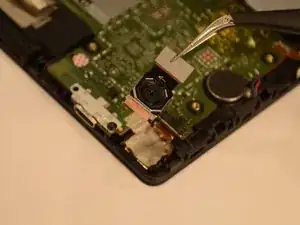
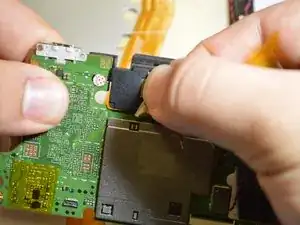
Use a spudger to lift the rear camera press-fit connector up and free.
-
Use tweezers to lift the rear camera out of the frame.
-
-
-
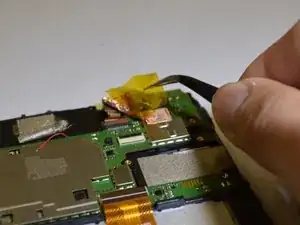
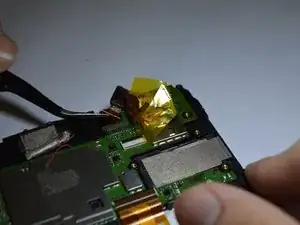
Using tweezers, lift the yellow tape hiding the front camera.
-
Disconnect the front camera's connector from the motherboard using tweezers.
-
-
-
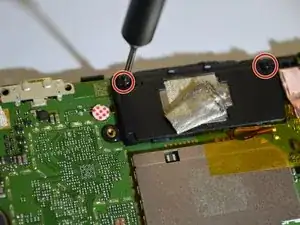
Use a Phillips #000 screwdriver to remove the two screws that secure the speaker to the motherboard.
-
-
-
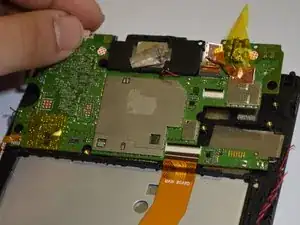
Lift motherboard from the tablet.
-
Using your hand, you can separate the top speaker from the motherboard.
-
To reassemble your device, follow these instructions in reverse order.

Hi
What I want to ask is how did you get to the motherboard after step four. I couldn't see how you removed the upper protection plastic part.
I couldn't get it out either!!!
I wish you good work.
vedatemre şahin -