Introduction
If your Lenovo Tab 4 8 (4th gen, 8 inches) front camera isn’t working or is damaged, you can use this guide in order to replace the front-facing camera. By replacing the front-facing camera, usability and video quality can be improved. For this repair, make sure you have a steady hand to prevent harming the internal hardware. When replacing the new camera, be sure that all connections are secure otherwise, the camera and tablet may not function as desired.
Tools
-
-
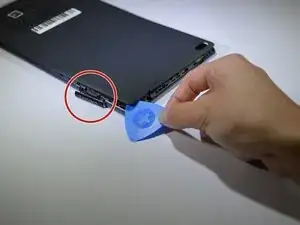
Start at the microSD slot.
-
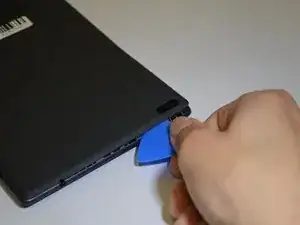
Use the opening pick to slide underneath the back cover of the tablet.
-
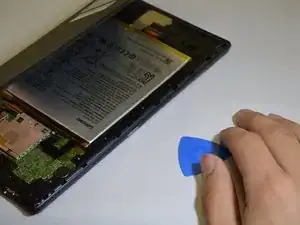
Slide the opening pick around the tablet until the back cover is off.
-
-
-
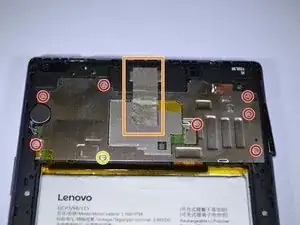
Remove the 8 screws with a Phillips #000 screwdriver [bit].
-
There is a screw under the blue "s" sticker.
-
Remove tape holding plate down.
-
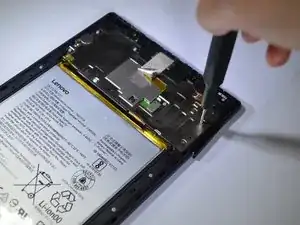
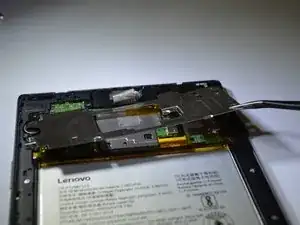
Use precision tweezers or your fingers to remove plate.
-
-
-
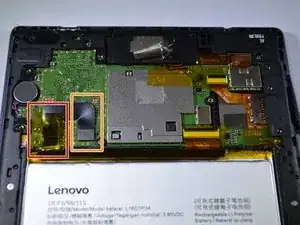
Remove yellow tape.
-
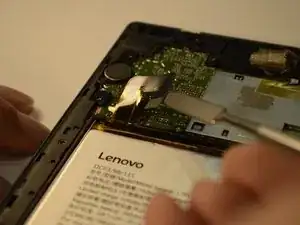
Use a spudger or plastic opening tool to remove the battery's ribbon cable from the motherboard.
-
-
-
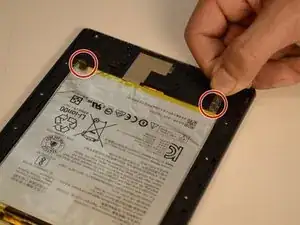
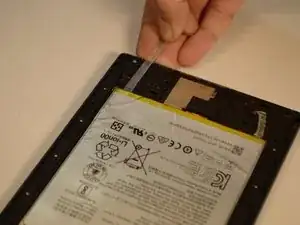
Gently pull on the two stretch release adhesive strips. Do not pull up, pull away from battery.
-
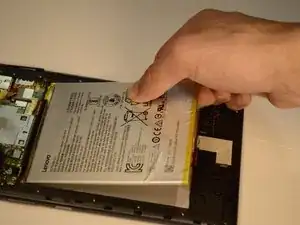
Once the tabs are off, lift the battery up from the frame.
-
-
-
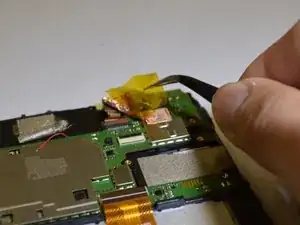
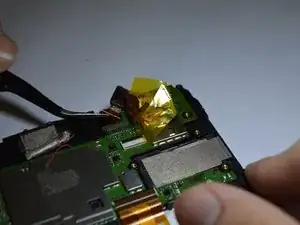
Using tweezers, lift the yellow tape hiding the front camera.
-
Disconnect the front camera's connector from the motherboard using tweezers.
-
To reassemble your device, follow these instructions in reverse order.
