Introduction
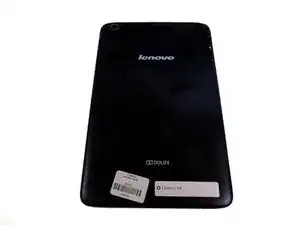
This guide will explain how to remove the back cover and motherboard on your device in order to access the A/V port. This guide will provide detailed steps for replacement of the A/V port.
Tools
-
-
Place the tablet face down on a soft, stable surface that will protect the screen.
-
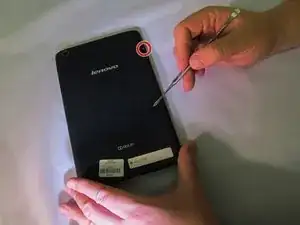
Next, Scrape off the seal over the screw in the back of the tablet with a Metal Spudger.
-
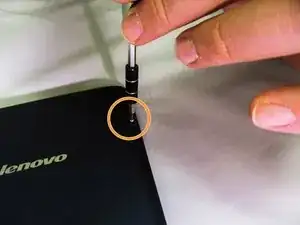
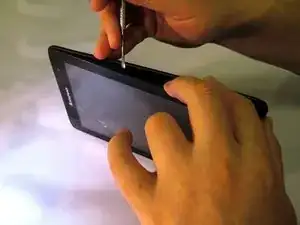
Use the Phillips #000 Screwdriver to remove the M1.4 × 2.5 screw.
-
-
-
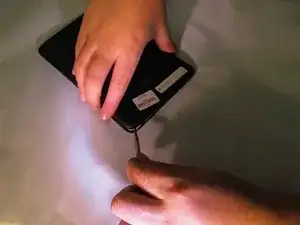
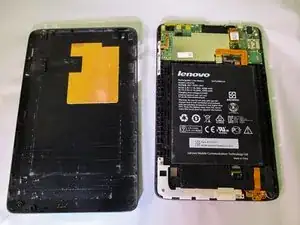
Starting on the side, work your way around the the tablet to pop off the back cover. You will want to utilize a metal Spudger for this.
-
-
-
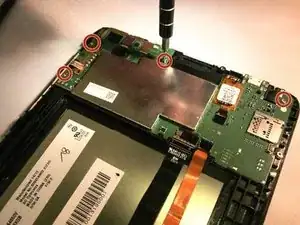
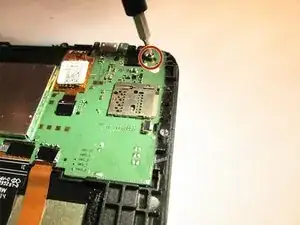
Using the Phillips #000 screwdriver, remove the four M1.4 × 2.5 screws holding the motherboard in place.
-
-
-
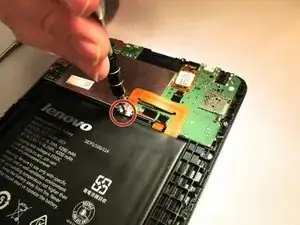
Remove the M1.4 × 2.5 screw securing the battery lead to the battery with the Phillips #000 screwdriver.
-
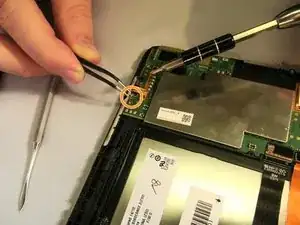
With a pair of tweezers, gently move the battery lead so it will not obstruct the motherboard.
-
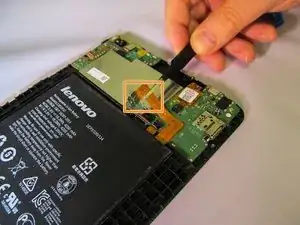
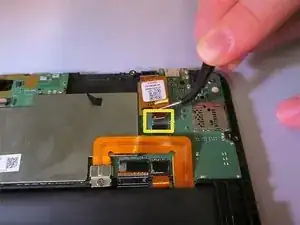
With a pair of tweezers, carefully unplug the strip connecting the screen to the motherboard.
-
-
-
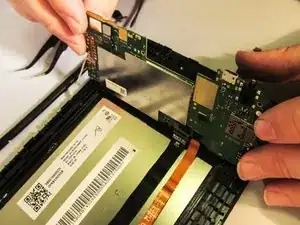
Remove the motherboard by lifting the top edge and pulling outward to free it from the small tabs that hold it in place.
-
-
-
Flip the motherboard to its back side.
-
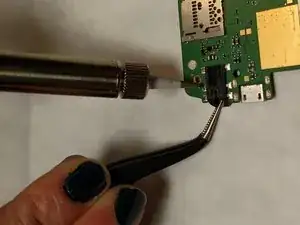
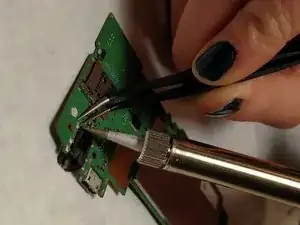
Desolder the six audio/visual port contact points.
-
Use tweezers to remove the existing audio jack to remove from the motherboard entirely.
-
To reassemble your device, follow these instructions in reverse order.
