
Introduction
This guide will show you how to remove the wireless card from your chromebook. You can replace the wireless card once you have removed it.
-
-
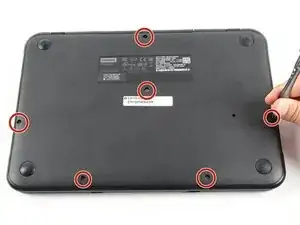
Flip the Chromebook so that the bottom is facing up.
-
Use a Phillips #1 screwdriver to remove the six 6.6 mm screws on the bottom.
-
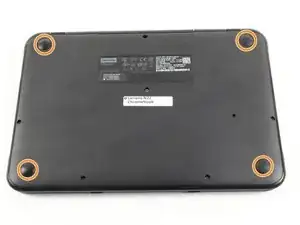
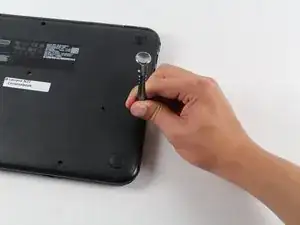
Use a spudger to remove each of the 4 rubber feet.
-
Use a Phillips #1 screwdriver to remove the four additional screws under the rubber feet.
-
-
-
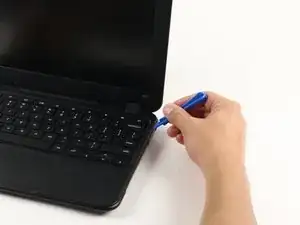
Flip the Chromebook back over and open the screen.
-
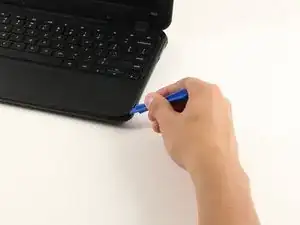
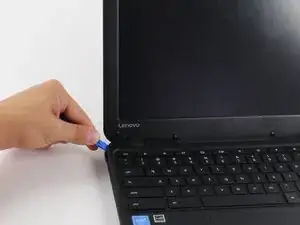
Wedge the plastic opening tool between the keyboard and the bottom of the Chromebook.
-
Run the plastic opening tool along the seam between the keyboard and the bottom of the Chromebook until the keyboard moves freely. Several tabs will pop out.
-
-
-
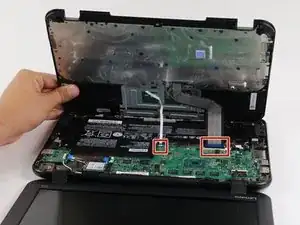
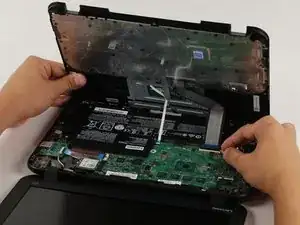
Once the keyboard is released, grab the two top corners closest to the screen and slowly lift the keyboard up.
-
Disconnect the cables by lifting up the retaining flaps on the black ZIF connectors.
-
Slowly pull the cables up and out of the connectors.
-
-
-
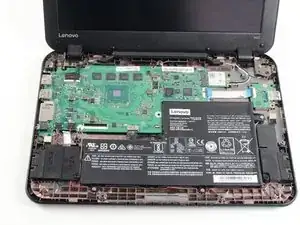
Gently slide the wireless card to the right to remove it from the standard socket on the motherboard.
-
-
-
Grab the black and white wires as close to the antenna cable connectors as possible.
-
Gently pull the black and white wires away from the antenna cable connectors on the wireless card.
-


To reassemble your device, follow these instructions in reverse order.
One comment
Very well explained and photographed. My first attempt at a laptop repair and this guide made it possible.
Thanks!
There is also a screw under each of the 4 rubber feet that must be removed.
Aaron Kurtz -
Thank you for that little bit of important information. I almost torn apart the keyboard using too much force :)
Anthony Hillier -