Introduction
This guide will show you how to properly replace the keycaps on your keyboard. The keycaps may need to be replaced on your keyboard if they are sticky, broken or don't properly register to your device.
Tools
Parts
-
-
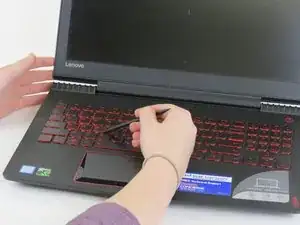
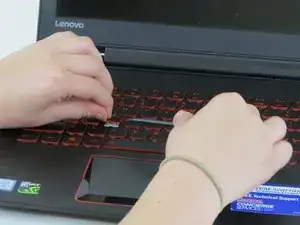
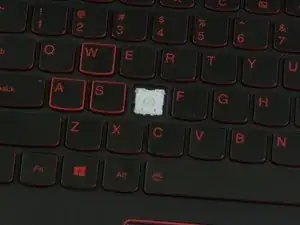
Carefully remove the broken key(s). Use the flat end of the spudger to gently pop the key off.
-
-
-
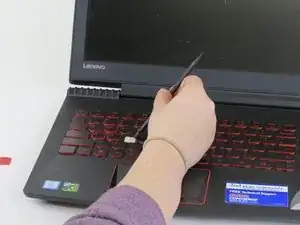
Using the flat end of the spudger, very carefully lift up the corners of the white plastic piece. Do not disconnect the two.
-
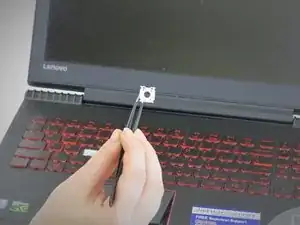
With the help of tweezers (needle nose works best), pull the connected plastic pieces out.
-
To reassemble your device, follow these instructions in reverse order.
3 comments
This is only for the key caps, what about the keyboard itself?
I agree the video is mislabeled. You are not replacing the board just keys.
Please create a tutorial for keys with stabilizer like space bar and enter keys.
Affix -
