Introduction
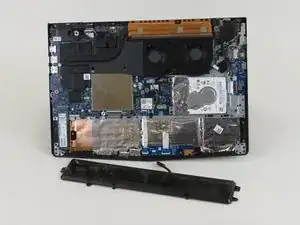
If your laptop will not start up or stay charged you may need to replace the battery. It is not a difficult project and the hardest part will be prying the back piece off.
For your safety, discharge your battery below 25% before disassembling your device. This reduces the risk of a dangerous thermal event if the battery is accidentally damaged during the repair. If your battery is swollen, take appropriate precautions.
Shut down and unplug your device before beginning.
Tools
Parts
-
-
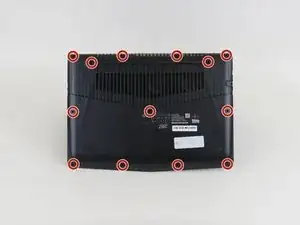
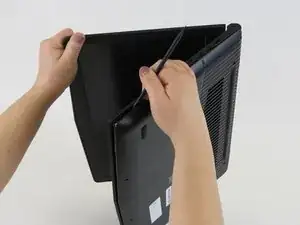
Flip the laptop on its side and wedge a spudger between the base panel and chassis, then pry around the perimeter until the base panel releases.
-
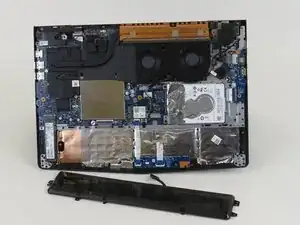
Lift the bottom panel off of the chassis.
-
-
-
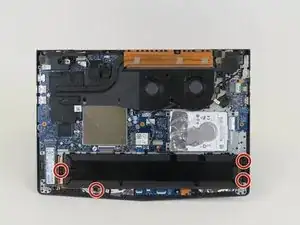
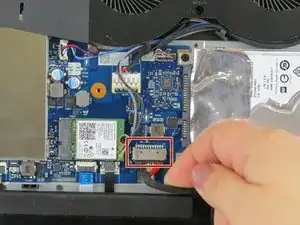
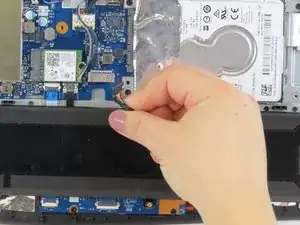
Disconnect the battery connector by pulling the battery cable directly out of its port, toward the battery.
-
To reassemble your device, follow these instructions in reverse order.
Take your e-waste to an R2 or e-Stewards certified recycler.
Repair didn’t go as planned? Try some basic troubleshooting, or ask our Answers community for help.
3 comments
Thank you, very helpful.
I’ve damaged mine at step 4 and i don’t know how. Now the plug is loose and at the slightest touch, it goes into failure…I don’t now how to solve this, maybe replace the socket on the board by a new one. :(
Hello
I dont know if you are gonna read this, but you could try to glue the connector with Superglue to the board, but watch out to not tear it off or put superglue into the connector.
electro -
