Introduction

Use this guide to upgrade or replace the right side M.2 solid-state drive (SSD) in a Lenovo Legion 5 17ACH6H gaming laptop. This laptop is only compatible with NVME SSDs, and is therefore not compatible with SATA SSDs.

Before you perform this repair, back up your existing SSD if possible. If you are replacing the SSD where your operating system is installed, familiarize yourself with a disk cloning utility so you’ll be ready to migrate your data to the new SSD.

Finally, be sure to completely power off and unplug your laptop. Make sure the laptop is not in standby, sleep, or hibernation mode.

  1. GeTmhSVUfTgYgjaS
    GeTmhSVUfTgYgjaS
    JUSXjaFGPJoDYMhg
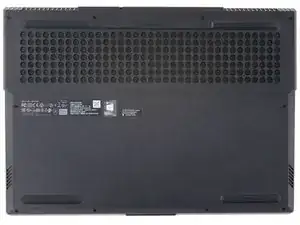
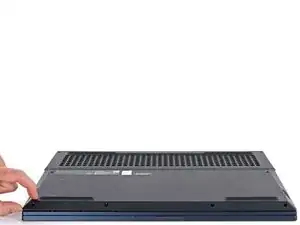
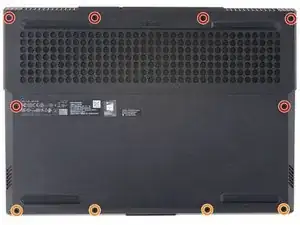
    • Use a Phillips #1 screwdriver to remove the following ten screws securing the back cover to the frame:

    • Six 12.8 mm PH1 screws

    • Four 4.6 mm PH1 screws

  2. KKcoImdxhh35LQa6
    KKcoImdxhh35LQa6
    PXJT3foF1EXFUQFl
    OT14Xm4vwYAcLIqu
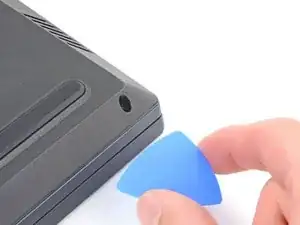
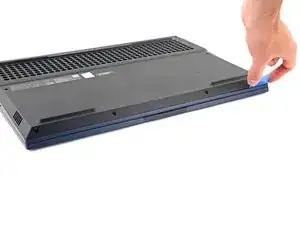
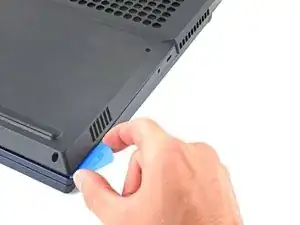
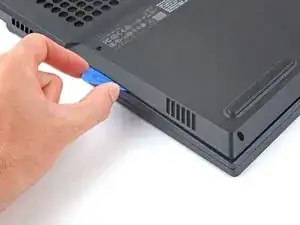
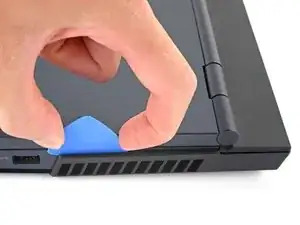
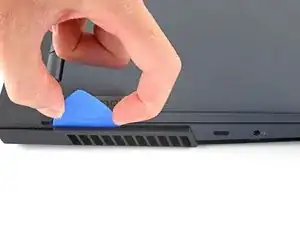
    • Insert the rounded edge of an opening pick between the back cover and the frame in the lower right corner.

    • Angle the pick to about 45˚.

  3. 4dPNpxdgdftsPVaE
    4dPNpxdgdftsPVaE
    hKqDMMYNJGMhHDNM
    h5qQEPP6wqoASVHS
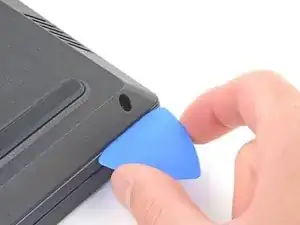
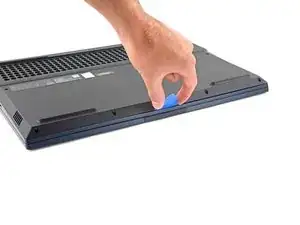
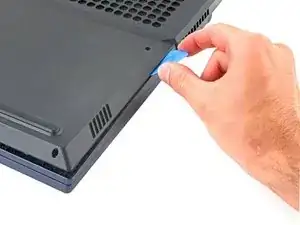
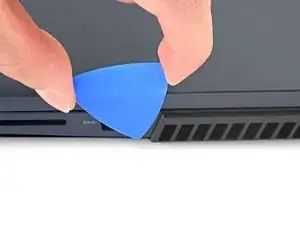
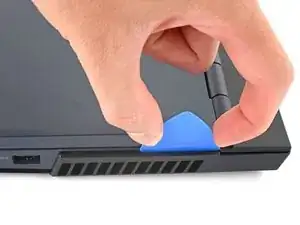
    • Slide the pick along the front edge to release the clips securing the back cover to the frame.

  4. DUfLVctxsG5BVNTB
    DUfLVctxsG5BVNTB
    bRQhL1MmdZHOpY4K
    HGofMtHJF2GcByP2
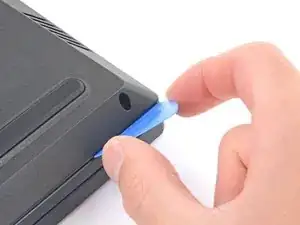
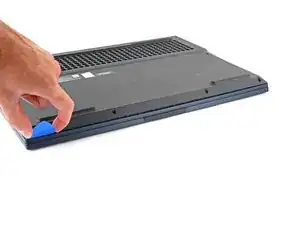
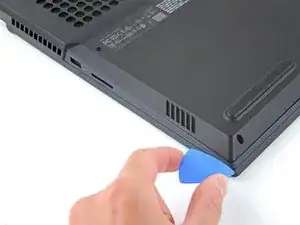
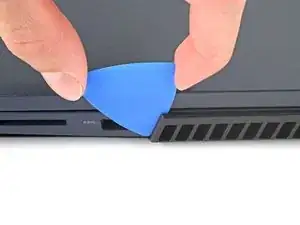
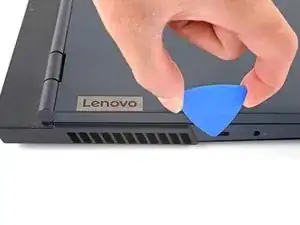
    • Insert the edge of an opening pick between the back cover and the frame on the right edge.

    • Angle the pick to about 30˚ and slide down the left edge to release the clips.

  5. GVVtgxMSmScAS1hK
    GVVtgxMSmScAS1hK
    ZDaJW1cLeH6oFe6S
    at3QnJ2DEr2yhn4h
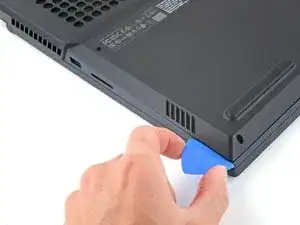
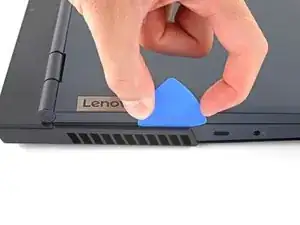
    • Repeat the same procedure on the left edge to release the clips.

  6. V4wAFEAecfXjtIdE
    V4wAFEAecfXjtIdE
    LdRZGfjIfmNR5J5a
    3TB4UebQnaCeRNxh
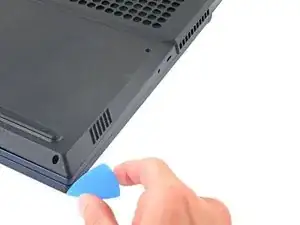
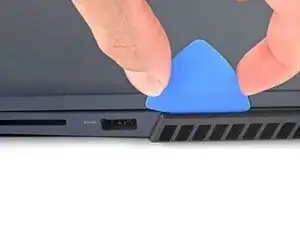
    • Slide the opening pick between the frame and the plastic vents on the right side near the USB-A port.

    • Rotate the pick so that it is positioned on top of the plastic vents.

    • If the pick is difficult to insert, position the laptop vertically to reduce the weight on the back cover.

  7. kDgHXRFnTYhtaali
    kDgHXRFnTYhtaali
    6CrLASj6XkwPWV5m
    • Push the pick between the frame and plastic vents.

    • Slide the pick along the top edge of the plastic vents to release the clips.

  8. w3IS4BKbOFTOWPgk
    w3IS4BKbOFTOWPgk
    dSISFpWFIGmIXKAI
    iSDNmSi14P1LAGBf
    • Slide the opening pick between the frame and the plastic vents on the left side near the USB-C port.

    • Rotate the pick so that it is positioned on top of the plastic vents.

    • Push the pick between the frame and plastic vents.

    • Slide the pick along the top edge of the plastic vents to release the clips.

  9. ZtyQGYu1DStBvm5f
    ZtyQGYu1DStBvm5f
    MZONTpkBNHpZ5YG2
    ZcLGvku4xqBQ2PjA
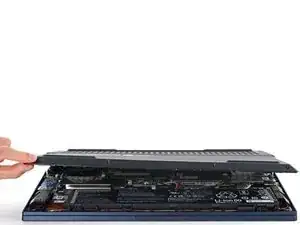
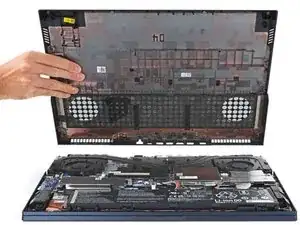
    • Lift the back cover up and remove it from the chassis.

    • During reassembly, this is a good point to power on your laptop and test all functions before sealing it up. Be sure to power your laptop back down before you continue working.

    Many Thanks !

    Without your help I wont have been able to open my Lenovo Legion 5 17ACH6 … most difficult to open laptop I encountered until now, especially the clips on the right and left vent.

    MEX -

  10. uJvFZGgiFcXGwlVb
    uJvFZGgiFcXGwlVb
    BHROIiMJEshKpALi
    hwXZBiqyVLsnrBTg
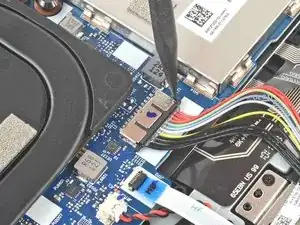
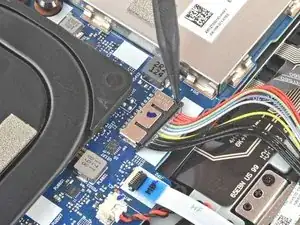
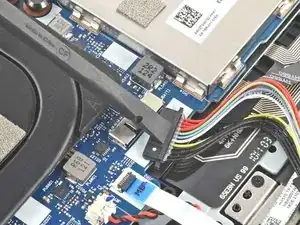
    • Use the pointed end of a spudger to push each side of the battery connector to loosen it.

  11. DC5nglSwDqPo3Vxg
    DC5nglSwDqPo3Vxg
    sHQhyYYQ3wXt1jeN
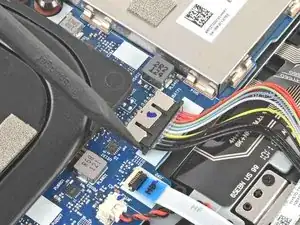
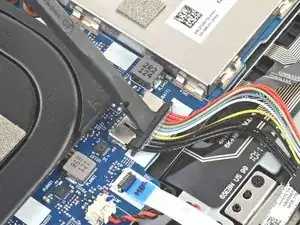
    • Use the flat end of a spudger to push out and disconnect battery cable.

  12. XoPxGKg2UlxOciXL
    XoPxGKg2UlxOciXL
    XarwOrSZxNTIEjGF
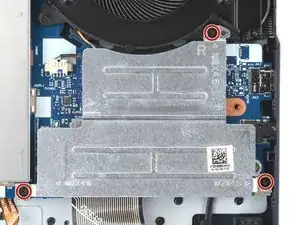
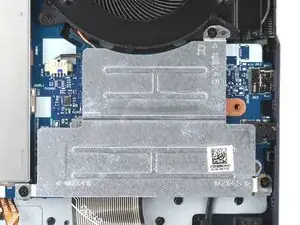
    • Use a Phillips screwdriver to remove the three 5 mm PH00 screws securing the right SSD shield to the motherboard.

    • During reassembly, make sure the hole on the top of the shield aligns with the post on the chassis.

  13. qqj4uxAAj2cPHJLH
    qqj4uxAAj2cPHJLH
    RyWx5uXpPdYUpbVs
    axKY3pGlIYBZAb3t
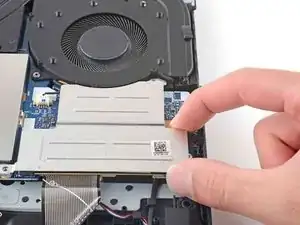
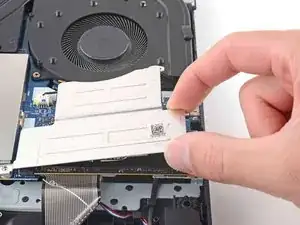
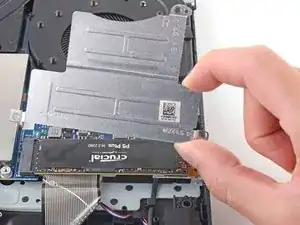
    • Grab the SSD shield and lift up to remove it.

  14. tTADbw2iDACHLsbO
    tTADbw2iDACHLsbO
    GS4egjcOlMlnsFmJ
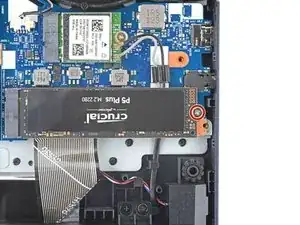
    • Use a Phillips screwdriver to remove the 2.8 mm PH1 screw securing the SSD to the motherboard.

    • The SSD will spring up to about 30˚ when the screw is removed.

  15. qZU6ILlFjIOIRbsM
    qZU6ILlFjIOIRbsM
    HEVyVBx1Z5HLAKFn
    X1I5ER4WNNAymreh
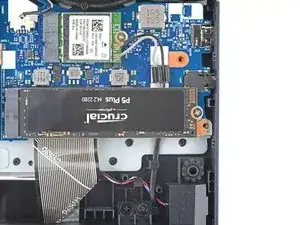
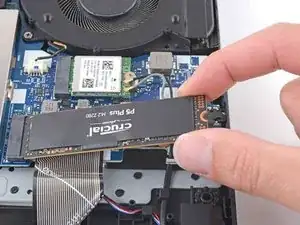
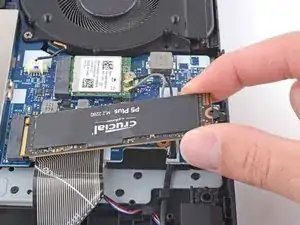
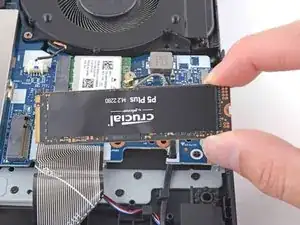
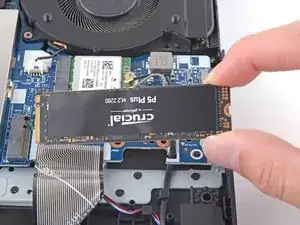
    • Grip the edges of the SSD near the screw indent.

    • Gently pull to remove the SSD.

Conclusion

To reassemble your device, follow these instructions in reverse order.

Take your e-waste to an R2 or e-Stewards certified recycler.

Repair didn’t go as planned? Try some basic troubleshooting, or ask our Lenovo Legion Answers community for help.
Chayton Ritter

Member since: 21/08/20

17428 Reputation

0 comments