Introduction
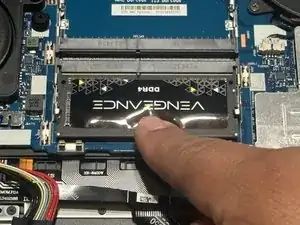
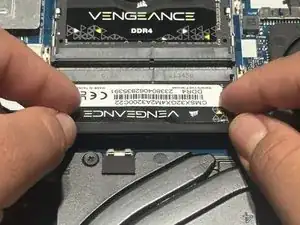
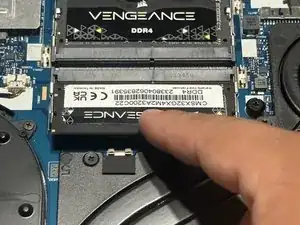
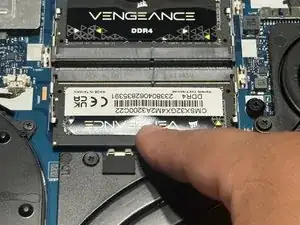
This guide is for replacing both RAM modules for the Lenovo Legion 5 17ACH6H laptop. According to the laptop's manual, the laptop supports up to 16 GB DDR4 - 3200, dual channel RAM. However, this laptop can run 32 GB of RAM. You can choose a different RAM module brand as long as it meets the laptop's RAM specifications.
Before opening the laptop, ensure this does not void its warranty. Opening without damaging the parts won't void the warranty in the United States, but this may vary with region and seller.
Before replacing any part of this laptop, ensure it is completely powered off and not connected to power. It is also important that the laptop is not in sleep or hibernation mode.
Tools
Parts
-
-
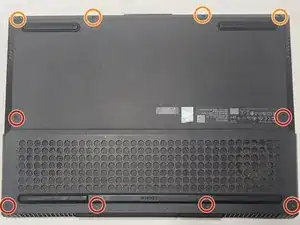
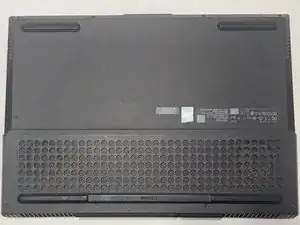
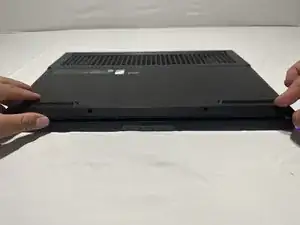
Use the Phillips #1 screwdriver to remove the ten screws on the back panel.
-
Four 4.6 mm PH1 screws
-
Six 12.8 mm PH1 screws
-
-
-
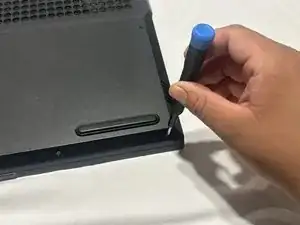
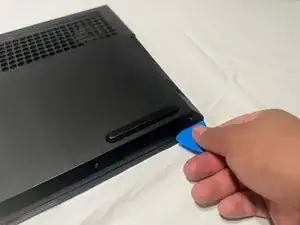
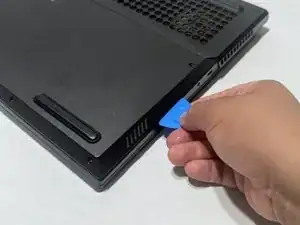
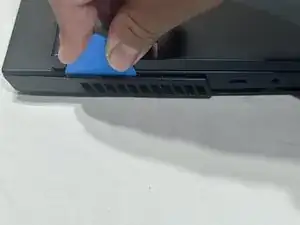
Insert the rounded side of the opening pick on the lower right of the back panel.
-
Apply light pressure downwards to release the clip.
-
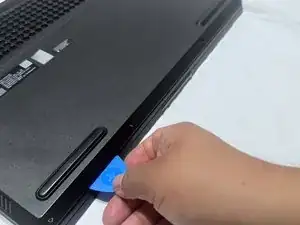
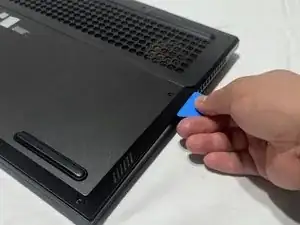
Slide the opening pick along the lower back side of the panel to release the remaining clips.
-
-
-
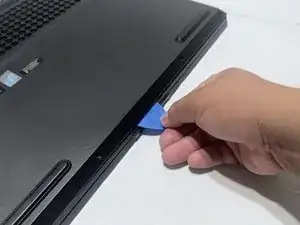
Insert the opening pick on the right side of the panel (along the ports) and slide it across to release the pins.
-
Repeat this step on the left side of the panel.
-
-
-
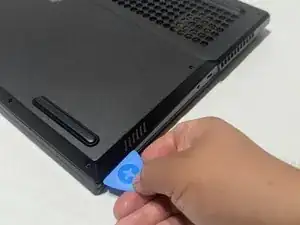
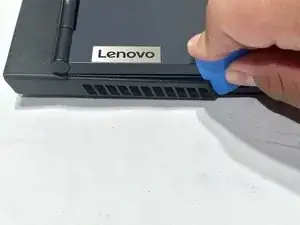
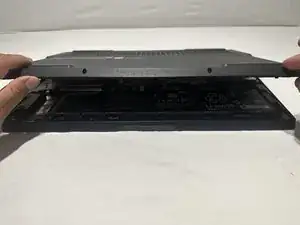
Slide the pick in the vent near the USB C port.
-
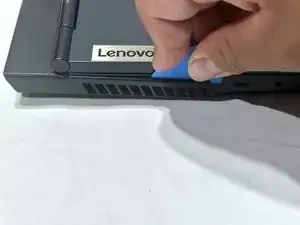
Rotate the pick so it is on the top part of the vent.
-
Slide the pick across the top side of the vent
-
-
-
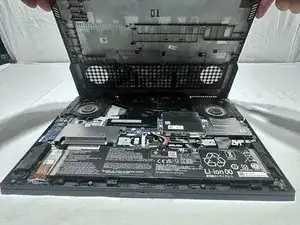
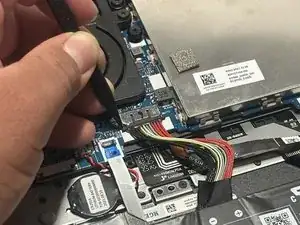
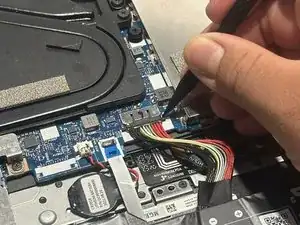
Use the pointed tip of a spudger to carefully push on each side of the connector.
-
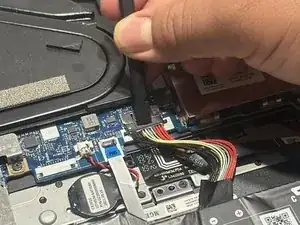
Use the flat side of the spudger at the top of the battery connector to completely push it out.
-
Pull the cable by the connector and not the wires to move it out of the way.
-
-
-
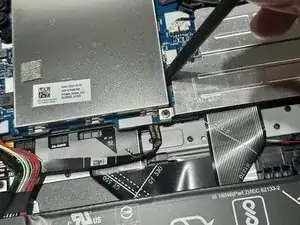
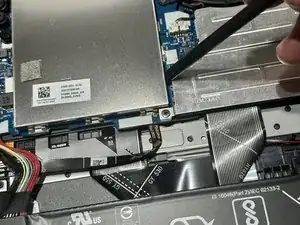
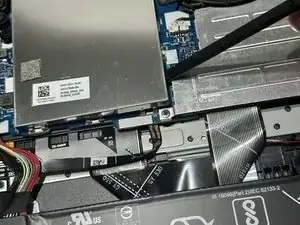
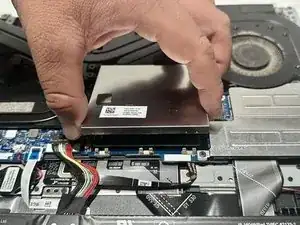
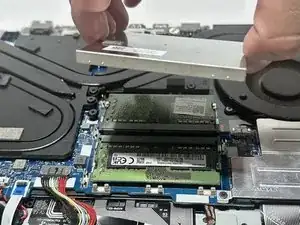
Place the flat side of the spudger between the RAM shield (right) and the metal plate (left) at a 45-degree angle.
-
Pry open the bottom part of the metal plate by moving the spudger toward the RAM shield.
-
-
-
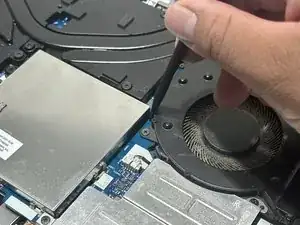
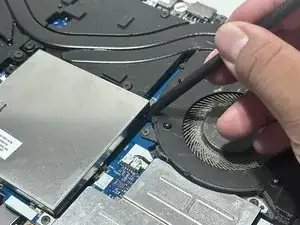
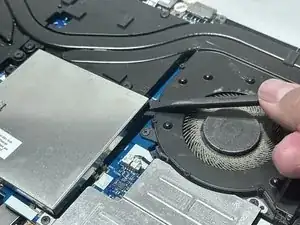
Place the flat side of the spudger between the fan (right) and the metal plate (left).
-
Pry open the top part of the metal plate by moving the spudger toward the fan.
-
-
-
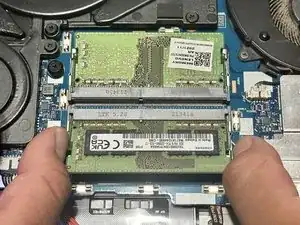
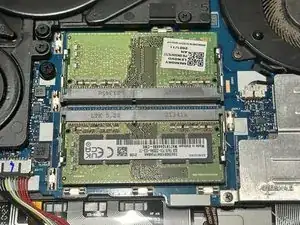
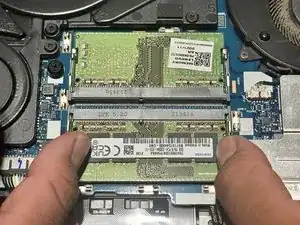
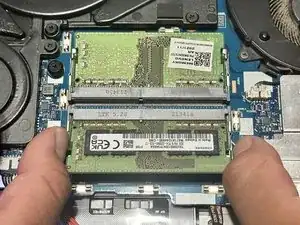
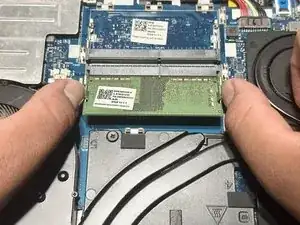
With both thumbs, push the clips outward.
-
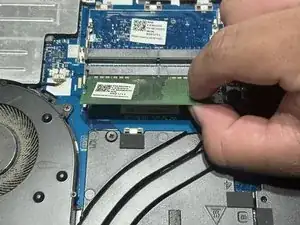
Gently slide the RAM module out of the socket to remove it.
-
-
-
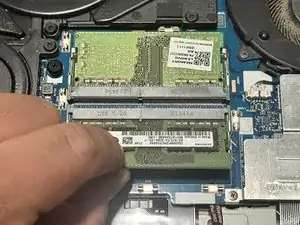
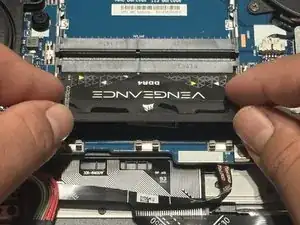
Insert the RAM module at a 45-degree angle.
-
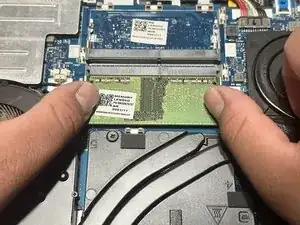
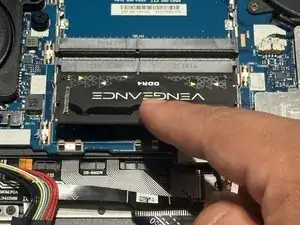
With a finger on the top part of the module, push the RAM stick downward.
-
To reassemble your device, follow these instructions in reverse order.
