Introduction

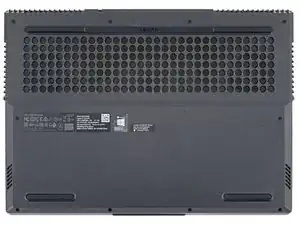
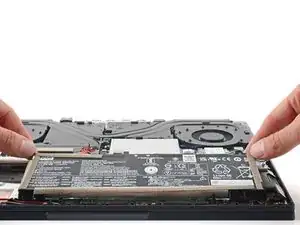
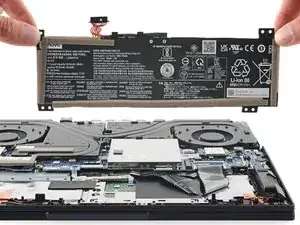
Use this guide to replace the battery in your Lenovo Legion 5 15ACH6H gaming laptop.

For your safety, discharge the battery below 25% before disassembling your device. This reduces the risk of fire if the battery is accidentally damaged during the repair. If your battery is swollen, take appropriate precautions.

  1. C2fYrMuvy6DKQBdc
    C2fYrMuvy6DKQBdc
    5Q6AT1LVqGhBLELi
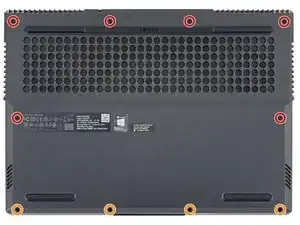
    • Use a Phillips screwdriver to remove the following ten screws securing the back cover to frame:

    • Six 12.5 mm PH1 screws

    • Four 4.7 mm PH1 screws

  2. 6f2lBPECX2jolXGu
    6f2lBPECX2jolXGu
    gYJw6bhJyuKnMZZK
    sEn4THIESTditph3
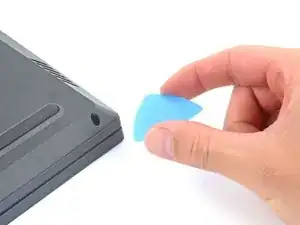
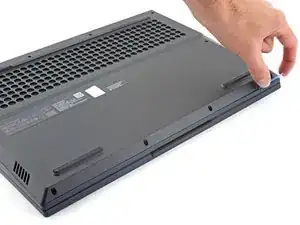
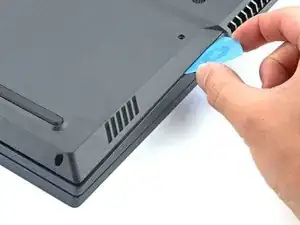
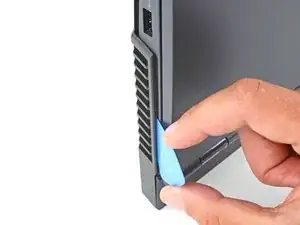
    • Insert the rounded edge of an opening pick between the back cover and the frame in the lower right corner.

  3. 2DfDE3FNWa16INhL
    2DfDE3FNWa16INhL
    vSAPKIgLxdTbuHai
    SOrWhYVWH24siCpn
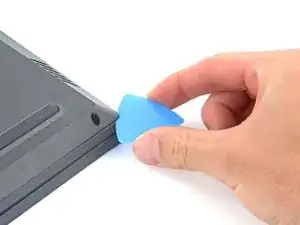
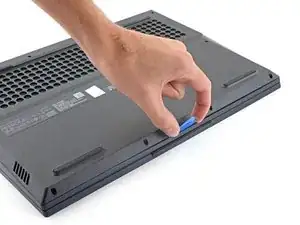
    • Angle the pick to about 30˚.

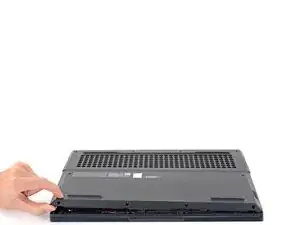
    • Slide the pick along the front edge to release the clips securing the back cover to the frame.

  4. g6xlnFHNtXWRIpNg
    g6xlnFHNtXWRIpNg
    3cnadaIbIKLRINAA
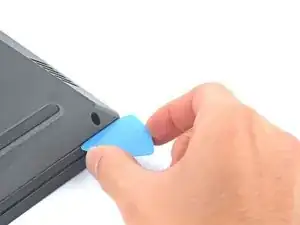
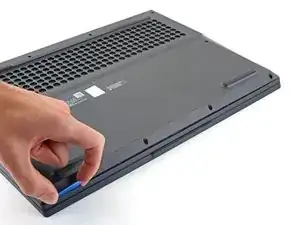
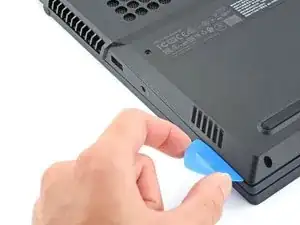
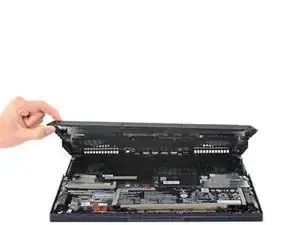
    • Insert the edge of an opening pick between the back cover and the frame on the right edge.

    • Angle the pick to about 30˚ and slide down the left edge to release the clips.

  5. SO2DqIOdRag4oRXC
    SO2DqIOdRag4oRXC
    GPpLAx1DsHQoRI5v
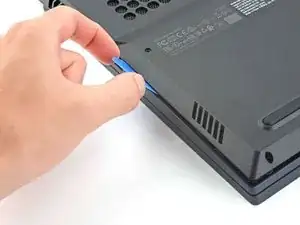
    • Repeat the same procedure on the left edge to release the clips.

  6. yhYCiMTcWwxAkEM6
    yhYCiMTcWwxAkEM6
    TuZKFmBm6WarRASw
    tPIKhQDmyiNLabVF
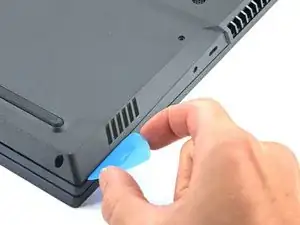
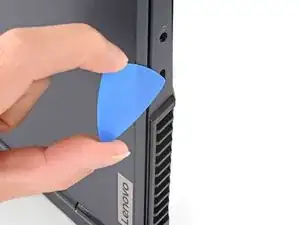
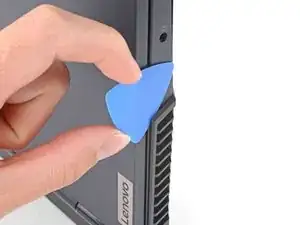
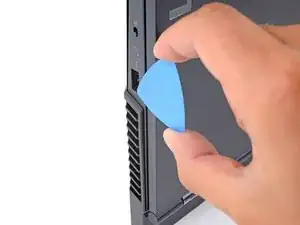
    • Position the laptop vertically so you can easily access the plastic vents.

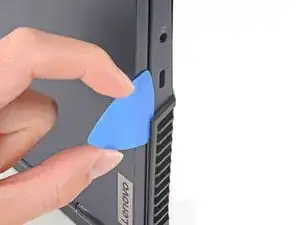
    • Slide the rounded edge of an opening pick between the frame and the plastic vents on the left side near the USB-C port.

    • Rotate the pick so that it is positioned on top of the plastic vents.

  7. 4IYlXNaGCW4GUDVw
    4IYlXNaGCW4GUDVw
    HFNulA3DHx4fsqHa
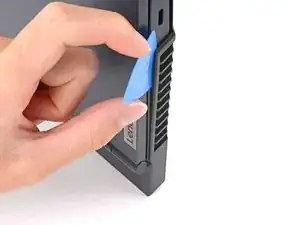
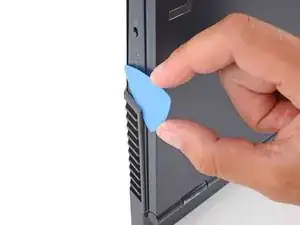
    • Push the pick between the frame and plastic vents.

    • Slide the pick along the top edge of the plastic vents to release the clips.

  8. qFYERbi4Kutvu3Mu
    qFYERbi4Kutvu3Mu
    fFmIWRn6NrrEBaGJ
    OuhOOGS3tTFG5LQB
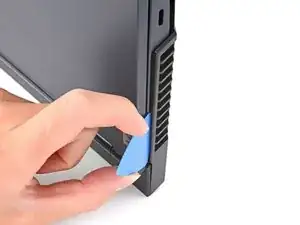
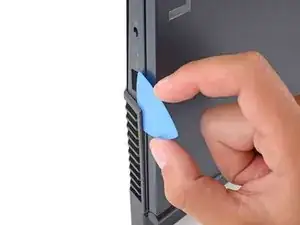
    • Slide the opening pick between the frame and the plastic vents on the right side near the USB-A port.

    • Rotate the pick so that it is positioned on top of the plastic vents.

  9. uQyRLsPrlojFqgxM
    uQyRLsPrlojFqgxM
    tNSySOBDVx6Mh6jB
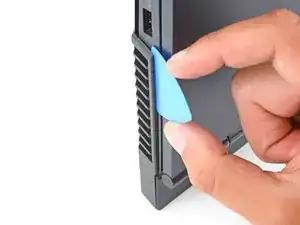
    • Push the pick between the frame and plastic vents.

    • Slide the pick along the top edge of the plastic vents to release the clips.

  10. Mp2JCFadCoBUOYJK
    Mp2JCFadCoBUOYJK
    dOnRoQIfsUhObVjt
    MucKVWYuFHerZFft
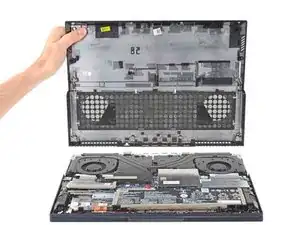
    • Lift the back cover up and remove it from the chassis.

    • During reassembly, this is a good point to power on your laptop and test all functions before sealing it up. Be sure to power your laptop back down before you continue working.

  11. BlDamO1YJasIHSG4
    BlDamO1YJasIHSG4
    vNJQMUTmHZjPms5E
    iEohJJZFNa6JPj2K
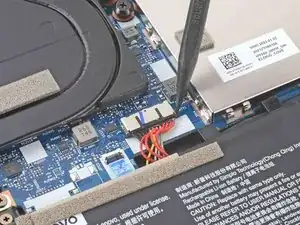
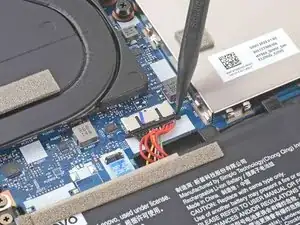
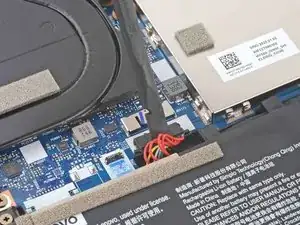
    • Use the pointed end of a spudger to push each side of the battery connector to loosen it.

  12. Q6HAFNEYHZTLZn2M
    Q6HAFNEYHZTLZn2M
    GYeFmFHH15qsONge
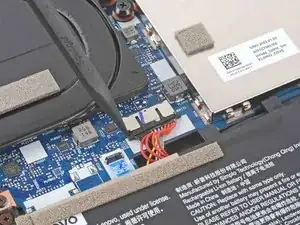
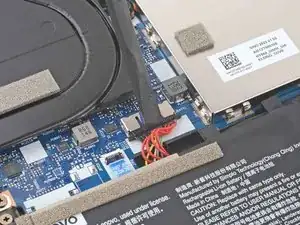
    • Use the flat end of a spudger to push out and disconnect battery cable.

  13. gXXgO1dRAy4s5BKQ
    gXXgO1dRAy4s5BKQ
    VSCtOpeIdD1vD44Q
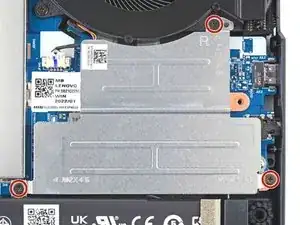
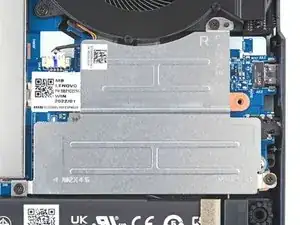
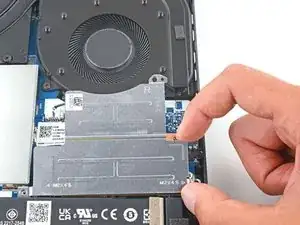
    • Use a Phillips screwdriver to remove the three 5.1 mm PH00 screws securing the right SSD shield to the motherboard.

    • During reassembly, make sure the hole on the top of the shield aligns with the post on the chassis.

  14. KUNAwESOmZUMpwZn
    KUNAwESOmZUMpwZn
    F2sEQseYfP3JiHDA
    hHO13JkySK3UfZFh
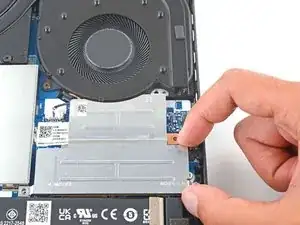
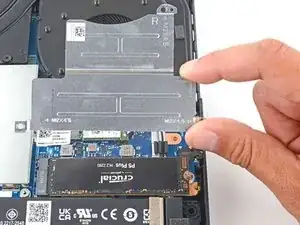
    • Grab the SSD shield and lift up to remove it.

  15. 1nLhJMYqDYqPgulW
    1nLhJMYqDYqPgulW
    auDjUlnKwv6hrIpE
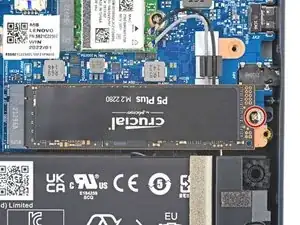
    • Use a Phillips screwdriver to remove the 2.7 mm PH1 screw securing the SSD to the motherboard.

    • The SSD will spring up to about 30˚ when the screw is removed.

  16. JmKHesUmkGnamDXF
    JmKHesUmkGnamDXF
    cW3liqKl6yYjjKxF
    YIPNHeHaQ4kdRySF
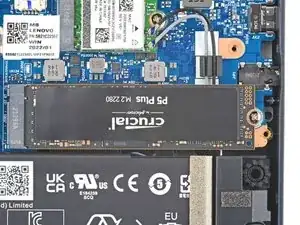
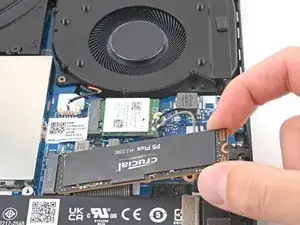
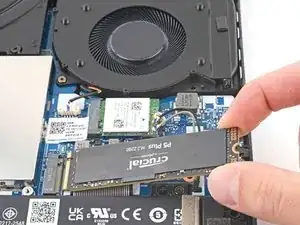
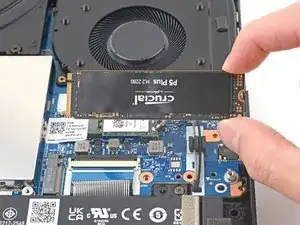
    • Grip the edges of the SSD near the screw indent.

    • Gently pull to remove the SSD.

  17. 1qxJetYLevVrLaSW
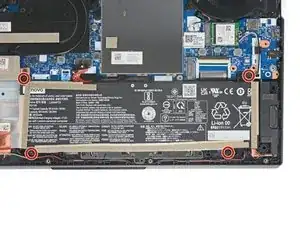
    • Use your Phillips screwdriver to remove the four 5.1 mm-long screws securing the battery.

  18. OSg1WReA4nTib3TQ
    OSg1WReA4nTib3TQ
    ASKaIJGZxRKVZlYA
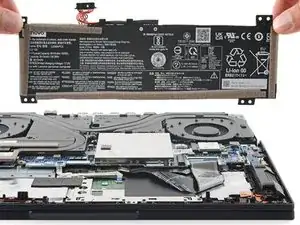
    • Remove the battery from its recess.

Conclusion

To reassemble your device, follow these instructions in reverse order.

For optimal performance, calibrate your newly installed battery after completing this guide.

Take your e-waste to an R2 or e-Stewards certified recycler.

Repair didn’t go as planned? Try some basic troubleshooting, or ask our Lenovo Legion answers community for help.
Clay Eickemeyer

Member since: 19/09/22

65190 Reputation

0 comments