Introduction
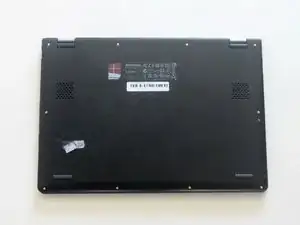
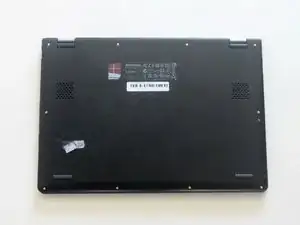
Removal of the back panel is crucial for repairing the hardware in the computer or the back panel itself due to dents/other damages. This guide will walk you through the process of how to remove and/or replace the back panel of your device.
Tools
-
-
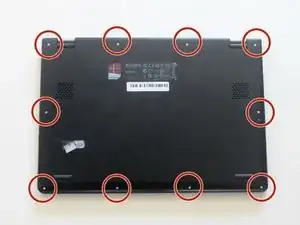
Locate the 10 screws (6mm) around the border of the panel.
-
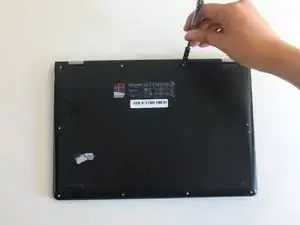
Using the Torx T5 Screwdriver, remove the screws.
-
-
-
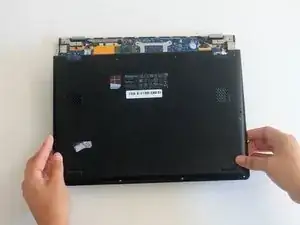
Now that the screws are removed, gently lift the back panel upwards to detach it from the rest of your laptop.
-
Conclusion
To reassemble your device, follow these instructions in reverse order.
