Introduction
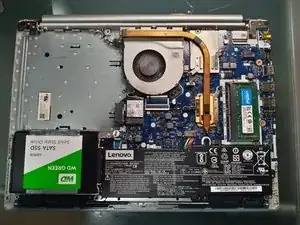
This laptop has only one space to increase the RAM, allowing up to 12 GB by adding the 4GB that it has soldered out of the factory. Remember that you need SO-DDR4 RAM
Tools
Parts
-
-
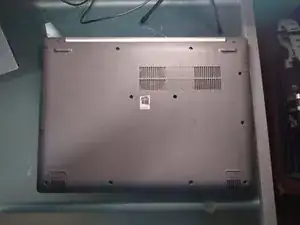
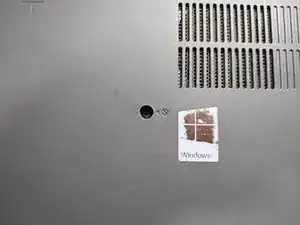
Turn the device over.
-
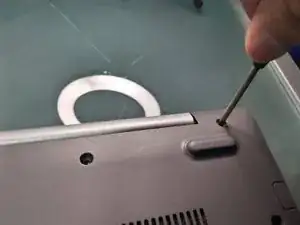
With a Phillips screwdriver, remove the screw pointed out in the image.
-
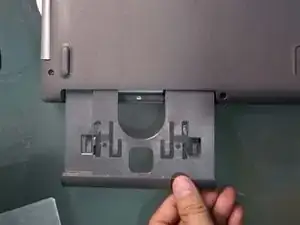
Slide the optical drive outward until it is removed completely.
-
Set aside.
-
-
-
Remove the 12 remaining screws. Set them aside orderly.
-
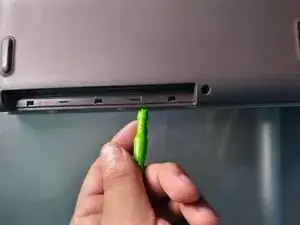
With a plastic spudger, release the tabs that are found below the optical drive.
-
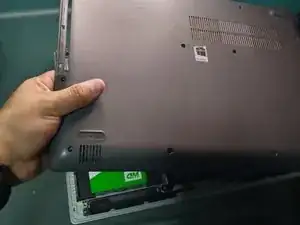
Continues releasing all of the tabs at the edges until the base of the laptop breaks loose.
-
Set the base aside.
-
-
-
You may skip this step if there is no RAM installed previously.
-
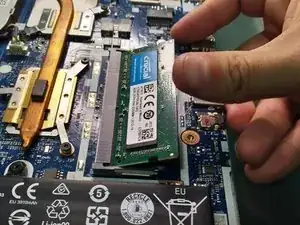
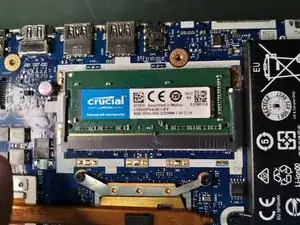
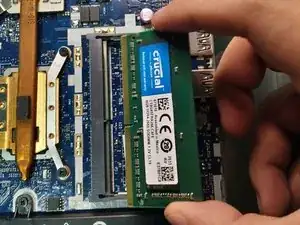
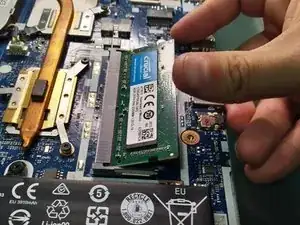
Locate and open the tabs on the sides of the RAM. This will cause the RAM to become loose and take a diagonal position.
-
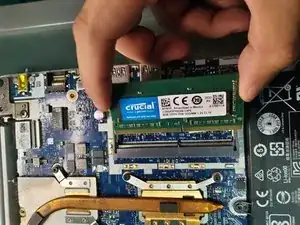
Remove the RAM in the same diagonal direction.
-
-
-
Insert translation here
-
Insert translation here
-
Insert translation here
-
Insert translation here
-
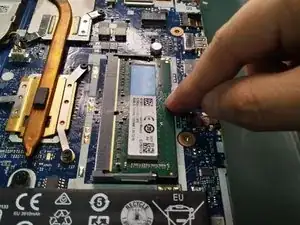
Congratulations! You installed your new RAM memory. Now, reassemble the laptop by following steps 1, 2 and 3 in reverse and enjoy your upgraded laptop.
