Introduction
This guide will give you a step by step process on how to replace a daughterboard for a Lenovo IdeaPad 120s-14IAP, including the USB headphone jack, micro SD card reader and NOVO button.
Tools
-
-
Orient the laptop so the top is laying flat on your work surface.
-
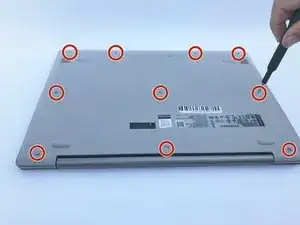
Remove ten 1.5mm Torx T5 screws from the back of the laptop.
-
-
-
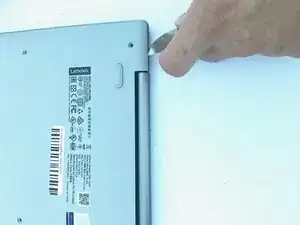
Insert the plastic opening tool or a Jimmy along the edge of the back cover and gently pry.
-
Run the tool all the way around the edge of the back cover and remove the back cover once it is no longer secure.
-
Remove the back cover.
-
-
-
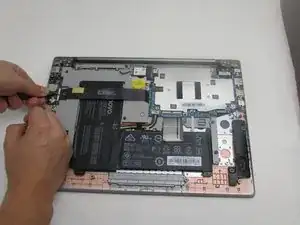
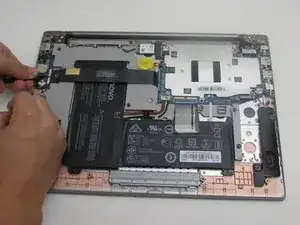
Use a spudger to lift the black fastener and disconnect the ribbon cable from the USB daughterboard.
-
-
-
Using tweezers, disconnect the speaker on the left from the USB daugterboard.
-
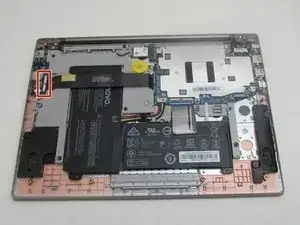
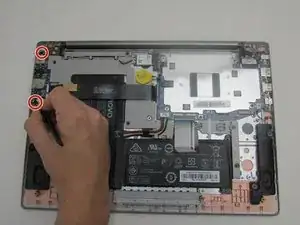
Remove two 2.5 mm Phillips #0 screws from the daughterboard.
-
Remove the daughterboard from the laptop.
-
To reassemble your device, follow these instructions in reverse order.
