Introduction
If you need to replace a faulty LCD screen in a Lenovo 120s-14IAP, this guide will help you step by step. But be sure to be gentle with the LCD’s electrical connector on the last step.
Tools
Parts
-
-
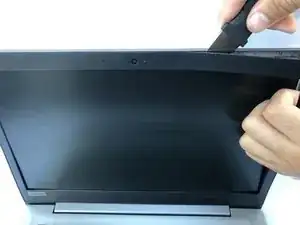
Open your laptop and insert the Jimmy into the space between the plastic screen cover and the laptop back.
-
Run the Jimmy along the edge and carefully pull the cover outward as you go.
-
Once you have completely detached the screen cover from around the edges, gently pull and remove the cover.
-
-
-
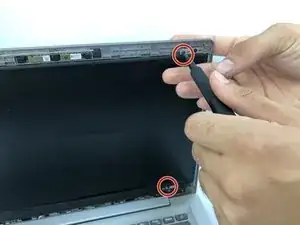
Remove four Phillips #0 screws from the corners of the LCD screen to detach the screen from the mounts.
-
-
-
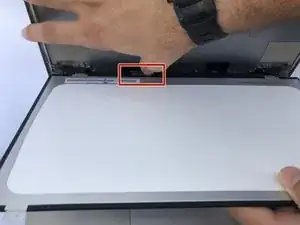
Lean the LCD screen forward to expose the display connection near the base.
-
Remove the display connector by placing your thumbnail under the connector latch, and gently pull the LCD screen.
-
The LCD screen can now be removed.
-
To reassemble your device, follow these instructions in reverse order.


