Introduction
Tools
-
-
Power off your computer before you begin.
-
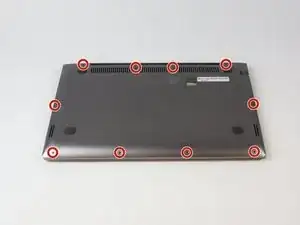
Find and remove the 10 Phillips style body screws on the bottom of the laptop case.
-
-
-
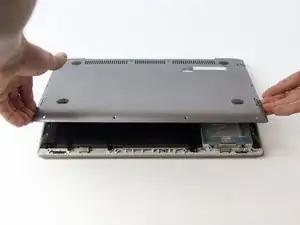
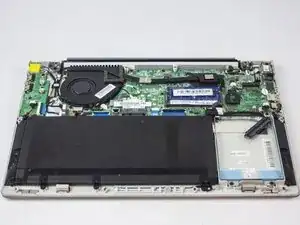
Starting from the front, use a plastic opening tool to separate the bottom of the case from the body of the laptop.
-
-
-
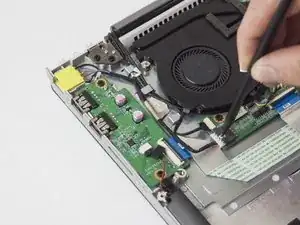
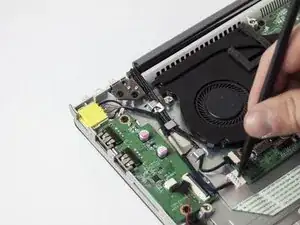
Disconnect charging port from motherboard.
-
To do this, press the spudger on the center dimple and push the connector out.
-
-
-
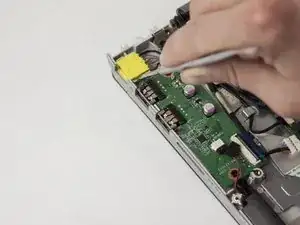
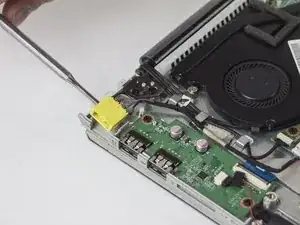
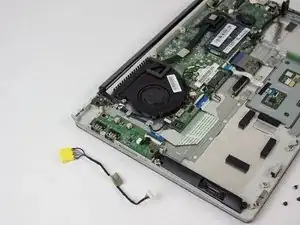
Pry the charging port out of the socket with a metal spudger.
-
It may be necessary to pry from each side.
-
Conclusion
To reassemble your device, follow these instructions in reverse order.
