Introduction

  1. SjrCeNYo5YHpWadA
    SjrCeNYo5YHpWadA
    4iUW2lLaK1yVQ3nI
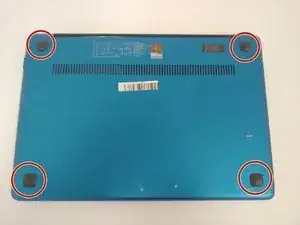
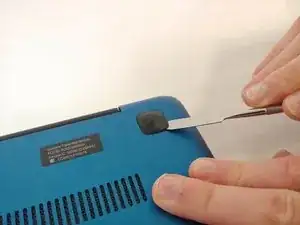
    • Using the metal spudger, remove all the rubber squares on the bottom of the laptop.

  2. geeNC5KDNZCXDP3g
    geeNC5KDNZCXDP3g
    NuuLSVPTpM5Lu2XX
    AFFoAWixoCrDKKjh
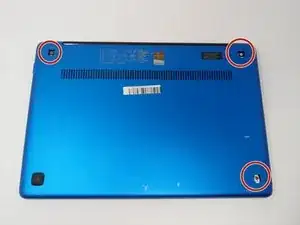
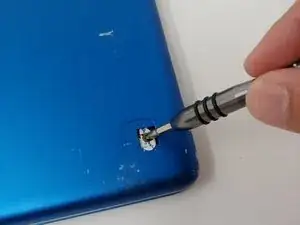
    • Remove the three 6 mm Phillips #1 screws holding the panel on the laptop.

    • Pry the panel from the laptop using your hands or the metal spudger if necessary.

  3. X5P31dJLjWiyI3F4
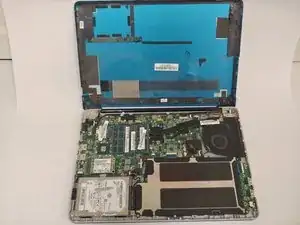
    • Make sure your computer is turned off.

    • Lift the back panel away from you.

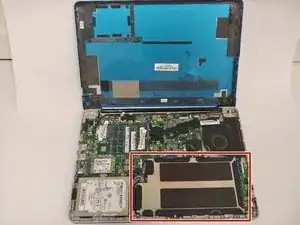
    • Locate the battery in the bottom right corner.

  4. 5OH2s2nyODqxkdqB
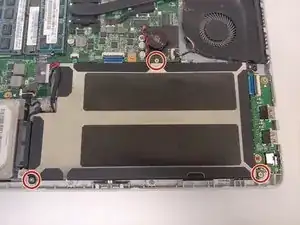
    • Remove the three 3mm screws located on the perimeter of the battery using the Phillips #1 screwdriver.

  5. lwRZkOQgEQ6RG4Wh
    lwRZkOQgEQ6RG4Wh
    fYUqSFqoqrTwOfcA
    KvJCCkF4LYXpKZLD
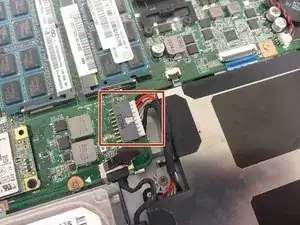
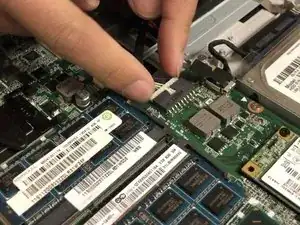
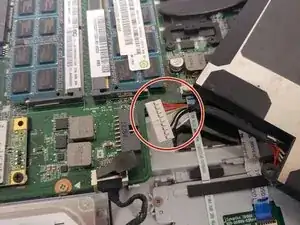
    • Locate the small rectangle shaped connector to the left of your battery.

    • Use your fingers to gently detach the white connector.

Conclusion

To reassemble your device, follow these instructions in reverse order.
Alysia Mcafee

Member since: 18/09/18

107 Reputation

0 comments