Introduction

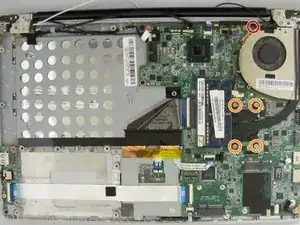
If your Lenovo IdeaPad U310 is having problems with overheating, a broken fan may be to blame. This fan replacement guide will show you exactly how to replace it.

  1. NiWdCdiShYrFLMv2
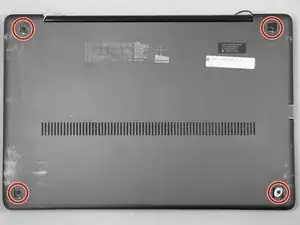
    • Flip the device over so the bottom panel is facing up.

    • Remove the rubber feet by pinching and pulling in an upward motion.

    • The rubber feet are missing from this photo, but will be located within the red markups.

  2. uuFRDrn5XbhSSQYc
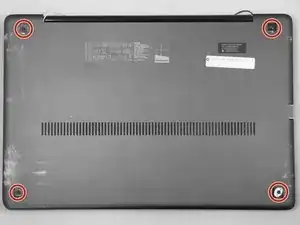
    • Remove the 4 screws securing the bottom panel to the device.

    • The screws are missing from this device and are not pictured. They will be located under the rubber feet within the red markups.

  3. tvgeNFMsEGNHEeJa
    tvgeNFMsEGNHEeJa
    ZdQAFvOyVVaC3ut2
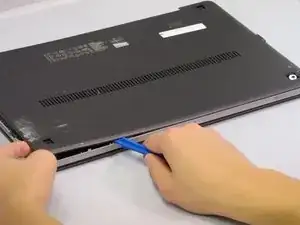
    • Place the plastic opening tool between the bottom panel and device.

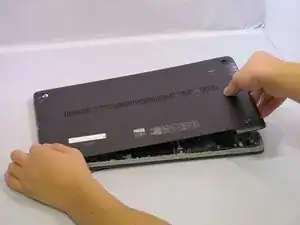
    • Pry around the device's outer edge until the bottom panel is no longer attached.

    • Lift the bottom panel up and away from device.

  4. vLeOqMdEq4UdcL1Z
    vLeOqMdEq4UdcL1Z
    O3Sdegpm3RcJIjWt
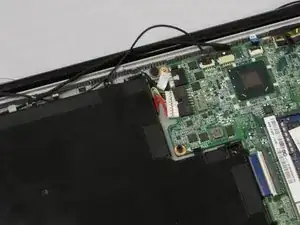
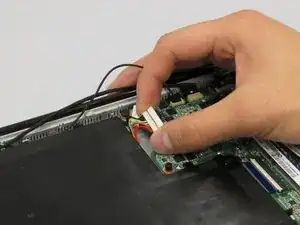
    • Unplug the Battery from the circuit board by carefully prying the connector from its housing.

  5. 1Wpyb2ABTslBorL6
    1Wpyb2ABTslBorL6
    Uv5pV6yZsmx3GJIN
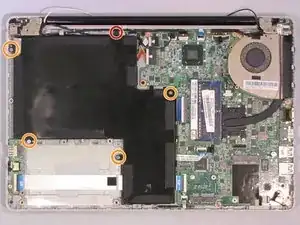
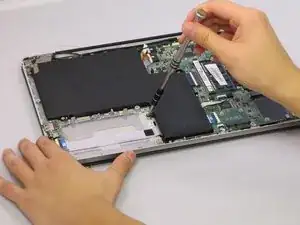
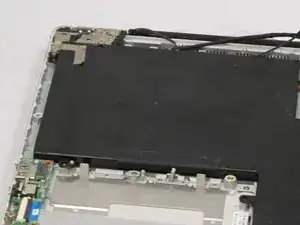
    • Remove the 5.6 mm Screw with the PH1 screwdriver.

    • Remove the 4.6 mm screws with the PH1 screwdriver.

  6. 2tRMTPSdekkQXR2O
    2tRMTPSdekkQXR2O
    Jl3lIKNdJoR2D1YX
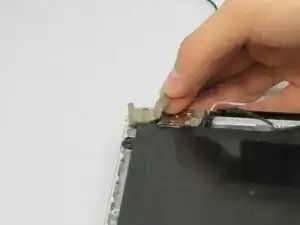
    • Lift the strip tape away from the battery, being careful not to completely remove it.

  7. gKoJXqEAfaSIH1Cm
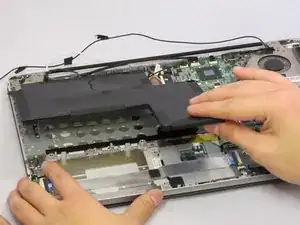
    • Remove the battery by lifting up and away from device.

  8. iUX1uGk3OUQVJSsa
    iUX1uGk3OUQVJSsa
    r5X2ZKSbshJtCiYQ
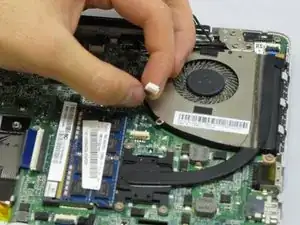
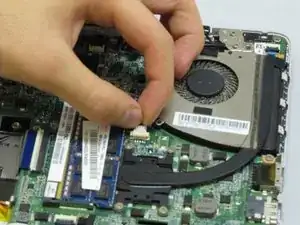
    • Unplug fan by pinching the connector and pulling it away from its housing.

  9. CZpWSMKBIiALdYXk
    CZpWSMKBIiALdYXk
    1XQKgegjKyPm1Nak
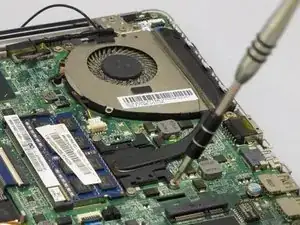
    • Unscrew 5.1 mm screw using PH1.

    • Unscrew the four 3.6 mm screws using PH1.

    • Theses five screws are attached to the black plate with rubber stoppers. You will be able to loosen them from the circuit board, but they will stay attached.

  10. EmjORftRIBWndvYK
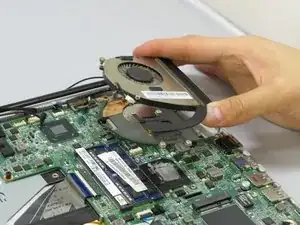
    • Remove fan by lifting up and away from device.

Conclusion

To reassemble your device, follow these instructions in reverse order.
Tommie Tucker

Member since: 28/09/16

270 Reputation

0 comments