Introduction

  1. PCo1BKIOIHWpQU5n
    PCo1BKIOIHWpQU5n
    IDrTLUE4nyumbAnG
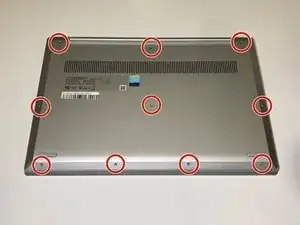
    • Power off the laptop and place it face-down on a non-scratching surface.

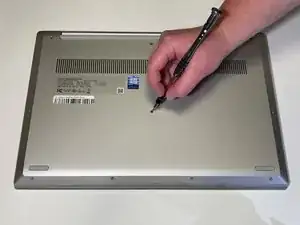
    • Using a Torx T5 screwdriver head, remove all ten 6 mm screws holding the back panel in place.

    The front center-right screw may be shorter (3.5mm) than the others (6.5mm), and may be captive in the back panel.

    Brad Bell -

  2. MixBWkKiRB1gACPo
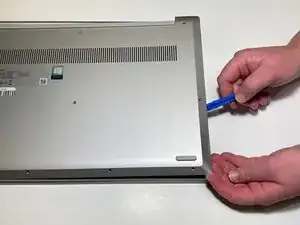
    • Slide a plastic opening tool underneath the back case near the screen hinges.

    • Gently pry up on either side of the case.

    • You may hear popping sounds as you pry up the back case. This is normal. If the case does not open, try prying at a different angle/position.

    Make sure when replacing the back cover to use the Small T5 Screw under the track pad or else the longer ones will make it so the pad wont click.

    Phillip Loftus -

  3. 1tBjmNyWYDSrawpR
    1tBjmNyWYDSrawpR
    xJELgbqKEJbyYVbM
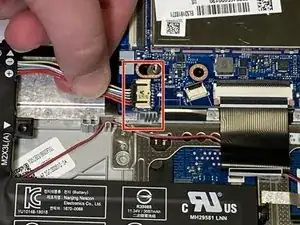
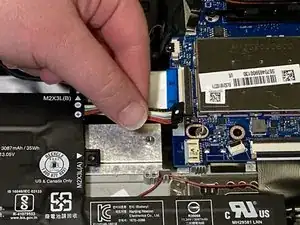
    • Disconnect the battery cable by gently pulling it straight out of the connector.

    • Be sure to pull parallel to the device to avoid bending the motherboard connector.

    • The battery connector does not lock and only requires light pressure to insert and remove.

    • Remove the battery from the laptop.

  4. aJl6cQbP3sNBsWUo
    aJl6cQbP3sNBsWUo
    QGulAvXa5E11ipUk
    YVDtiehwEbctWKOJ
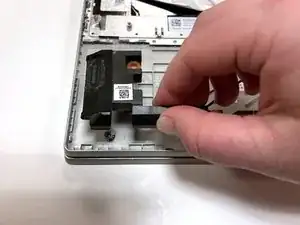
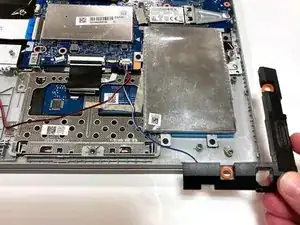
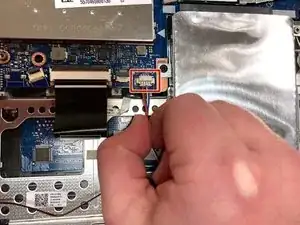
    • Unplug the wire connecting the speakers to the motherboard.

    • Remove the speakers from each side of the laptop.

Conclusion

To reassemble your device, follow these instructions in reverse order.
Kristen Gismondi

Member since: 12/11/14

81237 Reputation

0 comments