Introduction
Tools
-
-
Power off the laptop and place it face-down on a non-scratching surface.
-
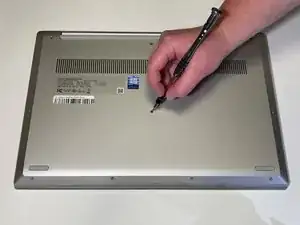
Using a Torx T5 screwdriver head, remove all ten 6 mm screws holding the back panel in place.
-
-
-
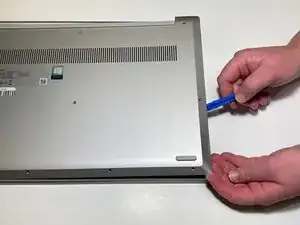
Slide a plastic opening tool underneath the back case near the screen hinges.
-
Gently pry up on either side of the case.
-
-
-
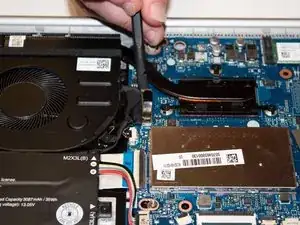
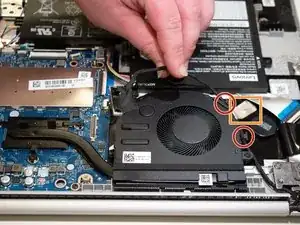
Carefully unwind the black cable that runs between the top of the battery and the bottom of the fan from the grooves along the side of the fan.
-
In order to do so, you will need to pull up the metallic tape that holds the cable in place using either your fingers or a plastic prying tool to lift up the edge.
-
-
-
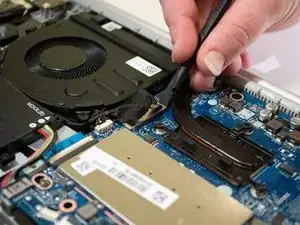
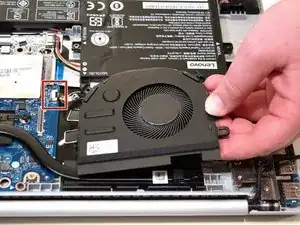
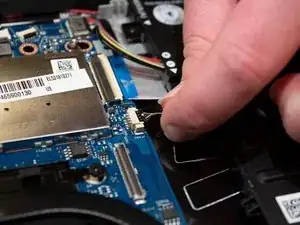
Carefully pick up the fan by the corners and detach the small connector wire by pulling parallel to the device.
-
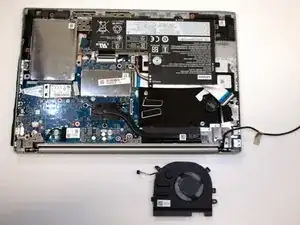
Remove the fan from the laptop.
-
-
-
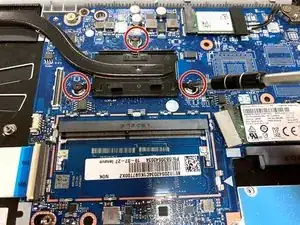
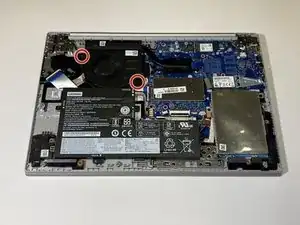
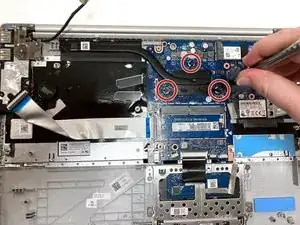
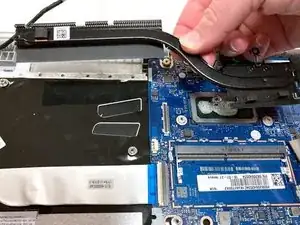
Remove the three 3 mm screws that secure the black heat sink near the top of the computer using a Phillips #0 screwdriver.
-
Lift the heat sink vertically to remove it from the laptop.
-
To reassemble your device, follow these instructions in reverse order.
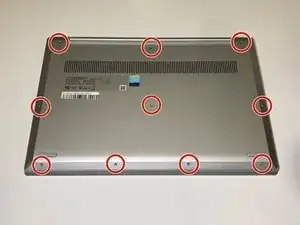

The front center-right screw may be shorter (3.5mm) than the others (6.5mm), and may be captive in the back panel.
Brad Bell -