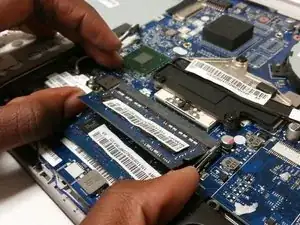
Introduction
Removing the RAM is a simple process. Be sure that you follow the steps to remove or disconnect the battery and keep the laptop unpowered to avoid damaging the electronics inside.
Tools
-
-
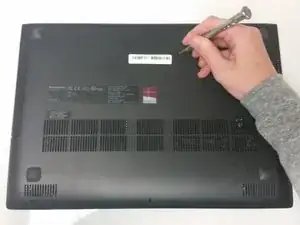
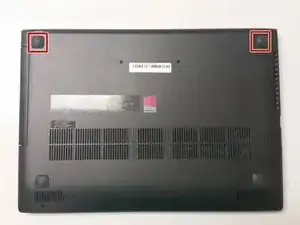
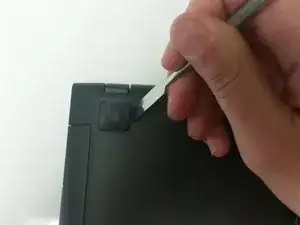
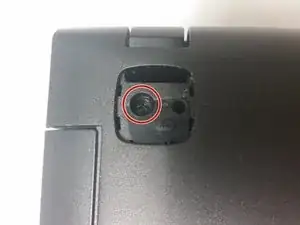
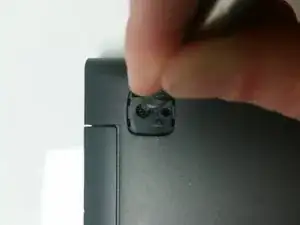
Remove the two 14mm Phillips #1 screws that attach the keyboard to the underside of the laptop.
-
-
-
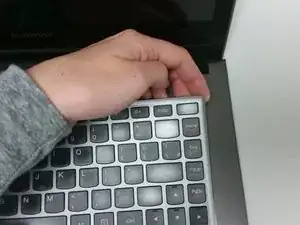
Using your hands, lift the top corner of the keyboard, and keep lifting until the keyboard pops out. You will hear clicks as you do this.
-
-
-
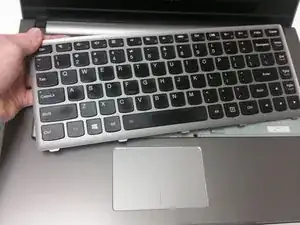
Lift the top of the keyboard and flip the keyboard face down so that you can access the connectors underneath it.
-
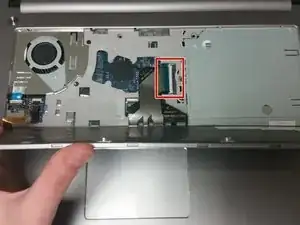
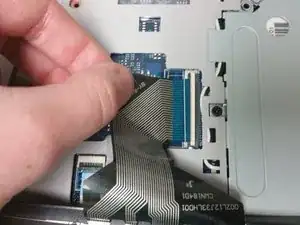
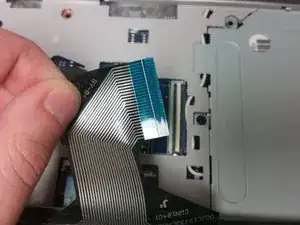
Using your fingers, unplug the large connector that connects the keyboard to the center of the laptop by sliding the end of the strip out of the socket.
-
-
-
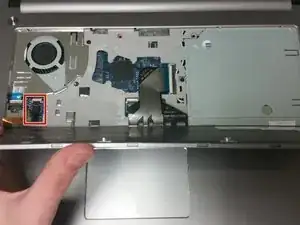
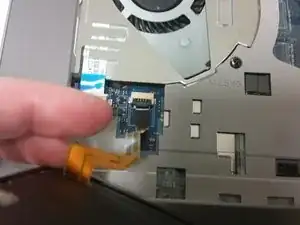
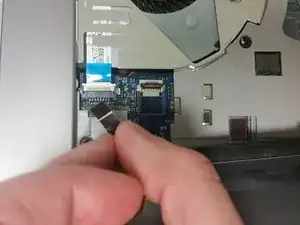
Using your fingers, unplug the second, smaller connector, located at the lower left hand side of the keyboard by sliding the strip out of the socket.
-
-
-
Flip the laptop so that the bottom faces up.
-
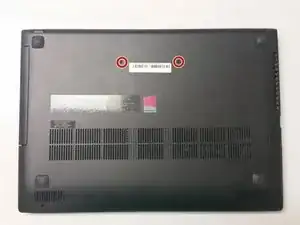
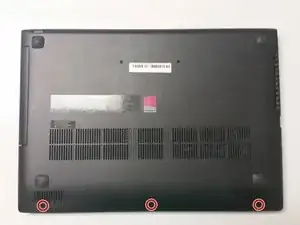
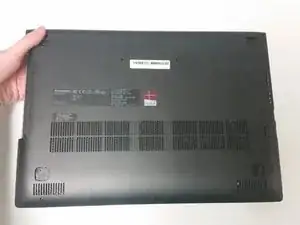
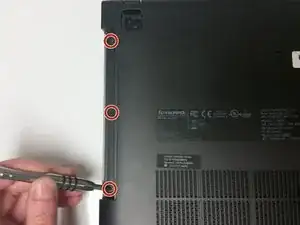
You will first need to remove three 7mm Phillips #1 screws from the bottom of the laptop.
-
-
-
Flip the laptop over and open it.
-
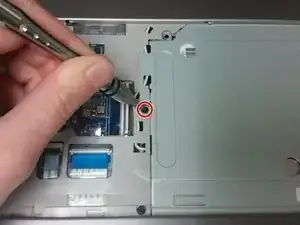
Remove the 3mm Phillips #1 screw holding the disc drive in place.
-
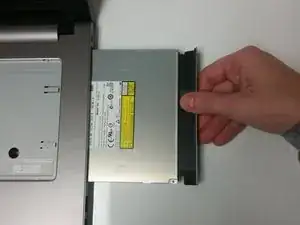
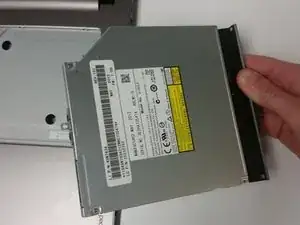
Remove the disc drive by sliding it out.
-
-
-
Close the laptop lid and flip it over.
-
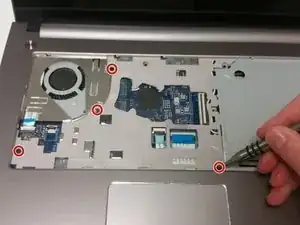
Remove three 3mm Phillips #1 screws from beneath where the disc drive was located.
-
-
-
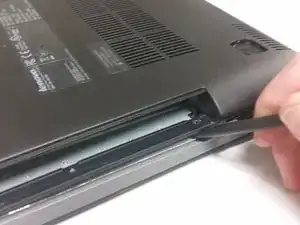
Using a plastic spudger, pry open the laptop case starting near the disc drive.
-
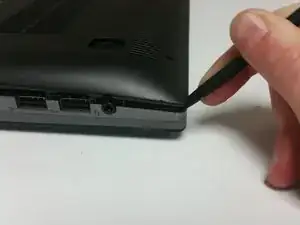
Continue prying open the case by using the spudger to open it in new areas.
-
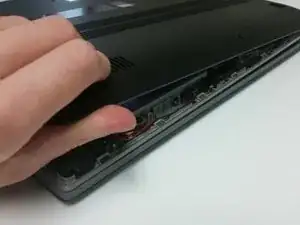
Once there is enough space to allow you to grip the case, use your hands to finish removing it.
-
-
-
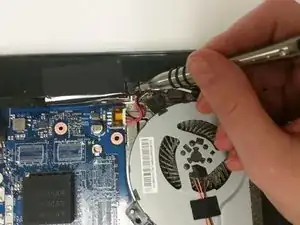
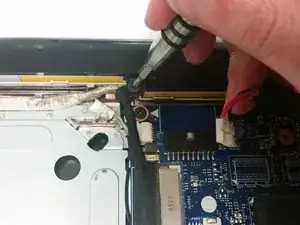
Using your fingers, unplug the battery from the laptop by taking the plug out of its socket.
-
-
-
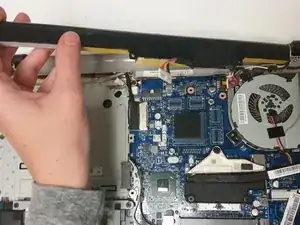
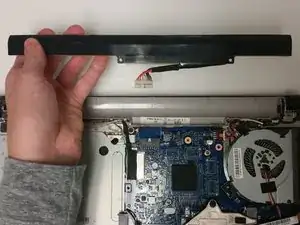
Using your hand, remove the battery from the laptop by lifting one side and then pulling it out of its slot.
-
-
-
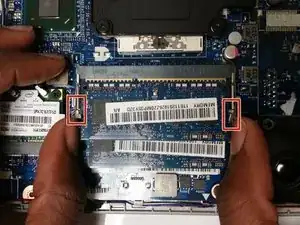
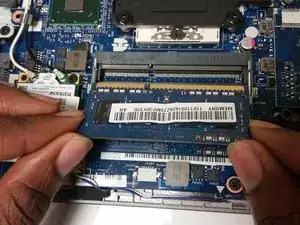
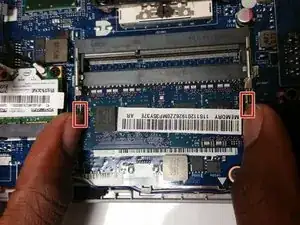
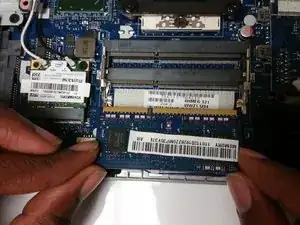
Pull outward on both clips on the sides of the top RAM to release it.
-
The RAM will pop up slightly if you have pulled the clips out properly.
-
-
-
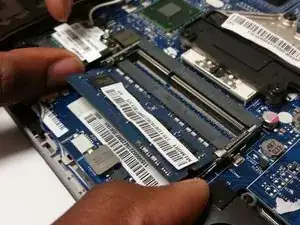
Pull outward on both clips on the sides of the bottom RAM to release it.
-
The RAM will pop up slightly if you have pulled the clips out properly.
-
To reassemble your device, follow these instructions in reverse order.
