Introduction
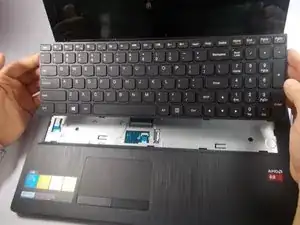
This guide provides instructions to diagnose and replace a faulty keyboard on a Lenovo IdeaPad G50-45 series laptop.
The keyboard is used as the primary text entry interface between the user and electronic device. The keyboard functions to take mechanical input from the user and produce digital text on screen.
To determine if your keyboard is broken and needs replacing, check for the following conditions:
- Sticking keys
- Keys are difficult to press
- Some or all keys fail to respond by not producing text on screen
- Keys detach and will not stay in place
If you have determined that any one or combination of the above are present, your laptop will require a replacement keyboard. This may seem daunting, however, due to the simple design of Lenovo’s Essential line of laptops, repairs are relatively straight forward and easy to complete with step-by-step instructions.
Before beginning the step-by-step keyboard replacement process, be sure to disconnect the laptop from any power source and remove the battery to avoid damage to the electronics.
Tools
Parts
-
-
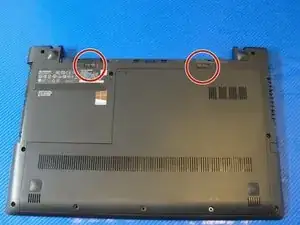
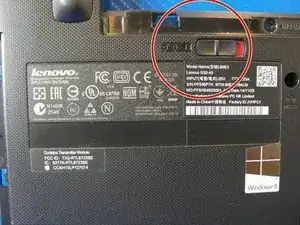
Slide the two locking tabs away from each other to unlock the battery.
-
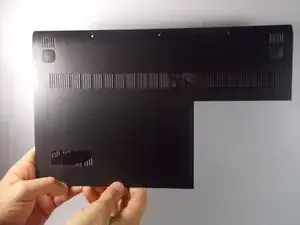
Remove the battery from the laptop once it is unlocked to prevent any electrical damage.
-
-
-
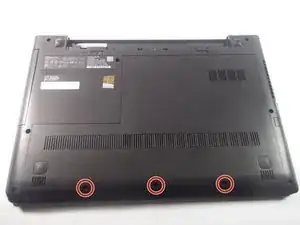
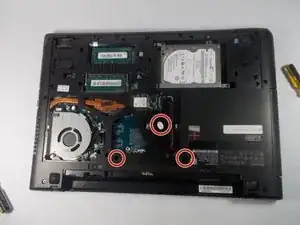
Locate the three M2x6 screws on the bottom of the laptop base.
-
Use the #2 Phillips screwdriver to loosen and remove each screw.
-
-
-
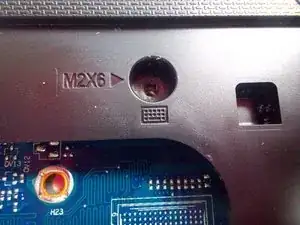
Locate the three M2x6 screws that secure the keyboard in place.
-
The screws are labeled with a keyboard emblem.
-
Loosen and unscrew the three M2x6 screws with the #2 Phillips screwdriver.
-
-
-
Turn the laptop right side up once the screws that secure the keyboard to the base have been removed.
-
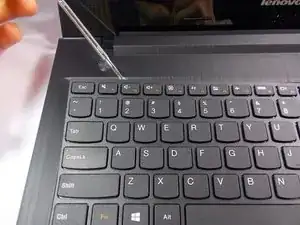
Pry around the keyboard to loosen it apart from the laptop with the spudger, beginning at the top left corner.
-
You will hear audible "clicks" as the keyboard is separated from the base.
-
-
-
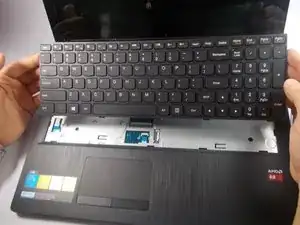
Lift the top of the keyboard up and forward once the top of the keyboard has been released.
-
Be VERY careful to remove the keyboard only a few inches to not damage the connecting ribbon cable.
-
-
-
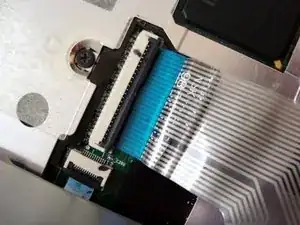
Lift the black locking tab with the spudger to release the connecting ribbon cable.
-
Disconnect the ribbon cable by pulling it straight out.
-
Be careful to not damage the ribbon cable with the spudger.
-
-
-
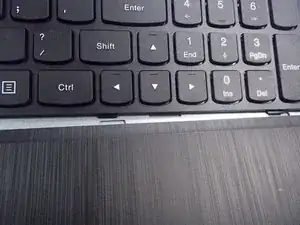
When installing the replacement keyboard, first insert the bottom of the keyboard into the three slots of the base.
-
Complete the keyboard installation by pressing down on the top of the keyboard until you hear the clips snap back into place.
-
To reassemble your device, follow these instructions in reverse order.
One comment
I had an issue with the numbers at the top of alphabets. Some keys didn't work. I followed the instructions above to clean up the keyboard and hoped that would work. I could successfully remove and reassemble the keyboard but that didn't solve it.
I read it somewhere that this could be a hardware issue and the whole keyboard needs to changed. Is it really the case? Can't few keys be changed or fixed somehow?
Thank you.
