Introduction
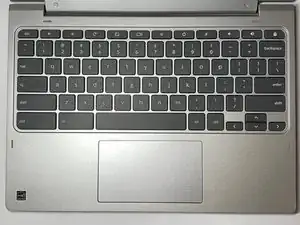
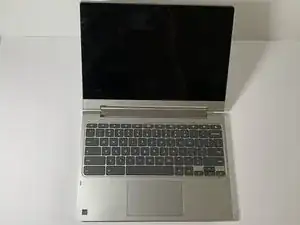
Similar to the keyboard, the touchpad is a big part of communication with your device, and over time, it can be worn out and needs to be replaced due to pressure on it. For that matter, we made an easy-to-follow replacement guide for you to enjoy.
Tools
-
-
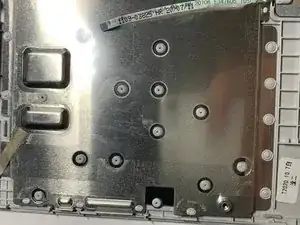
The pieces are mostly secured with glue and melted plastic, making it impossible to put them back to getter after opening them.
-
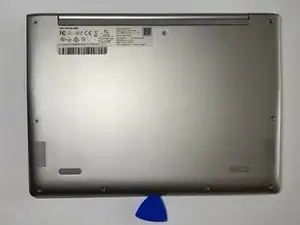
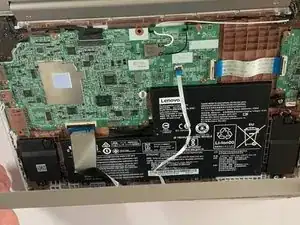
That there is a barcode on some parts that, when scanned, will you to available replacement parts.
-
-
-
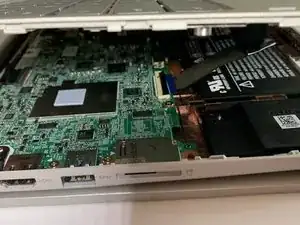
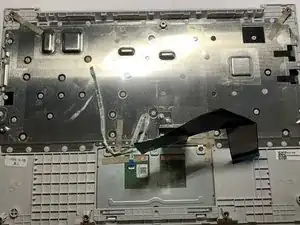
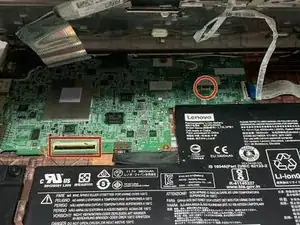
The two indicated attachments allow the keyboard and touchpad to be plugged into the motherboard. The red circle indicates the place for the touchpad, and the red rectangle shows the place for the keyboard wire.
-
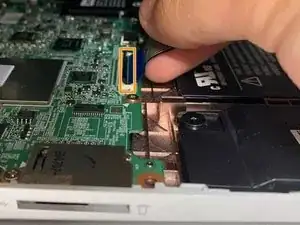
The black plastic piece that holds the wire in place needs to be closed while covering the whole wire.
-
-
-
Place the keyboard back in the right place and gently push until you hear a crunching sound. Press all around the keyboard until the crunching sound stops as you push it.
-
To reassemble your device, follow these instructions in reverse order.
