Introduction

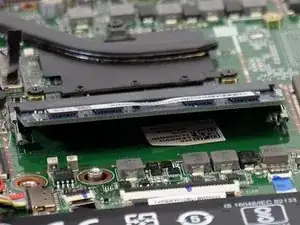
RAM is a part that does not typically fail, however it is not invulnerable. If your Lenovo Ideapad 330S-14IKB begins to show signs of failing RAM such as random freezes, blue screens, randomly rebooting, and files becoming corrupted, it could mean it is time to replace it.

  1. ViFxZOCXfEKRAkBy
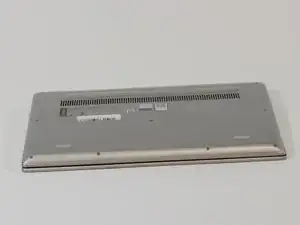
    • Begin by placing your laptop upside down so that you can see the labels on the back.

  2. oXYqCruGXWewXSDe
    oXYqCruGXWewXSDe
    qHFtCDPMGdETZERn
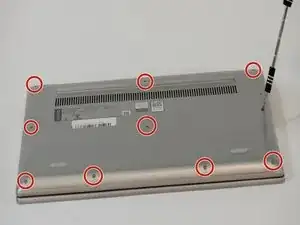
    • Remove the 10 screws from the bottom of the laptop.

    • (Silver, 5.8mm Phillips #0)

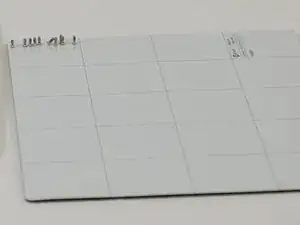
    • Safely store these screws in a secure location, like a magnet pad, to prevent them from getting lost.

  3. 6N52PACmXII3fcHt
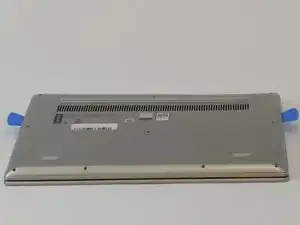
    • Carefully remove the back panel from the laptop.

    • Be sure to proceed slowly and use wedges to avoid damaging the panel.

  4. GDKwLjlZvO4On5tr
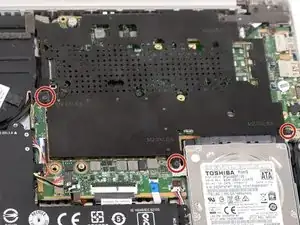
    • Locate the black panel and remove these three black screws.

    • (Black, 5.83mm Phillips #0)

  5. 5bUmmOPcjSGvcLsl
    5bUmmOPcjSGvcLsl
    ecFa2roXHqo4xDS5
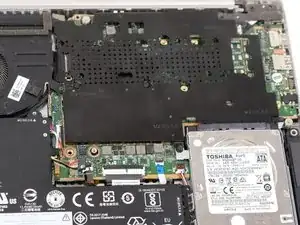
    • To access your RAM, remove the black panel you just removed the screws from.

    • Remember to keep these screws separate and do not mix them with others.

  6. uipWWZJuf2sK5jdv
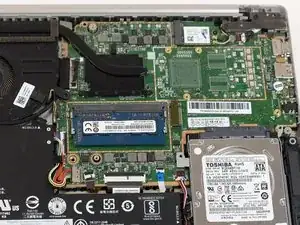
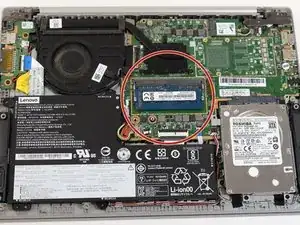
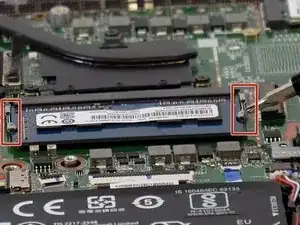
    • Your RAM will be a blue rectangle, positioned almost in the center of the device.

  7. JOPkhyB1o3iQknsU
    JOPkhyB1o3iQknsU
    VxcsPOPSRbtLtIEY
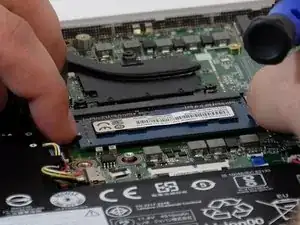
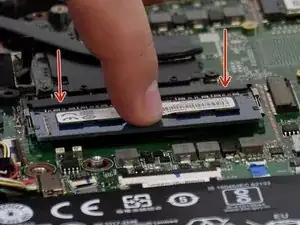
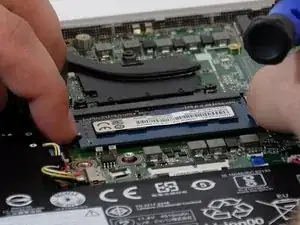
    • To remove your RAM, gently pull back on the metal clips holding it in place.

    • Carefully slide the RAM out of the slot.

    • Be gentle to avoid damaging the slot

  8. MHRm4LBs1cGYKPsE
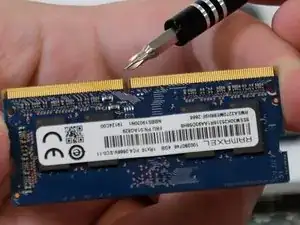
    • Now, take your new RAM module and locate the notch on it.

  9. aOh1BXmdmwgZNipp
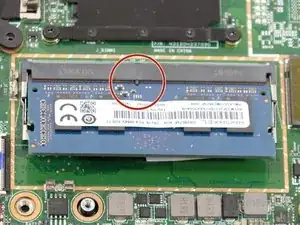
    • Align the notch on your replacement RAM as shown in the previous step with the corresponding slot on the device's RAM slot.

  10. Kc6BwrEi1KYuPjPQ
    Kc6BwrEi1KYuPjPQ
    rCKMIfLXgD6MZX41
    • Gently insert the RAM module.

    • Once it's as far in as it can go, lower it slowly until the metal clips lock it into place.

    • You should hear an audible click when it's securely in place.

Conclusion

To reassemble your device, follow steps 6-1 in reverse order.
Luke Garrett

Member since: 27/09/23

238 Reputation

0 comments