Introduction

Laptop cooling fans sometimes fail and can have a wide range of symptoms, such as excessive heat coming from the keyboard and "odd" noises such as grinding coming from inside the laptop. As the problem gets worse it can cause your computer to run slower or even shut off. If your Lenovo IdeaPad 330S-14IKB shows any of these signs it may be time to change the fan, this guide will show you how.

  1. bTGLIulafSkylmuy
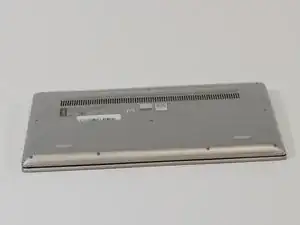
    • Place the laptop with its bottom facing up, so you can easily read the labels on the back.

  2. UWSIHFwHKY4ABbUa
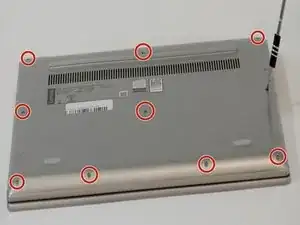
    • Remove the 10 screws from the bottom of the laptop.

    • Keep these screws in a safe place, such as a magnetic pad, to prevent them from getting lost.

    • (Silver, 5.8mm Phillips #0)

  3. SuWbw31qgZJqb4FO
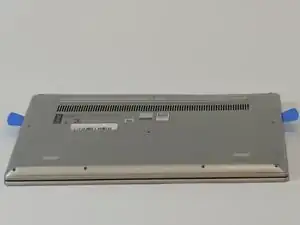
    • Slowly and carefully remove the back panel from the laptop.

    • Use wedges if necessary to avoid damaging the panel.

  4. dgVcfX6AuKBUMQUP
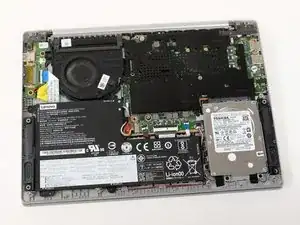
    • Locate the fan in the top left corner of the laptop.

  5. GSjPc2nHqYjWsGPs
    GSjPc2nHqYjWsGPs
    Gb2hQGhLyeUFchfY
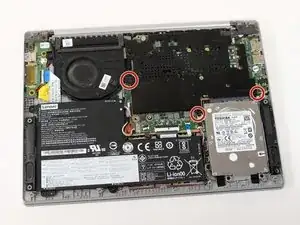
    • Find the black panel in the top right and remove the three black screws.

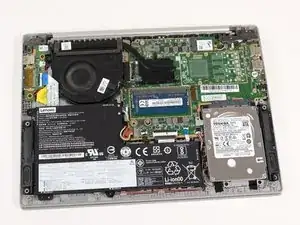
    • Remove the black panel

    • Keep the black screws separate from the silver ones.

    • (Black, 5.83mm Philips #0)

  6. 1CtBrrFNJtGi1mc5
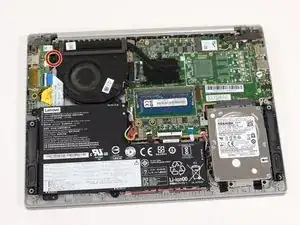
    • Your fan will have one black screw connected to it on the left side. Remove this screw.

    • Keep the screw separate from the black screws in the previous step as it is a different size.

    • (Black, 3.47mm Phillips #0)

  7. DOtAgSBYt3dpWYrC
    • The fan is connected to a heat sink; leave the heat sink in place but remove the adhesive connecting the two pieces.

  8. ogD3PKVsLMRx5NkF
    ogD3PKVsLMRx5NkF
    FDKCRbtmuTJ5BQye
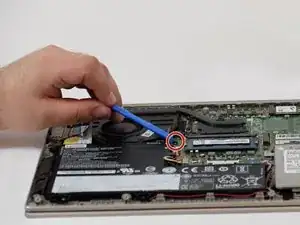
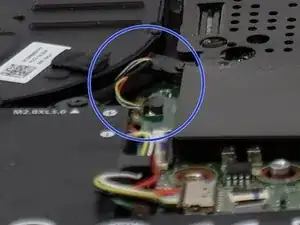
    • Before removing the fan, locate a small set of yellow, red, blue, and black wires on the right side of the fan.

    • Gently remove them from the connector without pulling on the wires.

    • You can use a screwdriver or a similar tool to assist in this step.

  9. KkYKEeYsUcSYJTRD
    KkYKEeYsUcSYJTRD
    UrCdIXAXtJtIFQj5
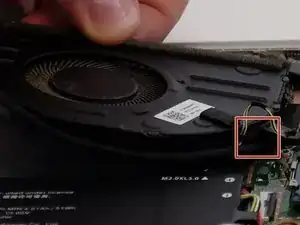
    • Disconnect the large black wire connected to the slot on the side of your fan.

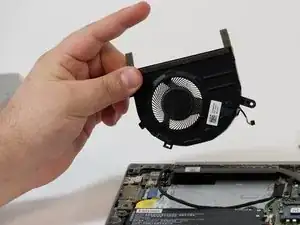
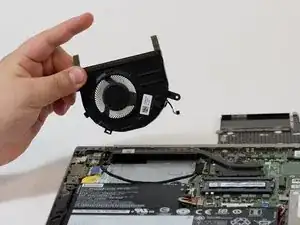
    • Remove your fan.

Conclusion

To reassemble your device, follow these instructions in reverse order.
sal

Member since: 02/10/23

459 Reputation

0 comments