Introduction

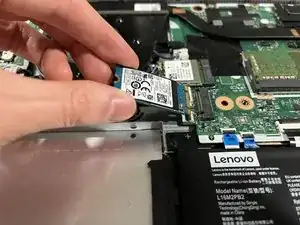
Welcome to this guide on how to replace the internal M.2 SSD inside your Lenovo Ideapad 3-1481W000NGUS.

If you are experiencing issues with your computer not turning on, running out of storage space, or simply just want to upgrade your SSD, this guide will explain step by step how to carry out a replacement.

Before attempting an SSD replacement, make sure that your laptop is completely shut down and unplugged from its power source. The steps listed below will outline how to remove the SSD from your laptop. In order to install a new SSD, follow the steps in reverse order.

  1. 2qDBeq6kdiBMpnN1
    2qDBeq6kdiBMpnN1
    KfBVYryYBDp2fOFJ
    hTSmGE1mv5EZBUKC
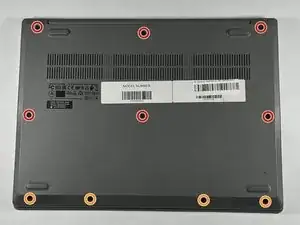
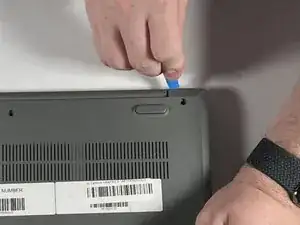
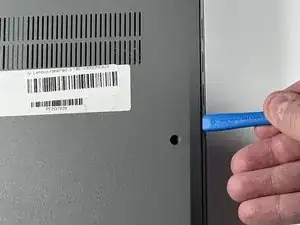
    • Orient the laptop so that the bottom is facing up.

    • Remove the six 7 mm screws using a Phillips #00 screwdriver.

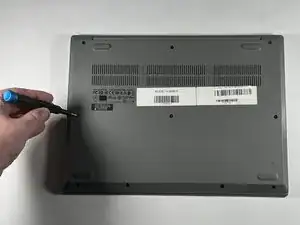
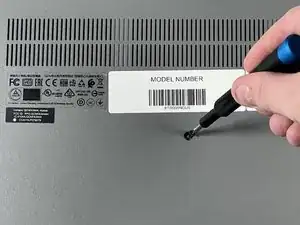
    • Remove the four 4 mm screws using a Phillips #00 screwdriver.

    • Throughout this repair, keep track of each screw and make sure it goes back exactly where it came from.

  2. ollSFvSJLAKZ4oQM
    ollSFvSJLAKZ4oQM
    aBBOHQLNtML4K4ZX
    ZyeDwkQKlyydHDLp
    • Pry up the sides of the back case using the iFixit opening tool. Then, lift to remove.

    • You may hear snapping when removing the panel. This is normal!

  3. tULFXUYRrCVAKj2C
    tULFXUYRrCVAKj2C
    iwkAJRL6XSnHvXKa
    S2WTm2g4WTr3QekB
    • Gently peel away the blue thermal pad, revealing the SSD underneath.

    • Do not set the sticky bottom side of the thermal pad on any surface.

  4. T3oNiH6kjUZFf1QT
    T3oNiH6kjUZFf1QT
    4OmDC3xt1pgO1gpi
    • Remove the 4 mm screw keeping the SSD in place using a Phillips #00 screwdriver.

  5. gQkVB1mFYk2Ap5Dm
    • Pull the SSD out straight, without applying any vertical pressure.

    • When removing, do not pull the SSD upwards. This may damage the motherboard slot and hard drive.

Conclusion

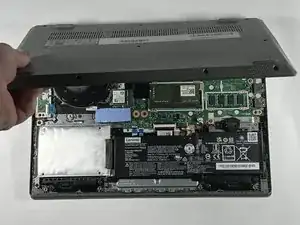
To reassemble your device, follow these instructions in reverse order.

Matthew Gwin

Member since: 01/03/23

97 Reputation

0 comments