Introduction

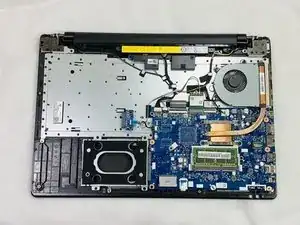
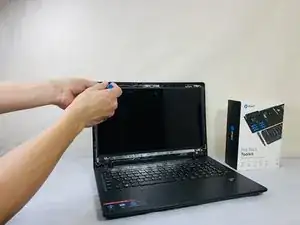
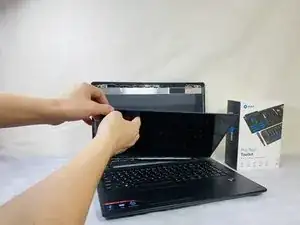
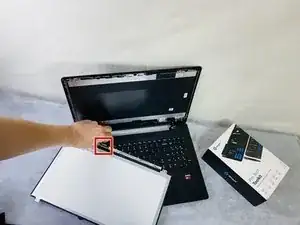
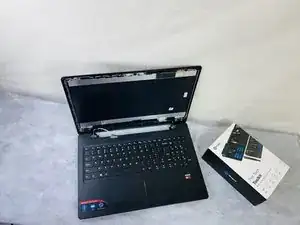
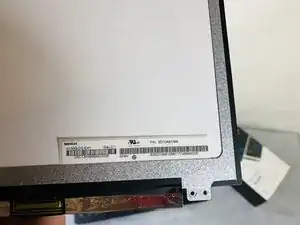
This guide details the steps to remove the screen from the Lenovo IdeaPad 110 Touch- 15ACL laptop. The screen is the interface of the computer where processes can be visualized. If your screen is lagging or failing to properly display the computer’s contents. This device specifically has touchscreen configuration, be sure to use the exact same type of screen when replacing. The wire attaching to the screen is normally held in place with a strong tape to ensure a proper connection. Make sure this tape is replaced when reattaching. Exercise caution to mitigate damages to any other internal components.

Be sure to turn off your device and disconnect from the power adapter prior to beginning this repair.

  1. dBcUZSOEKCEEAUIW
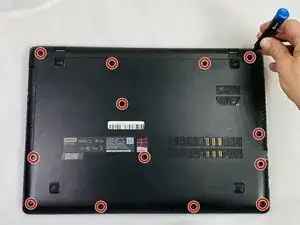
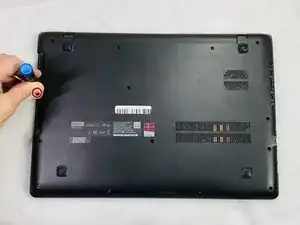
    • Remove the thirteen 6 mm Phillips #0 screws.

  2. PpOAfBBf2sKKCRWo
    PpOAfBBf2sKKCRWo
    JQFLMLKTCdn4hu1l
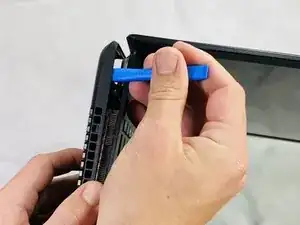
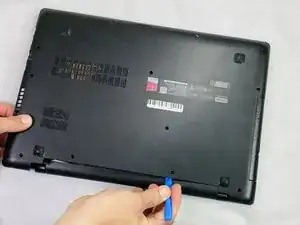
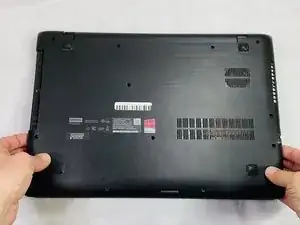
    • Use an opening tool to gently disconnect most of the clips on the back panel.

    • DO NOT force the panel out towards the optical disk drive.

  3. w3xBbxgAZU3cI63P
    w3xBbxgAZU3cI63P
    DbOBLofKM2BXwVAe
    eGeFAVdOlpZwMu6F
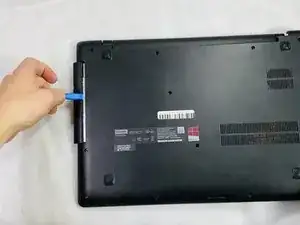
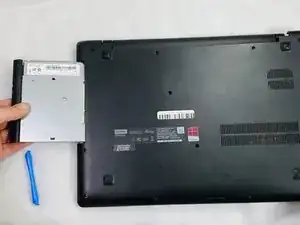
    • Pry the disk drive away from the center of the laptop.

    • Don't worry about any screws since we already removed the screws that are associated with the drive.

    • Once the drive is removed, remove the one 2 mm Phillips #0 screw that is now exposed.

  4. DBNTFlW4rlNFRknw
    DBNTFlW4rlNFRknw
    yKYWaQAT4fFYB2J6
    UHGQUITDFFXMufkR
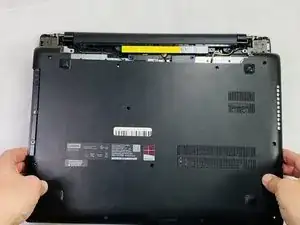
    • Unclip any of the remaining clips and remove the back panel.

  5. XI5Wjcin4ERnnVdS
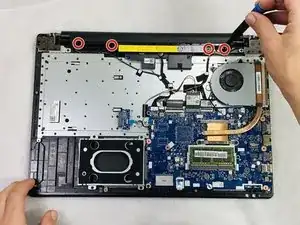
    • Remove the four 6 mm Phillips #0 mounting screws.

  6. DvZKObRlSa5KQvlV
    DvZKObRlSa5KQvlV
    nRXlgpQuB5CmN1dU
    aAM2xukh1BXBWDNN
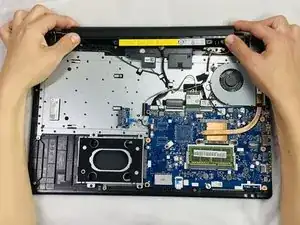
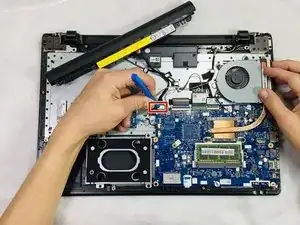
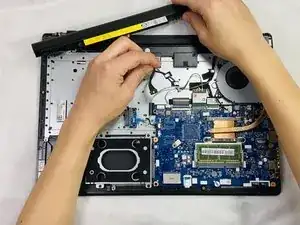
    • Detach the wire connected to the motherboard and remove the battery assembly.

  7. nuewbrjnEasaVEXE
    nuewbrjnEasaVEXE
    UH1UltwiviAmZF4M
    EHE5fMnYuEXWQkOZ
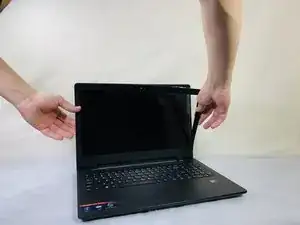
    • Open the laptop so the screen is facing you.

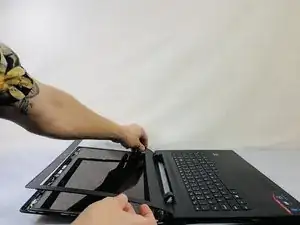
    • Use a pick or spudger to detach the clips around the screen holding the bezel in place.

    • Remove the bezel.

  8. NUP6uPPLIxmJcs3U
    NUP6uPPLIxmJcs3U
    chWohUS6oX3rNOos
    ADTATnFFQXMNvU51
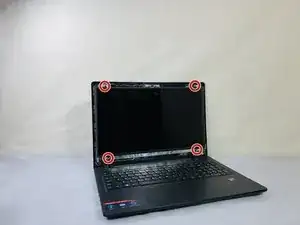
    • Remove the four 3 mm size Phillips #0 mounting screws.

  9. tLhJMvVaZVnRHZFF
    tLhJMvVaZVnRHZFF
    5TvJ5bTHOu5GGA5P
    UClBHBBH1lvMAHCv
    • Carefully detach the display cable that attaches to the display.

    • There may be a piece of tape covering the connection. Be sure to preserve this if possible—it ensures a proper connection to your display.

Conclusion

To reassemble your device, follow these instructions in reverse order.
Clark Beuckman

Member since: 22/02/22

529 Reputation

0 comments