Introduction

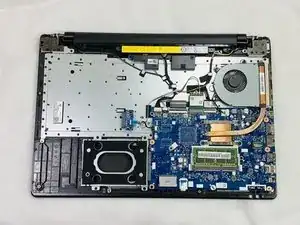
This guide details the steps to remove the Hard Disk Drive (HDD) from your Lenovo IdeaPad 110 Touch-15ACL laptop. The HDD is an additional storage component within the laptop. Many laptops are bought without an HDD and only contain a Solid State Drive (SSD) which commonly mounts to the motherboard directly. The SSD is faster than an HDD and is preferred over an HDD. Be sure to back up your information BEFORE interacting with any storage device. The HDD is mounted to a caddy-frame which additionally mounts to the computer and plugs into the ‘side’ of the motherboard. Exercise caution and do not damage any components in the device in addition to the HDD.

Before beginning this repair, you should turn off the laptop and disconnect from the power adapter.

  1. dBcUZSOEKCEEAUIW
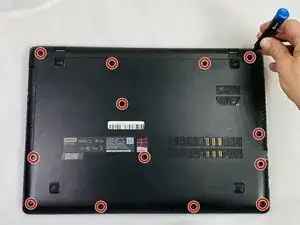
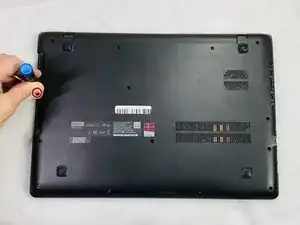
    • Remove the thirteen 6 mm Phillips #0 screws.

  2. PpOAfBBf2sKKCRWo
    PpOAfBBf2sKKCRWo
    JQFLMLKTCdn4hu1l
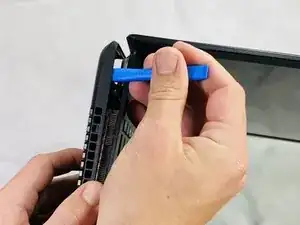
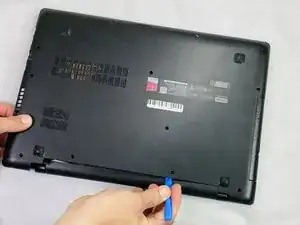
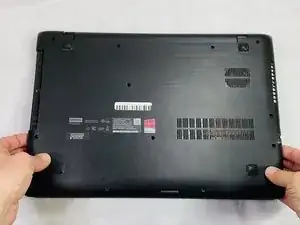
    • Use an opening tool to gently disconnect most of the clips on the back panel.

    • DO NOT force the panel out towards the optical disk drive.

  3. w3xBbxgAZU3cI63P
    w3xBbxgAZU3cI63P
    DbOBLofKM2BXwVAe
    eGeFAVdOlpZwMu6F
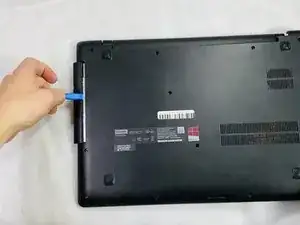
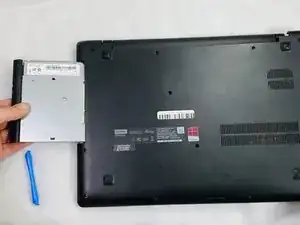
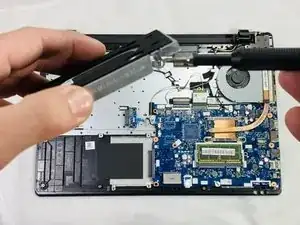
    • Pry the disk drive away from the center of the laptop.

    • Don't worry about any screws since we already removed the screws that are associated with the drive.

    • Once the drive is removed, remove the one 2 mm Phillips #0 screw that is now exposed.

  4. DBNTFlW4rlNFRknw
    DBNTFlW4rlNFRknw
    yKYWaQAT4fFYB2J6
    UHGQUITDFFXMufkR
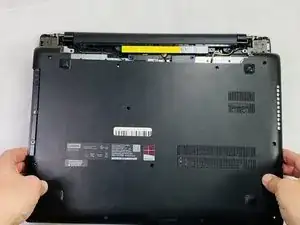
    • Unclip any of the remaining clips and remove the back panel.

  5. XI5Wjcin4ERnnVdS
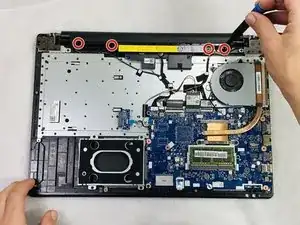
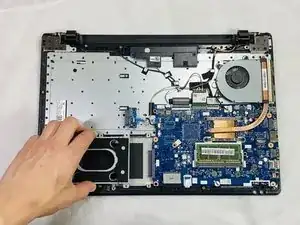
    • Remove the four 6 mm Phillips #0 mounting screws.

  6. DvZKObRlSa5KQvlV
    DvZKObRlSa5KQvlV
    nRXlgpQuB5CmN1dU
    aAM2xukh1BXBWDNN
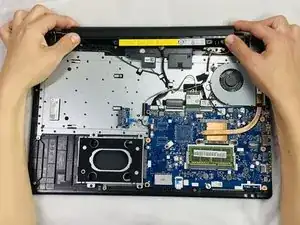
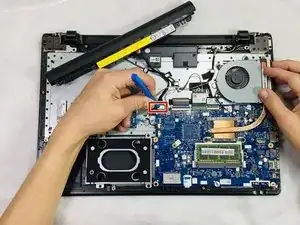
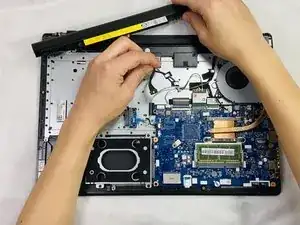
    • Detach the wire connected to the motherboard and remove the battery assembly.

  7. ZLSJKZiI2HZWB2LF
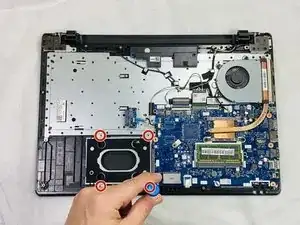
    • Remove the four 4 mm Phillips #0 mounting screws attaching the caddy to the frame.

  8. JfOHBtmIsPrwPeY5
    JfOHBtmIsPrwPeY5
    BtJB2YSxKlYghAxV
    • Gently remove the caddy away from the motherboard.

    • If you are removing an already existing HDD, unplug the component along with the caddy and remove the four screws mounting the caddy to the HDD.

Conclusion

To reassemble your device, follow these instructions in reverse order.
Clark Beuckman

Member since: 22/02/22

529 Reputation

0 comments