Introduction
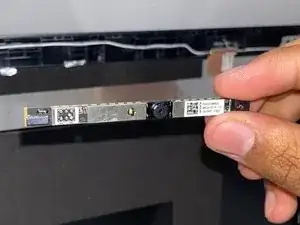
If the webcam on your Lenovo G70-70 laptop does not work or the image appears blurry despite changing the settings on the laptop, use this guide to replace it. The webcam takes pictures and videos directly from your laptop. A faulty webcam will not show an image on the screen when it is supposed to. Before using this guide, ensure that the privacy settings on your laptop are not blocking the camera. Be sure to test the camera on different apps to confirm that the webcam is faulty. This repair is necessary so your laptop will be able to use the webcam to take pictures or videos. Before attempting to replace the webcam, ensure the battery is removed to prevent getting shocked.
Tools
-
-
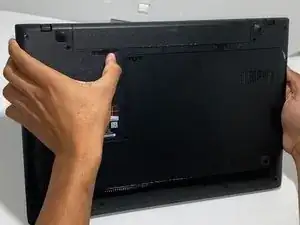
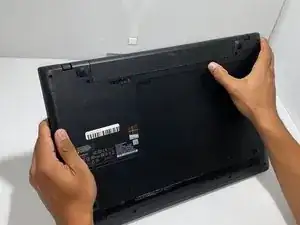
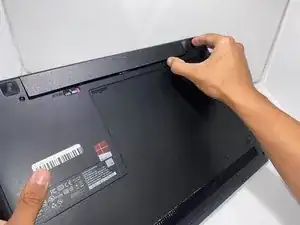
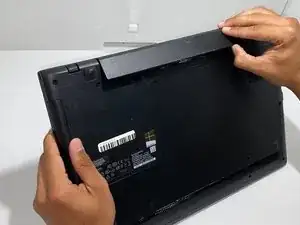
Orient the laptop so the bottom side is facing you.
-
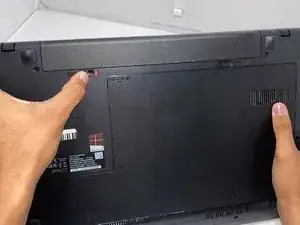
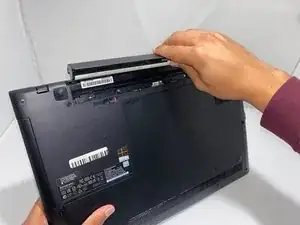
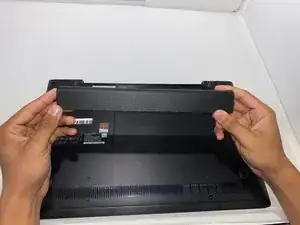
To unlock the battery, place your thumb over the left switch and slide it to the left.
-
-
-
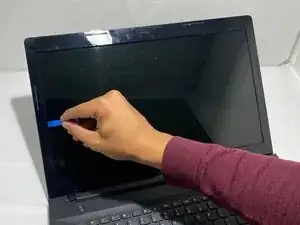
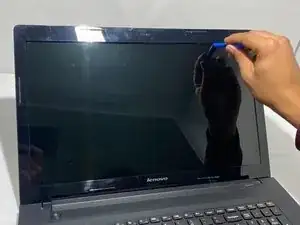
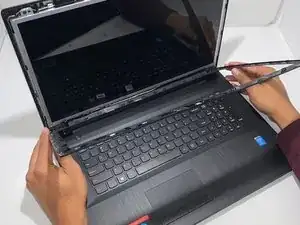
Pry open the plastic casing surrounding the screen with the opening tool.
-
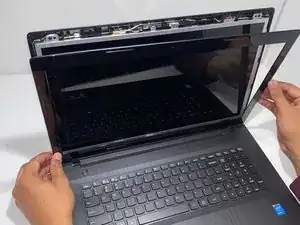
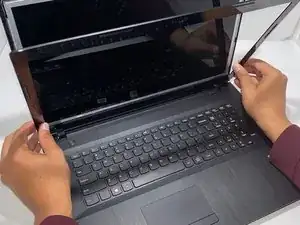
Pull the plastic casing toward yourself and separate it from the screen.
-
-
-
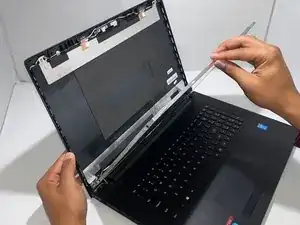
Pull the plastic casing upward and toward yourself to completely remove it from the laptop.
-
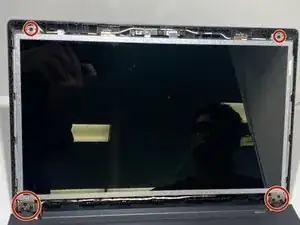
Remove eight 4.5 mm screws from the front of the metal casing with a Phillips #0 screwdriver.
-
-
-
Lower the screen to separate it from the plastic casing behind it.
-
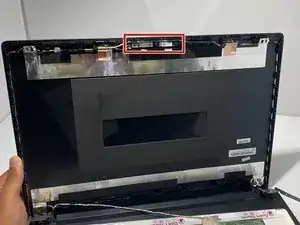
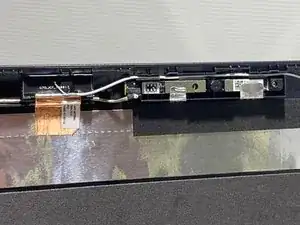
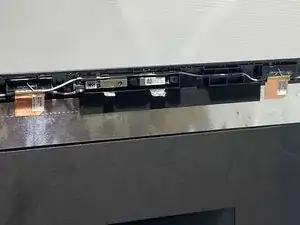
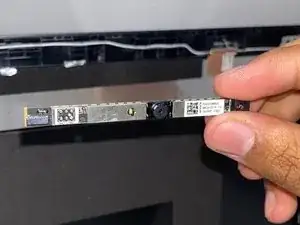
The webcam will be located at the top of the back casing.
-
-
-
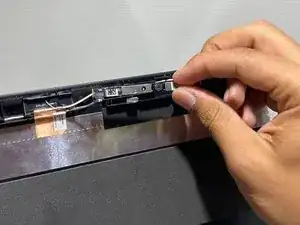
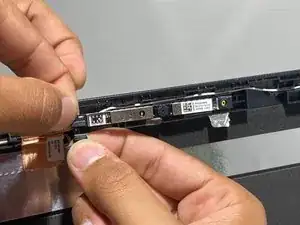
Pull the silver flaps down to access the webcam.
-
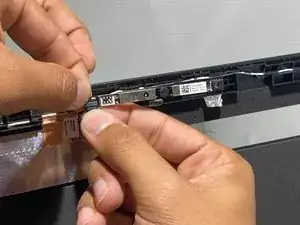
Pull the webcam out of the plastic casing to gain access to its cable.
-
To reassemble your device, follow these instructions in reverse order.
