Introduction
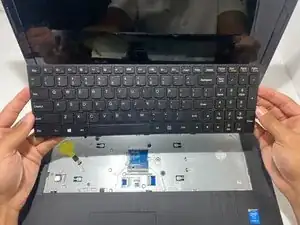
If the keyboard on your Lenovo G70-70 laptop does not respond to any inputs or some keys are stuck, use this guide to replace the keyboard. The keyboard accepts inputs you type in that will appear on the screen. A faulty keyboard will not accept any inputs, resulting in not seeing them on the screen. Before using this guide, inspect the area underneath the keys for debris that may prevent them from being pressed or cause them to get stuck in the down position. Any debris underneath the keys can be removed by wiping until the area is clean. This repair is necessary so your laptop can properly understand any inputs you type into the keyboard. Before attempting to replace the keyboard, ensure you have removed the battery to prevent getting shocked.
Tools
-
-
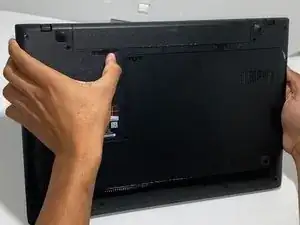
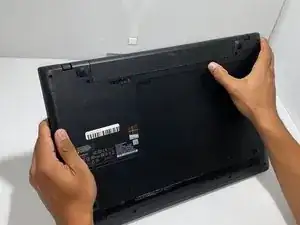
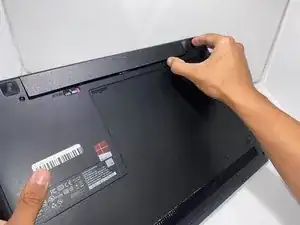
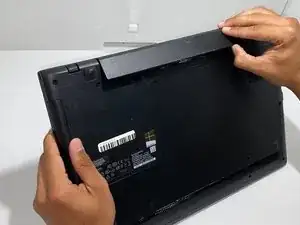
Orient the laptop so the bottom side is facing you.
-
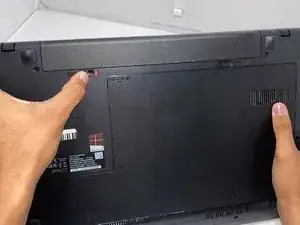
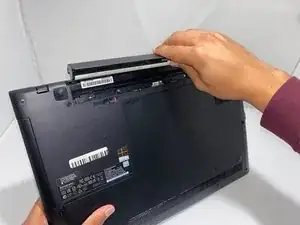
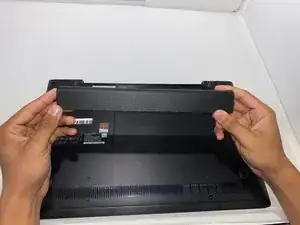
To unlock the battery, place your thumb over the left switch and slide it to the left.
-
-
-
Turn your laptop so the bottom side is facing you.
-
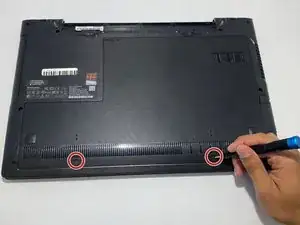
Remove two 7.3 mm Phillips #0 screws.
-
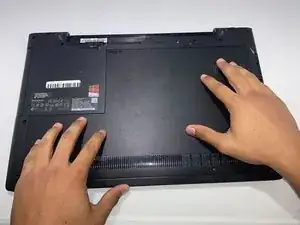
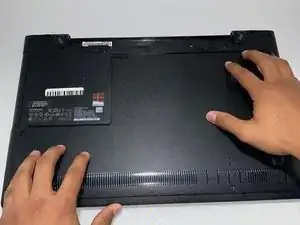
Slide the back cover towards yourself.
-
-
-
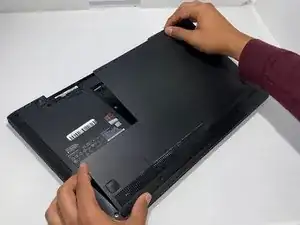
Lift the back cover from the far side towards yourself to remove it.
-
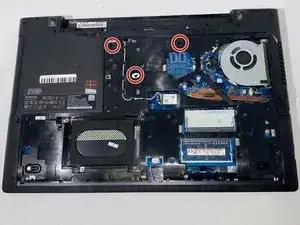
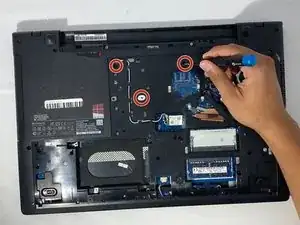
Remove three 6.2 mm Phillips #0 screws.
-
-
-
Turn the laptop over so the top side is facing you and open the laptop.
-
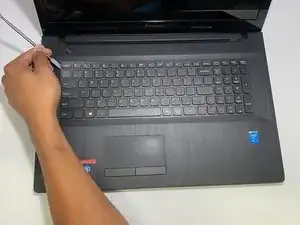
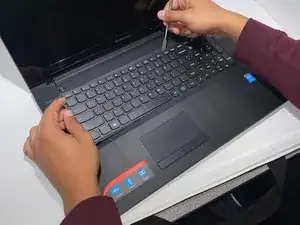
Carefully pry open any corner of the keyboard with the metal spudger.
-
Slide the metal spudger around the perimeter of the keyboard until you can lift it.
-
-
-
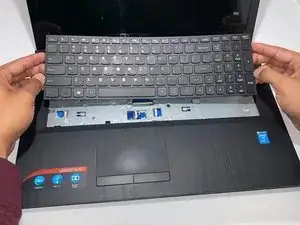
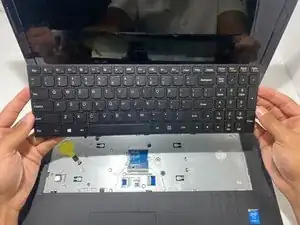
Carefully lift the keyboard.
-
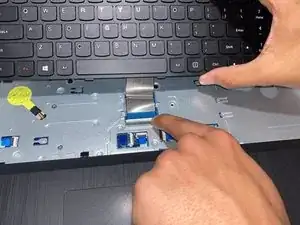
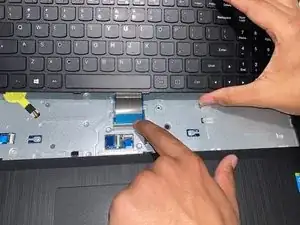
Use your finger or the opening tool to pull the locking flap toward yourself.
-
-
-
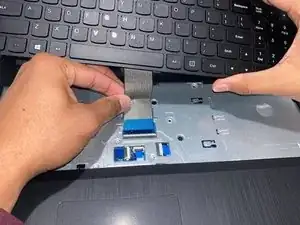
Pull the silver ribbon cable away from you to disconnect the keyboard.
-
Remove the keyboard from the laptop.
-
To reassemble your device, follow these instructions in reverse order.
