Introduction
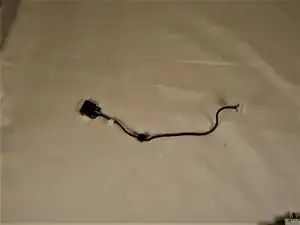
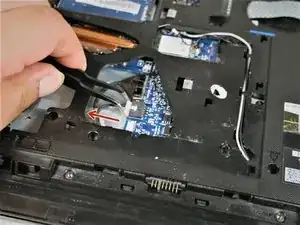
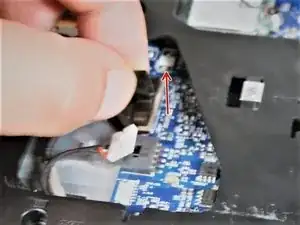
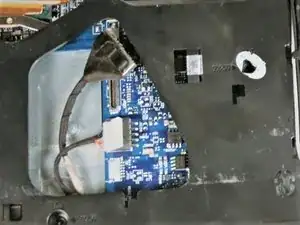
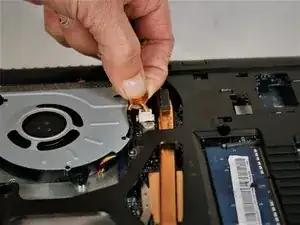
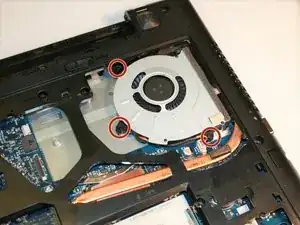
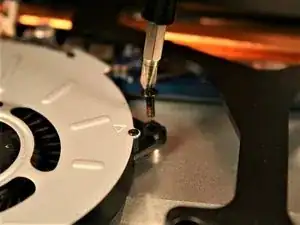
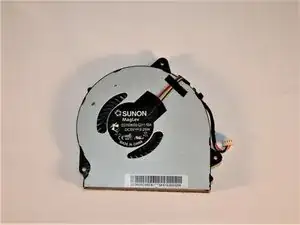
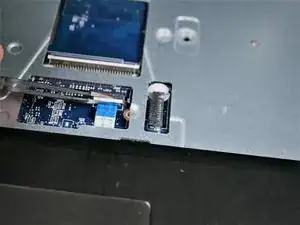
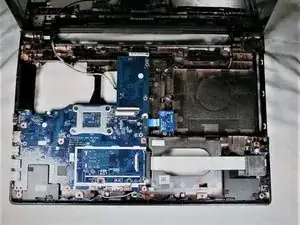
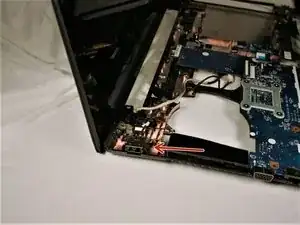
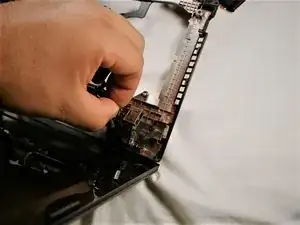
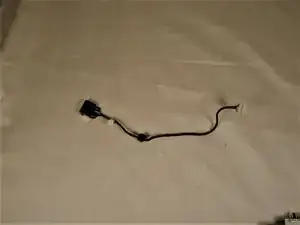
Disassembly of the laptop is required to remove the power jack.
Tools
Parts
-
-
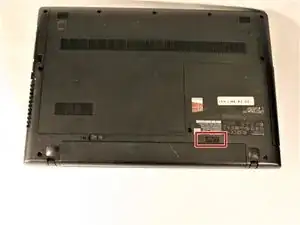
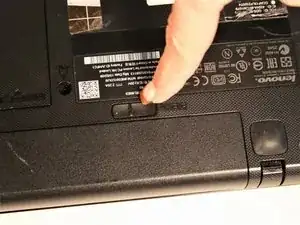
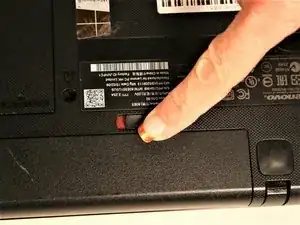
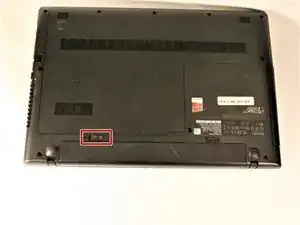
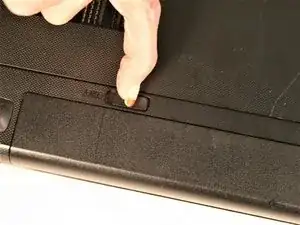
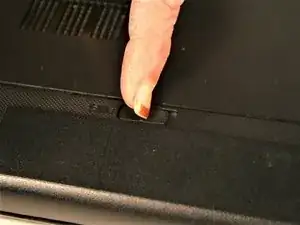
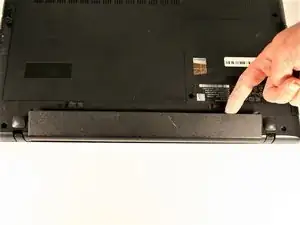
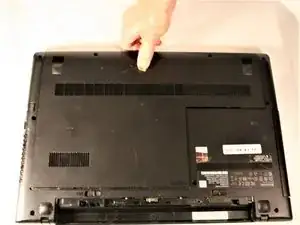
Move the left tab to the left to release the battery.
-
You will hear an audible 'click' and see the battery separate from the rest of the laptop.
-
-
-
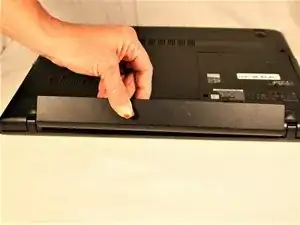
Hold the battery at the top seam between it and the laptop.
-
Roll the battery towards yourself.
-
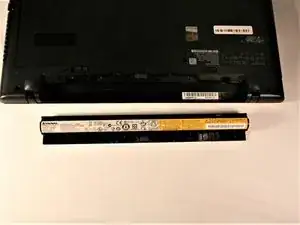
Lift the battery out of the laptop.
-
-
-
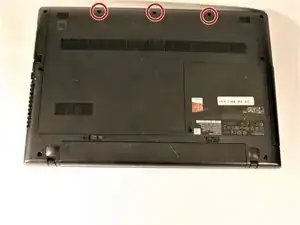
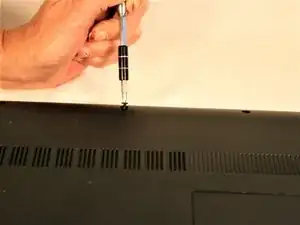
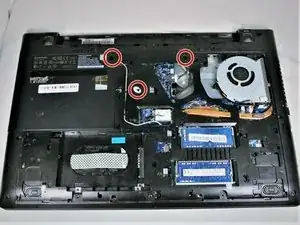
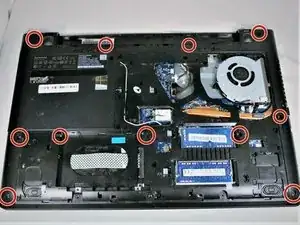
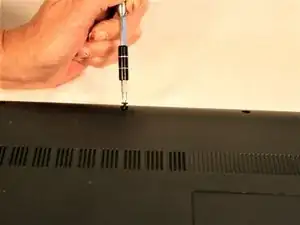
Remove the three screws securing the outer cover of the laptop using a Phillips #0 screwdriver.
-
-
-
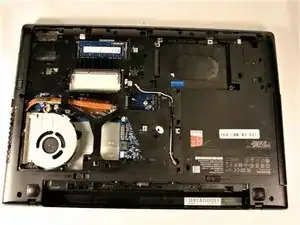
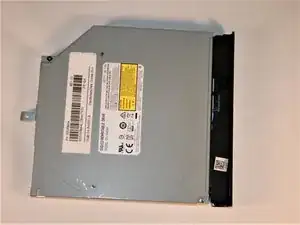
Locate the CD drive.
-
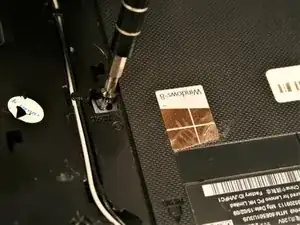
Remove the single #00 Phillips 5.5 mm screw on the centermost side of the drive.
-
-
-
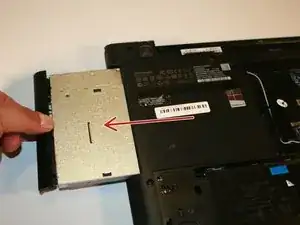
Move the drive towards the outside of the laptop to remove the connector.
-
Pull the drive out of the laptop.
-
-
-
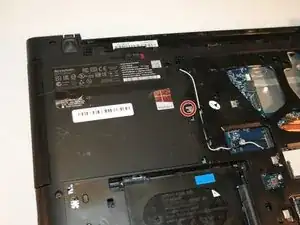
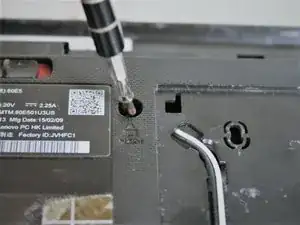
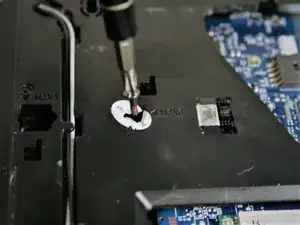
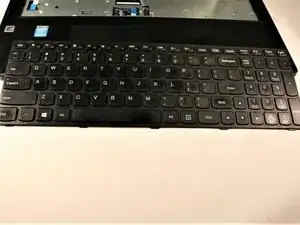
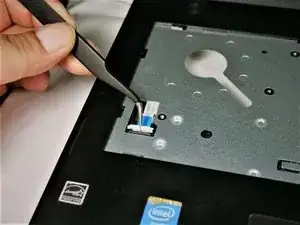
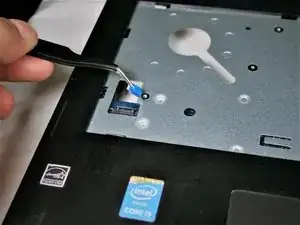
Locate the 3 screws on the bottom, securing the keyboard.
-
One Screw will be located under Lenovo sticker. Break sticker to gain access to screw.
-
-
-
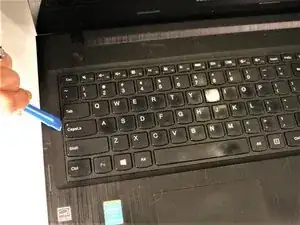
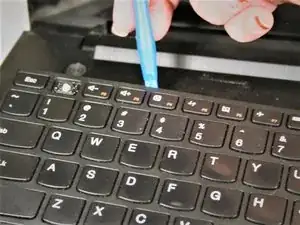
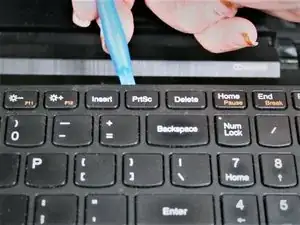
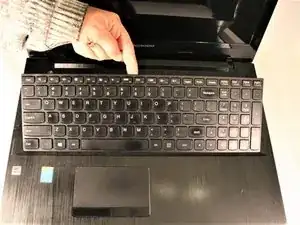
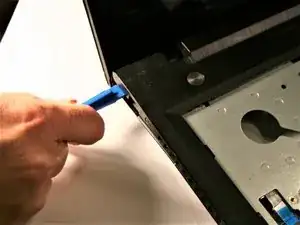
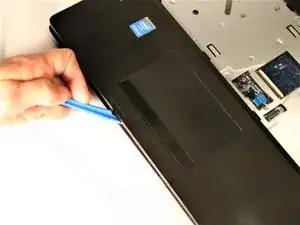
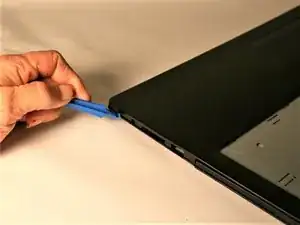
Once screws are removed, begin by gently prying up in one corner using a spudge
-
Continue to center and then around to opposite side.
-
once all sides have been pried open, lift top half off
-
To reassemble your device, follow these instructions in reverse order.
4 comments
TY TY fixed myself for 7$
Should the new Power Jack look exactly the same as the manufacturer one? My original Power Jack has prongs but the new one does not and the laptop will not power on.
Does this require soldering as well ?
