Introduction

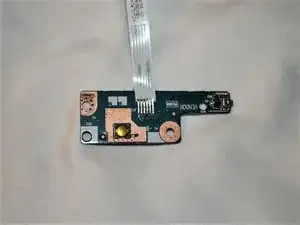
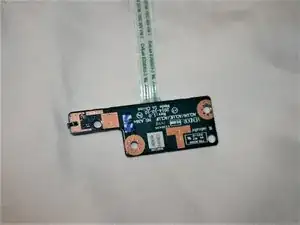
This guide will show you how to unscrew and remove the power board button from your laptop.

  1. NOOcCyHBN1Ed3Pq2
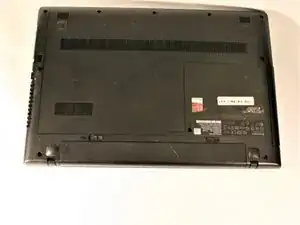
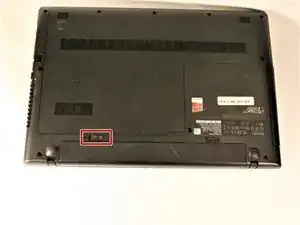
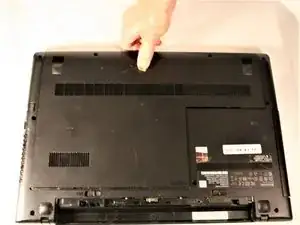
    • Place laptop on a flat surface with the back cover facing up and the hinges facing you.

  2. HrWB5Qo2WM6YL2ti
    HrWB5Qo2WM6YL2ti
    RDTHBdVZRAwbXEp2
    STt1XTYUjR5F4iQr
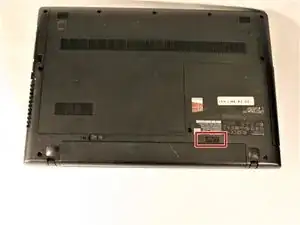
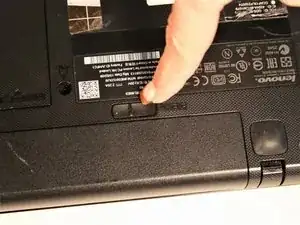
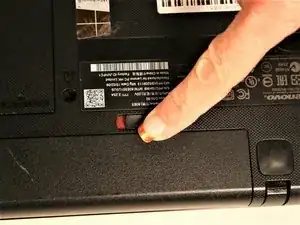
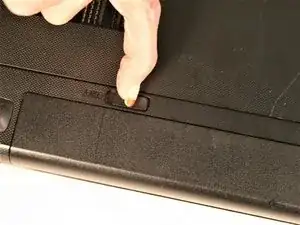
    • Slide the tab positioned on the right side to the right.

    • You will know this has been done correctly when you can see the red surface beneath the tab.

  3. PvnQPfH4VOT1ulc3
    PvnQPfH4VOT1ulc3
    NZIApX6VBpXLBDcj
    frKMgIqAyfUfKnYL
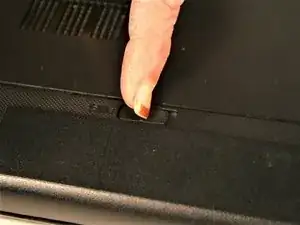
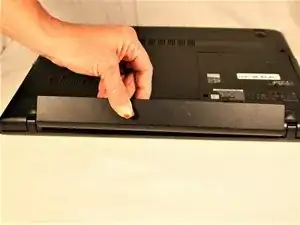
    • Move the left tab to the left to release the battery.

    • You will hear an audible 'click' and see the battery separate from the rest of the laptop.

  4. TKHxYLvAsN6b4wDJ
    TKHxYLvAsN6b4wDJ
    OiXyU2OZPqqLhSWV
    xu1tfYJVgcmYdQKF
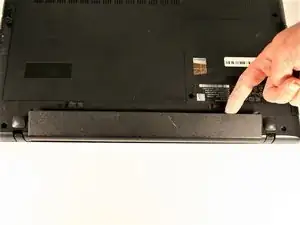
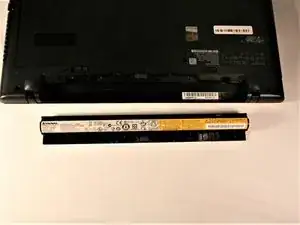
    • Hold the battery at the top seam between it and the laptop.

    • Roll the battery towards yourself.

    • Lift the battery out of the laptop.

  5. B22m2tWFREieOPWM
    B22m2tWFREieOPWM
    XaxSQlUxU6NV2JBj
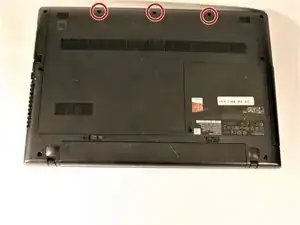
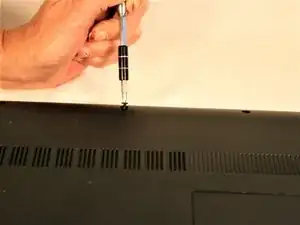
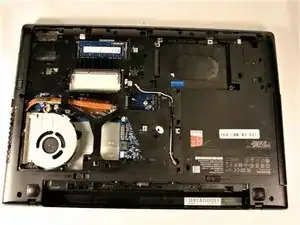
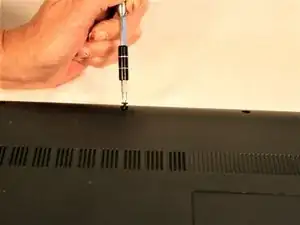
    • Remove the three screws securing the outer cover of the laptop using a Phillips #0 screwdriver.

  6. NoD6rqIr2yRvZIWu
    NoD6rqIr2yRvZIWu
    fYAffcnY6Syk2KPk
    • Slide the cover away from the hinges and lift the panel off.

  7. ZIBFSMrHEvYJ2dIx
    ZIBFSMrHEvYJ2dIx
    Do2iEfQtnrjYq3Ox
    OB4xHYWyGEK1lajb
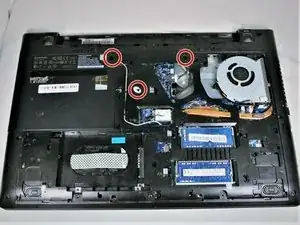
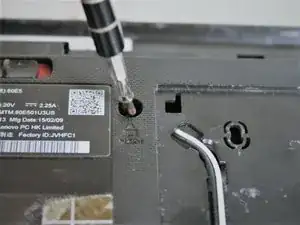
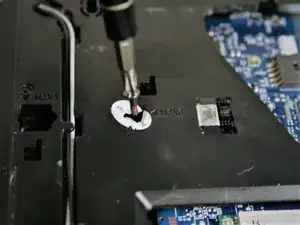
    • Locate the 3 screws on the bottom, securing the keyboard.

    • One Screw will be located under Lenovo sticker. Break sticker to gain access to screw.

  8. ExecNkEKWmVpSb1I
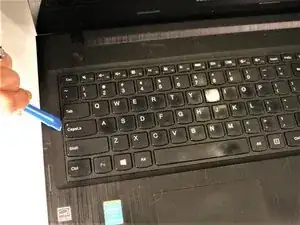
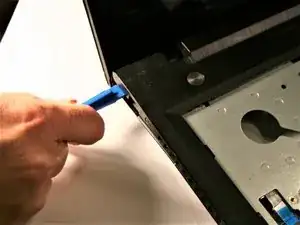
    • Starting on side, gently pry up using spudge.

  9. nAUhiQmwHcLQnUd2
    nAUhiQmwHcLQnUd2
    eYOYhMBI3owkCiOw
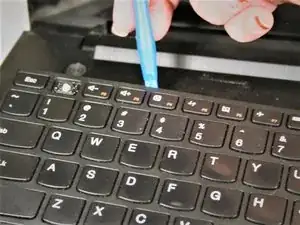
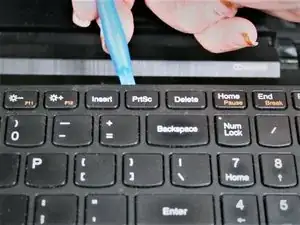
    • Continue prying around top of keyboard

  10. sosIRJQcWTuH2QWM
    • Once the top of keyboard is loose, gently lift up

  11. A1gGSKsObgP2NULJ
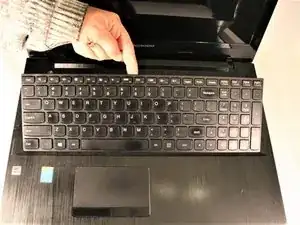
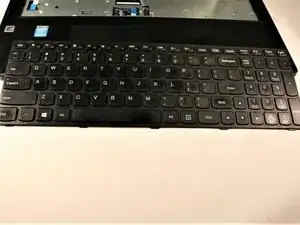
    • lift up bottom of keyboard slightly, to access keyboard ribbon

  12. QYpjJh2gtsdBDTqo
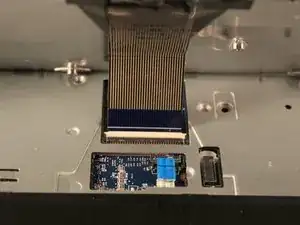
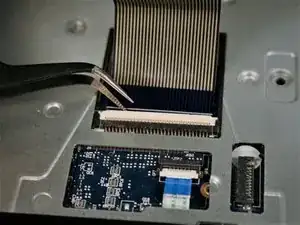
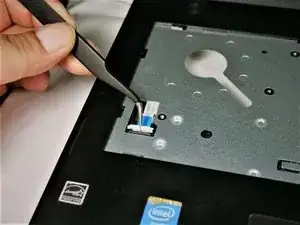
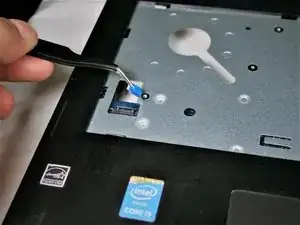
    • Using tweezers, lift up clip to remove keyboard ribbon cable.

    On some laptops the colors for the clips are reversed. You should lift up the inner piece. Took me 15 mind to figure out

    Ikaunieksplay -

  13. af3j1BmVVAWVrDLs
    af3j1BmVVAWVrDLs
    lDCAYdLXCjdOVABr
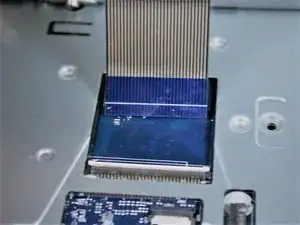
    • Keyboard ribbon cable removed

    • Once ribbon is removed, keyboard can be lifted out

  14. ghGHoZBq5OqVGjIh
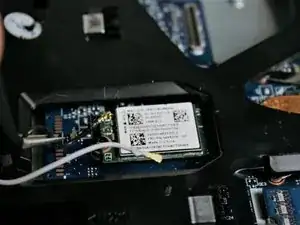
    • Remove wifi wires by lifting up

    The reattachment of these wires is tricky and not immediately obvious. The wires clip to the card by a small circular attachment male on the card female on the wire. I used a small flat head electrical screwdriver to push down the wires onto the card.

    Stephen Connell -

  15. nfucpkAVZCmXuvm3
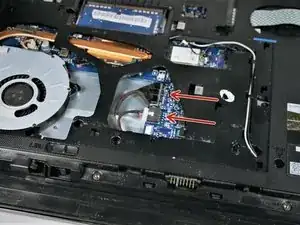
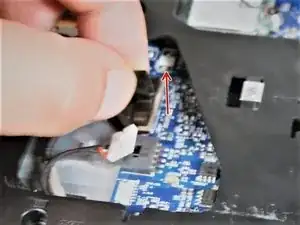
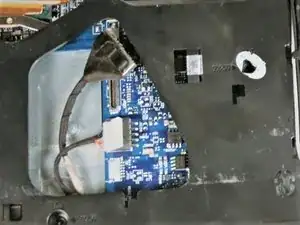
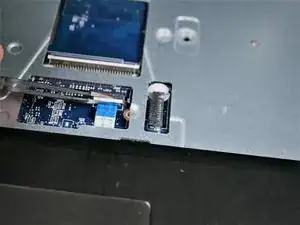
    • locate power and monitor cable on bottom side next to fan

  16. YqcLCShoDTLqLQeJ
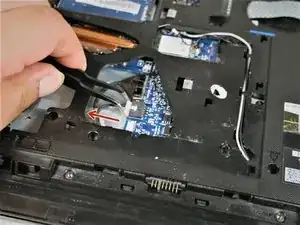
    • remove power cable with tweezers by gently pullying

  17. hLxuUfYDgWVnendI
    • remove monitor cable by gently pulling on tab straight up

  18. HWZXOx1Db5QnVECh
    • Monitor and power cable disconnected

  19. AeYheMJttSGQaAmN
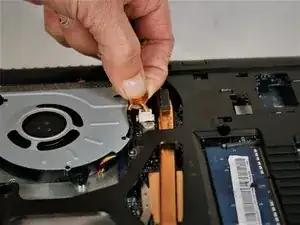
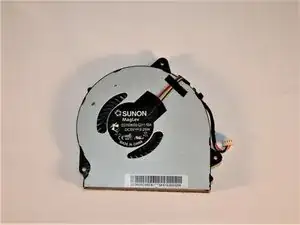
    • Disconnect the fan wires from the motherboard by lifting upwards

  20. MJhRmHQsHKMsLCq1
    MJhRmHQsHKMsLCq1
    3mCTAyya2ScV1IvJ
    ta1n1acJZcsxGcyU
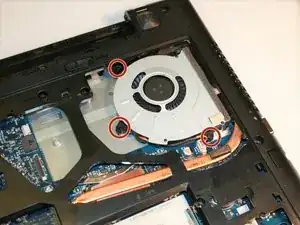
    • Locate the 3 screws holding fan in place

    • Remove 3 screws

    • fan should lift out of place

  21. xGFi3TXxZalhkDRC
    • lift clip to remove ribbon cable for think pad.

  22. 1bJdRRXJXYA1fm1l
    1bJdRRXJXYA1fm1l
    UyfOWlq4D4LmFH5g
    • lift clip to remove power button ribbon cable.

  23. 3YYHk4squqWcIUgY
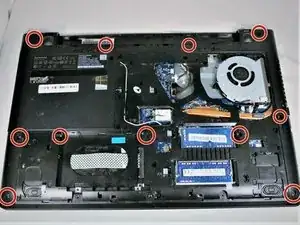
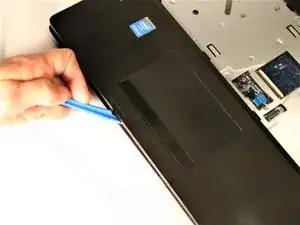
    • Begin by locating screws on bottom panel

    Missing step. The hard drive needs to be removed. 4 screws then slide back (to left in above image)

    Stephen Connell -

  24. l1UeYRKdjDIBBZGP
    • Remove screws using a 001 phillips screw driver.

  25. NDAjLpspA3JAnQ6Y
    NDAjLpspA3JAnQ6Y
    RfXtp5JKBMMKgIHi
    Pxo3KQ4aNFvXttFC
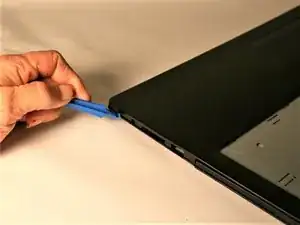
    • Once screws are removed, begin by gently prying up in one corner using a spudge

    • Continue to center and then around to opposite side.

    • once all sides have been pried open, lift top half off

  26. oSQt6g355dVeOybP
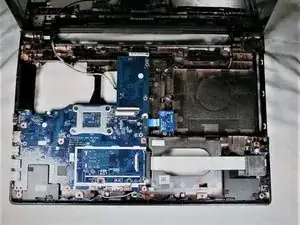
    • Top covered removed

  27. XhSdmrEopdWHVSor
    XhSdmrEopdWHVSor
    3qKVwPEOTJLvGTai
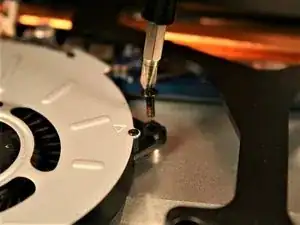
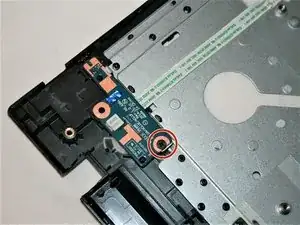
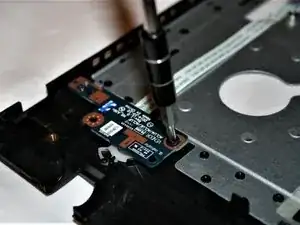
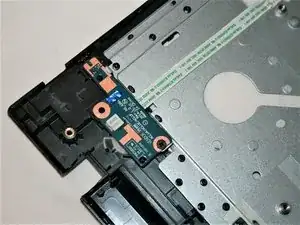
    • At this point in disassembly, there will be one #00x5.5 mm screw securing the power button board in place.

    • Take your screwdriver and remove the screw.

  28. NjDUg5hHKVI6RUfI
    NjDUg5hHKVI6RUfI
    rbN4VQmFcoOZXHa3
    3ZAWUfkNEPekql1s
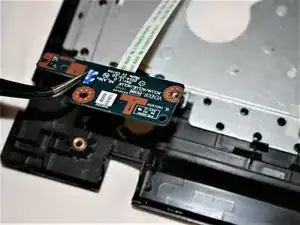
    • Take your tweezers and grip the power button board.

    • Using tweezers, lift power button board up and out. The cable wire for the power button board should be disconnected at this point and the piece should lift out without any extra work needed.

Conclusion

To reassemble your device, follow these instructions in reverse order.
Abigail Hood

Member since: 17/10/17

387 Reputation

0 comments