Introduction

This replacement is moderately difficult and should only take fifteen to twenty minuets. You will need a JIS #0 screwdriver, tweezers, and a plastic opening tool. Before you start on the speakers make sure you take out the battery.

  1. VKeZWFvpwSqGHBiC
    VKeZWFvpwSqGHBiC
    MkyXFS1SQNobg1U1
    NRolLdUQIeqOZpJf
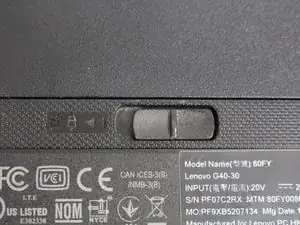
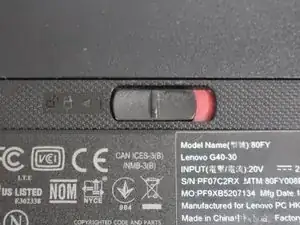
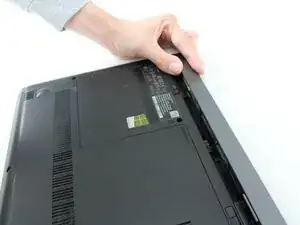
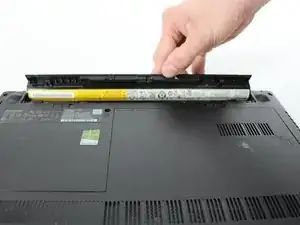
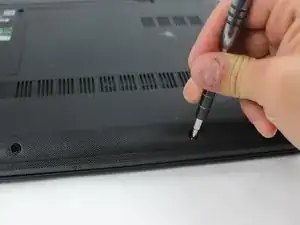
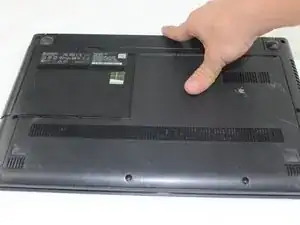
    • At the top of the laptop you will see two switches, like in image one and two.

    • Pull the switches outwards with your thumb, towards the unlocked lock.

  2. F1WRVheYQcE6Q1h6
    F1WRVheYQcE6Q1h6
    GPExnwFabOyLfEhg
    TOP1KSACpYyAfuPv
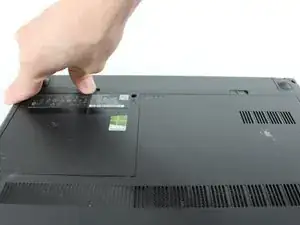
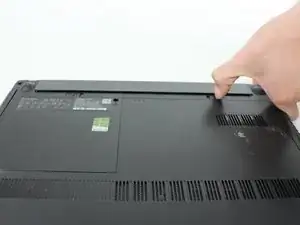
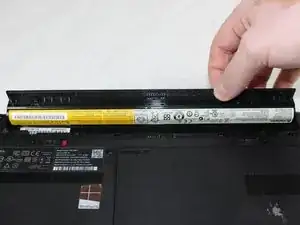
    • Once both switches are pulled, the battery should pop out.

  3. UlLH6eTfbo6RPE4W
    • Now you are ready to insert your new battery.

  4. 43s2SQiLojoDoJYM
    43s2SQiLojoDoJYM
    FIObxN5hSY6d12S1
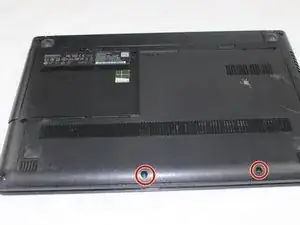
    • Use a JIS #1 screwdriver to remove the two 7 mm screws.

  5. rBSJIZ2crhorEXFn
    rBSJIZ2crhorEXFn
    glkaJ1FiIsnUFNpA
    • Remove the back panel by sliding it away from the battery.

  6. OSNZUuIOyEVlYZeh
    • Use a JIS #1 screwdriver to remove the three 7 mm screws.

  7. GMOEkTGosN2VOEQF
    GMOEkTGosN2VOEQF
    2JLZp4uLCfopSCHP
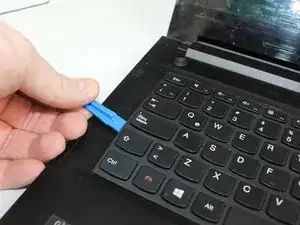
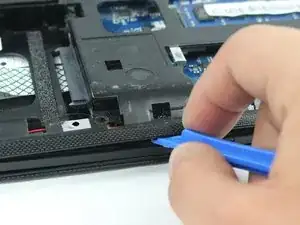
    • Wedge the plastic opening tool in-between the keyboard and the base of the laptop.

    • Continue using the plastic opening tool to pry around the edge until the keyboard is completely freed form the frame.

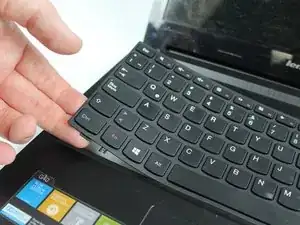
    • The keyboard should only be connected by a ribbon on the underside of the keyboard.

    • It is recommended that you slowly pull the keyboard out as your move around the edge. As in picture 2.

    • Be careful not to pull the keyboard too far away from the face as it will damage the data ribbon.

  8. NOXCPFqiOHbScl2d
    NOXCPFqiOHbScl2d
    2Q1NFakrjO1tR2Vm
    ccjx6wiPtB3JmDUB
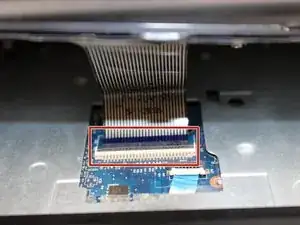
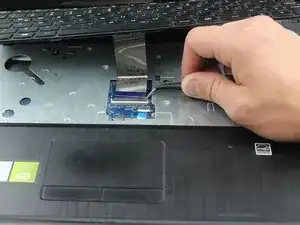
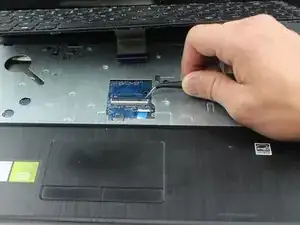
    • Use the tweezers to lift the black hinge on the ribbon connector.

    • Then pull the ribbon from the connector and remove the keyboard from the laptop.

  9. aLhTQeqoSlgor61t
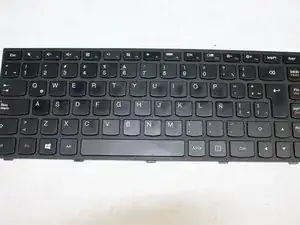
    • Now your keyboard is free to be replaced!

  10. JulKSWIHKwJuSY5o
    JulKSWIHKwJuSY5o
    vVPbHo2Y5T1PU3Aa
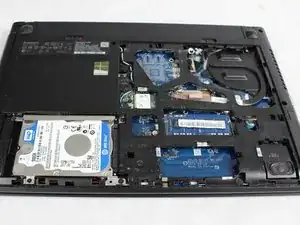
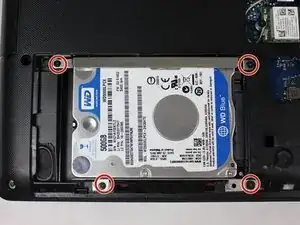
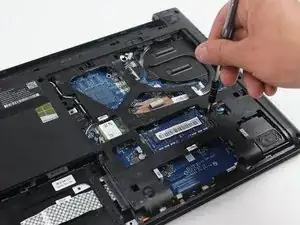
    • Unscrew four 4mm JIS #0 screws.

  11. TF3M3GgqAI4mZnjq
    TF3M3GgqAI4mZnjq
    g1a4dX6OVJU42uBJ
    HsHFklIcpY4IDwrY
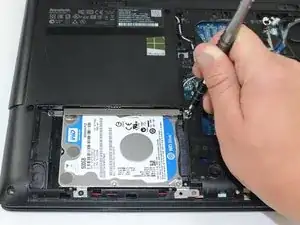
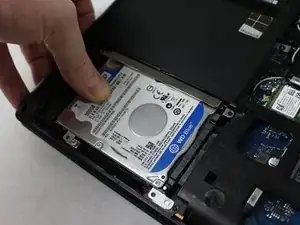
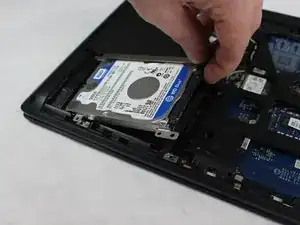
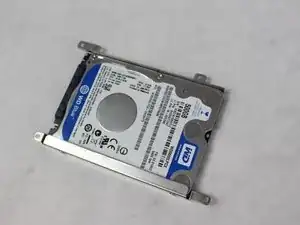
    • After you have the screws out apply pressure with your thumb and slide the hard drive to the left.

    • When the hard drive is completely left gently pull up on the right corner.

  12. KBujZ3X4XvgcEG4k
    KBujZ3X4XvgcEG4k
    BwuqJ2CgvNwDTBPf
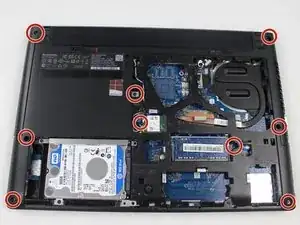
    • Remove the nine 7mm screws with a JIS #0 screwdriver.

  13. WSondJ6sbkK5abIR
    • Using the plastic opening tool split open the laptop on the ends. Starting from one side to the other.

    Between Step 13 and Step 14 seems be alot of missing steps.

    Victoria Diego -

    I mean its obvious not only was the backplate was removed but the keyboard and frontplate was removed too. How? The method of which was not shown.

    Victoria Diego -

  14. JFipssXi1eeymRQk
    JFipssXi1eeymRQk
    N1ywAXcbAPtDS3EQ
    2q6gFQbqbnQOECKd
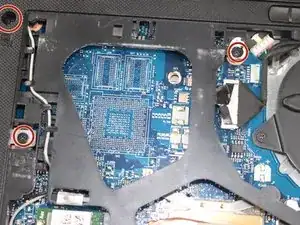
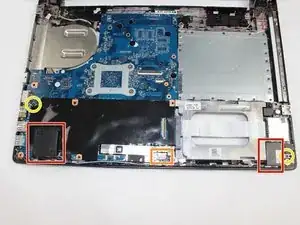
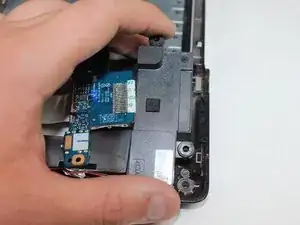
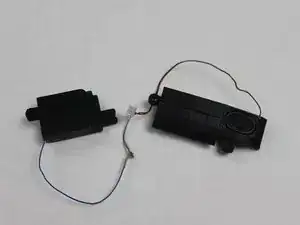
    • These two are the speakers.

    • This is the connector.

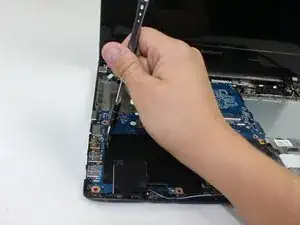
    • Unscrew the two 4mm JIS #0 screws.

  15. XjATeTZOGppCaOKN
    XjATeTZOGppCaOKN
    H6jFRBYXOfAFaSr2
    PFcQZtcrgYks1ZLO
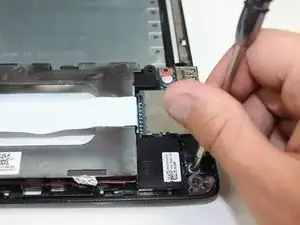
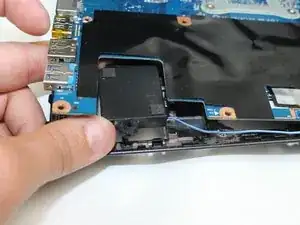
    • In order to remove the speakers you must first pull back the blue circuitry that covers the speakers.

    • Then, remove the left speaker by pulling it up and off the prongs holding it. Repeat this step for the right side

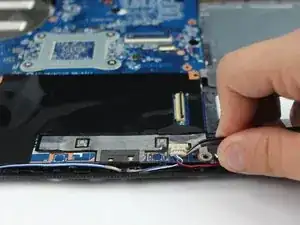
    • Next, use the tweezers to pull the connector out away from the screen.

  16. cQ3dAnpKPP3Ic2dC
    • Now you are ready to install your new speakers.

Conclusion

To reassemble your device, follow these instructions in reverse order.
Randall

Member since: 08/02/18

139 Reputation

0 comments