Introduction
Sometimes, computers parts break down due to wear and tear. One commonly replaced part in a laptop is the optical drive. A faulty optical drive can be one that no longer opens/closes, or one that no longer reads CDs, DVDs, or CD-ROMs. Before replacing completely, please consult the troubleshooting guide to ensure that there is no easier fix.
Tools
-
-
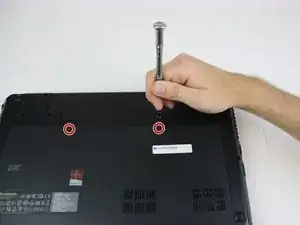
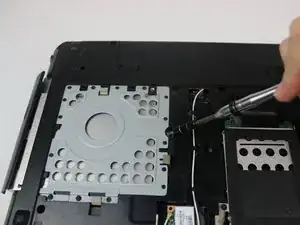
Using a size 00 Phillips Head screwdriver, remove the two M2.5x4 screws connecting the removable plate to the frame of the computer.
-
-
-
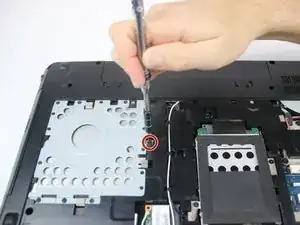
Using a spudger, push against the portion of the drive that was fastened. Be sure to push the drive outward as though it was opening. This completely ejects the device and prepares the laptop for a replacement part.
-
To reassemble your device, follow these instructions in reverse order.
