Introduction
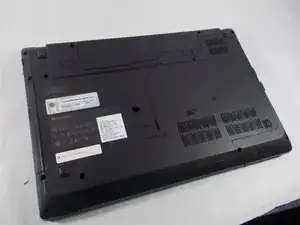
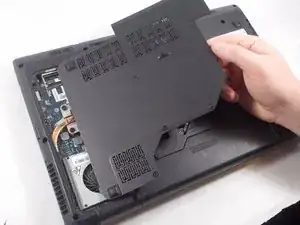
This part of the laptop allows access to most components that the other guides replace. This is a necessary step to complete in order to replace those further components. Underneath the back cover you will find the motherboard, hard drive, RAM, and processor.
Tools
-
-
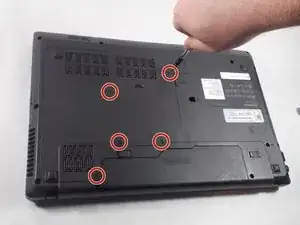
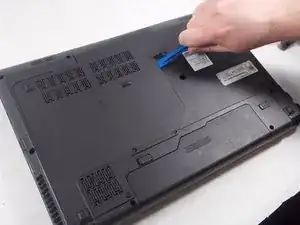
With the screws removed, insert the plastic opening tool into the groove located on the right side.
-
Begin to pry up, and the plate should lift up from the body of the laptop.
-
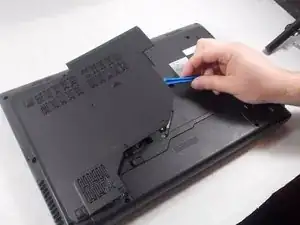
While lifting up, take the piece in one hand and pull up and to the right to fully remove the back plate.
-
Conclusion
To reassemble your device, follow these instructions in reverse order.
