Introduction
The hard drive is likely to malfunction when dropped or put under a lot of stress. If the computer won't boot and is having hard disk/hard drive reading errors, follow this guide to replace it.
Tools
Parts
-
-
Turn off the computer.
-
Disconnect the charging cable from the computer.
-
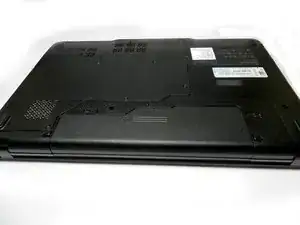
Flip the computer upside down.
-
-
-
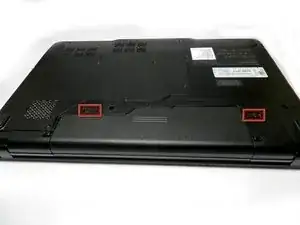
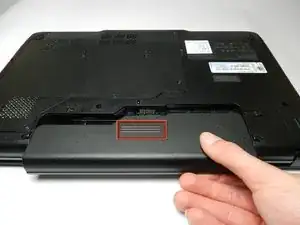
Locate the two switches that lock the battery. Push the right-hand switch outward into the "unlocked" position.
-
-
-
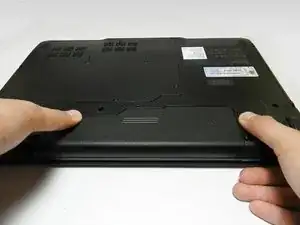
Push and hold the left hand switch outward in the "unlocked" position, then gently slide the battery away from the computer.
-
-
-
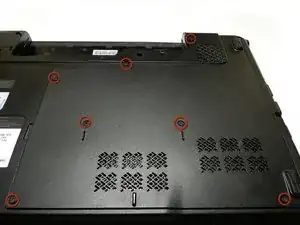
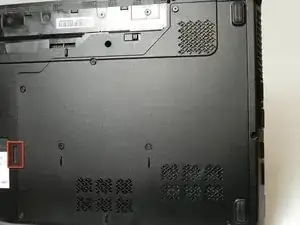
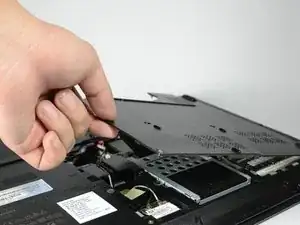
Pull the back panel off using the highlighted tab. The tab should give you enough leverage to pull the panel off smoothly.
-
-
-
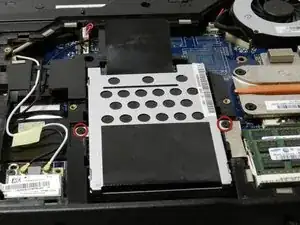
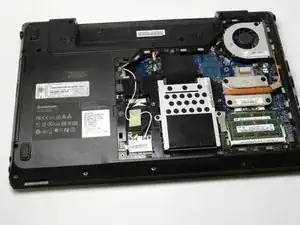
The computer should be open with many of the internal components shown. You can now access the hard drive, the RAM, and the keyboard.
-
-
-
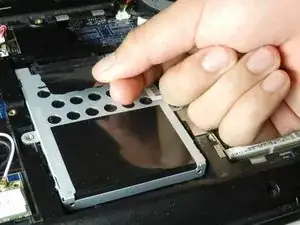
To remove the hard drive from the computer, grab the black tab attached to the hard drive and pull the tab downwards toward the bottom of the laptop.
-
-
-
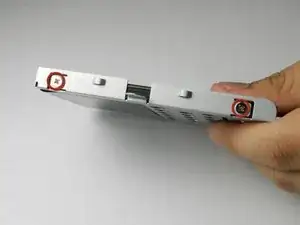
Unscrew the four 5.2 mm Phillips #1 screws. There are two on each side of the drive holding it in the drive bay.
-
-
-
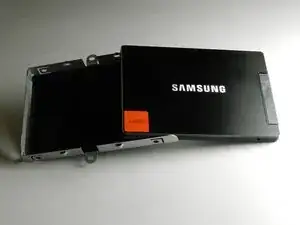
Pull the drive out of the bay. If all the screws were removed correctly, it should simply slide out.
-
To reassemble your device, follow these instructions in reverse order.
2 comments
In step 1, failure to unplug the cable does not result in electric shock. The power supply voltage is too low for such shock to happen to a human, but it can cause electrical damage to the motherboard. It is always a safe procedure to work on any machine unpowered (both power supply and battery disconnected and/or removed).
In step 9, be sure to remember the direction that the original drive was pointing when removing. The new drive must point the same direction.
In Step 3 - after removing the battery, press & hold the power buttton for 5 seconds to discharge any residual power in the circuitry before moving on to Step 4.
Iain -
