Introduction

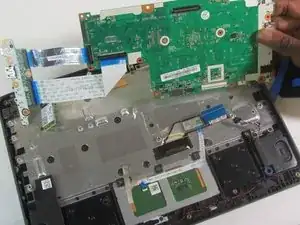
This guide will show you how to replace the motherboard in the Lenovo 500e 2nd Gen Chromebook, model number: 81MC005AUS. The motherboard is essentially the brains of the laptop. It has many key components that make the device work properly. If the device is having trouble starting, then refer to our troubleshooting page.

  1. SoeFw2LWLXtBAABl
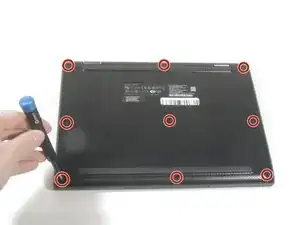
    • Remove nine 6 mm screws from the bottom cover of the laptop using a Phillips #0 screwdriver.

    A Philips #1 might work better, less risk of stripping the screw head

    Fritz Borrelnootje -

  2. oy3KEAT4TpODtExE
    oy3KEAT4TpODtExE
    dVZaLXPWuDUANPqI
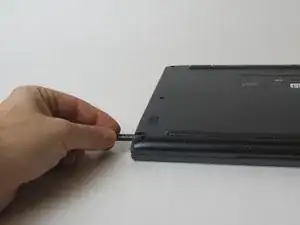
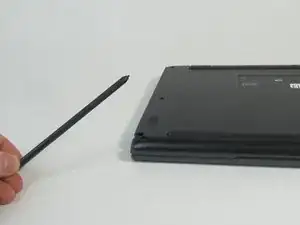
    • Remove stylus from the lower left corner of the back panel.

  3. nigtXIYFJFKZnqSZ
    nigtXIYFJFKZnqSZ
    Xsj3vgrPsvAt3Wkg
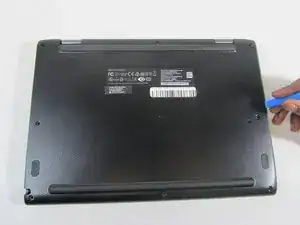
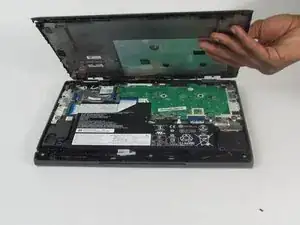
    • Go along the edge of the back panel with an iFixit opening tool until it pops loose.

    • Remove the back panel from the laptop.

  4. wP6MKQoBsQPlqPwX
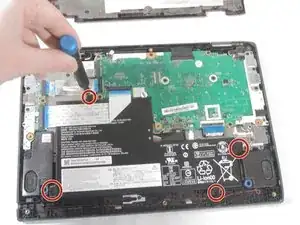
    • Remove the four 4 mm Phillips #00 screws holding the battery in.

    Removing the battery is not necessary for removing/replacing the WiFi card. However, as a precaution, do unplug the battery as shown in Step 5

    Fritz Borrelnootje -

  5. qUlttjsrIQGyK3F1
    qUlttjsrIQGyK3F1
    ZotFu1kDW4DQP3YG
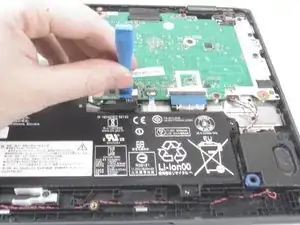
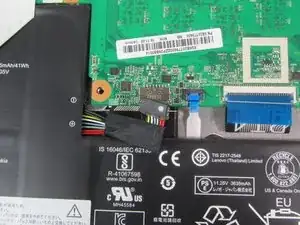
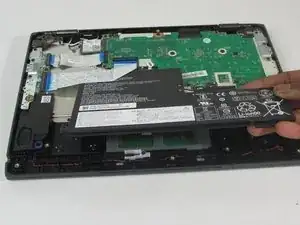
    • Use the iFixit opening tool to unplug the battery from the motherboard.

    • Potential for device damage: Make sure to be gentle while removing the wire.

  6. xSuPNY5pHBdUrEPt
    • Remove the battery from the laptop.

    Removing the battery is not necessary for removing/replacing the WiFi card. However, as a precaution, do unplug the battery as shown in Step 5

    Fritz Borrelnootje -

  7. WCLWpOOm66dZl5bh
    WCLWpOOm66dZl5bh
    Yd1MHOBeYLnMRqLZ
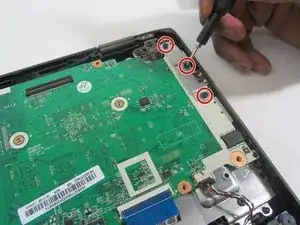
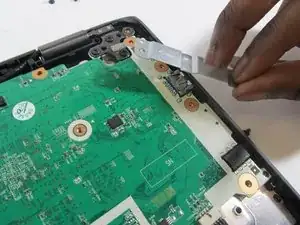
    • Remove the three 4 mm screws (six total) from the left and right side brackets using a Phillips #00 screwdriver.

    • Gently remove the metal brackets from the motherboard.

  8. TZA6nQkCbqAPWhTk
    TZA6nQkCbqAPWhTk
    NFZpAZoWmOTPbWNR
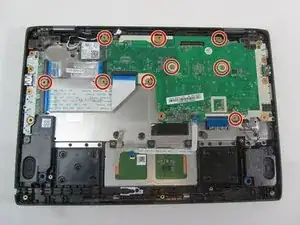
    • Remove the nine 4 mm screws from the motherboard using a Phillips #00 screwdriver.

  9. wWR6DwwnHbKqRqNV
    wWR6DwwnHbKqRqNV
    MbowEaqHNyJlwnJU
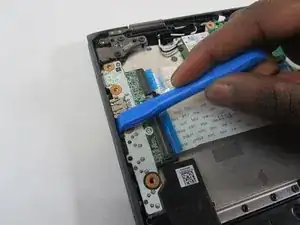
    • Gently remove the USB port from the side housing using an iFixit opening tool.

  10. UGFUheO2WOuJk3jU
    UGFUheO2WOuJk3jU
    EIHpbZMVYOcciHDC
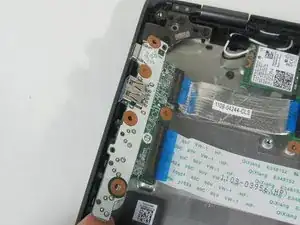
    • Gently peel the metal strip away from the metal backing.

  11. XCaZU63lPiTXZMee
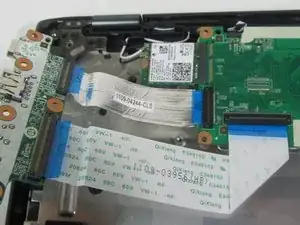
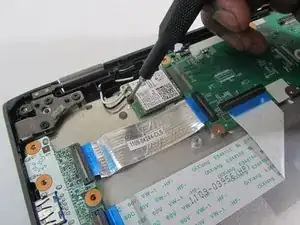
    • Remove the single 3 mm screw that holds the Wi-Fi card in place using a Phillips #00 screwdriver.

  12. uiG4vG3a1LjFFfJr
    uiG4vG3a1LjFFfJr
    waJvrjbbbrTfepYF
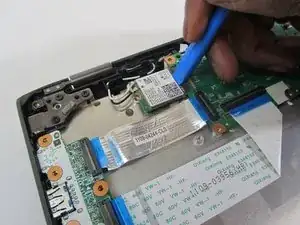
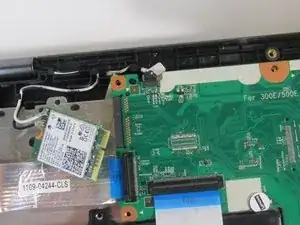
    • Disconnect the Wi-Fi card from the motherboard using an iFixit opening tool.

  13. iCyWEGflALS2fluM
    iCyWEGflALS2fluM
    CC3lxuKKB4QqSKBG
    QUBJIpjZ1VSBgOMl
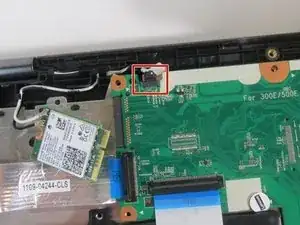
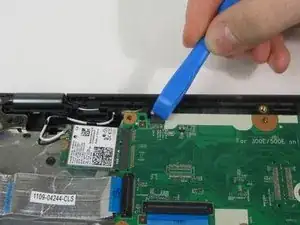
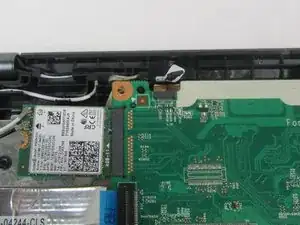
    • Using an iFixit opening tool, disconnect the camera cable.

    • Potential for device damage: Be gentle while removing the wire.

  14. IJ3fZWTUmGv2OAky
    IJ3fZWTUmGv2OAky
    aPUtj4bmTu2tKQeV
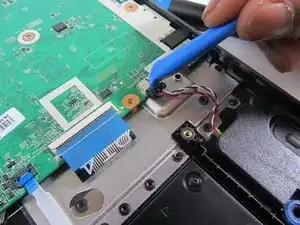
    • Using an iFixit opening tool, detach the speaker wiring from the motherboard.

    • Set speakers aside for reinstallation.

    • Potential for device damage: Be gentle while removing the wire.

    If adding new keyboard, you will need to keep the speakers.

    Ben Henker -

  15. 3r2ReLCbWAPQQEJt
    3r2ReLCbWAPQQEJt
    OJR4DNx4SGnIejDg
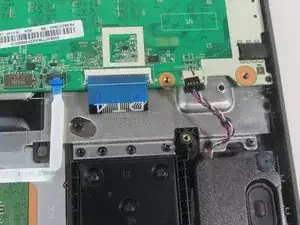
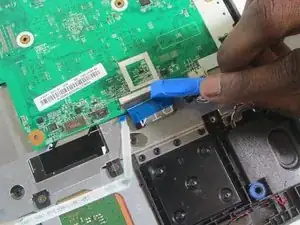
    • Using an iFixit opening tool, detach the track pad connector from the motherboard.

    • Potential for device damage: Be gentle while detaching the connector.

  16. F4YuFkRLTTjSGmSD
    F4YuFkRLTTjSGmSD
    hcJIjjCFmexLlE3a
    MhXUZLKYdp1X4AcS
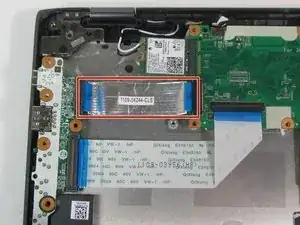
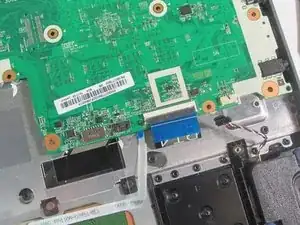
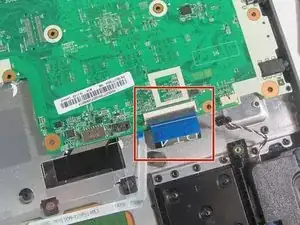
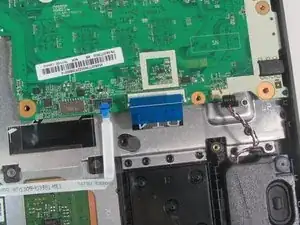
    • Using an iFixit opening tool, detach the keyboard cable from the motherboard.

    • Potential for device damage: Be gentle when detaching the cable.

  17. HMeSiIBjHy1hL2PS
    HMeSiIBjHy1hL2PS
    xwBWnUZI3agCFYkO
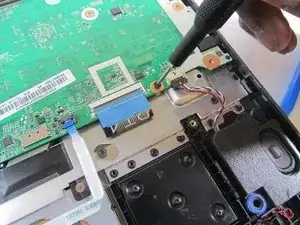
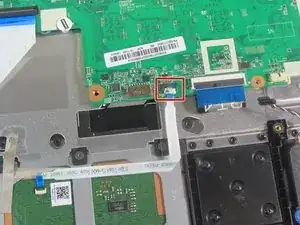
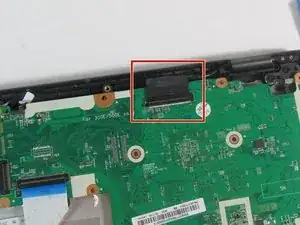
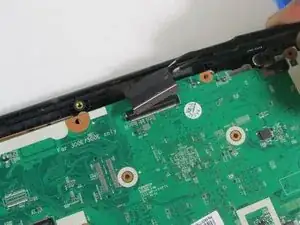
    • Using tweezers, disconnect the black cable from the motherboard.

    • Potential for device damage: Be gentle while detaching the cable.

  18. MsJoFNYiSRJOEt1U
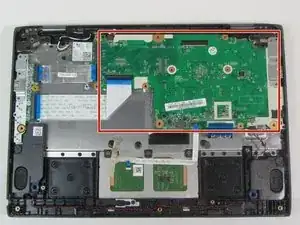
    • Gently remove the motherboard from the laptop.

Conclusion

To reassemble your device, follow these instructions in reverse order.
Nicolas Lidinsky

Member since: 10/01/22

701 Reputation

0 comments