Introduction

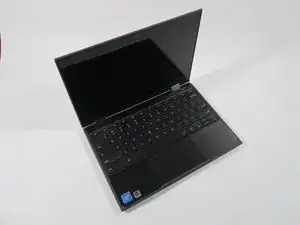
This guide will show you how to replace the keyboard for the Lenovo 500e 2nd Gen Chromebook, model number: 81MC005AUS. The keyboard allows the user to type and use the trackpad. If your keyboard is malfunctioning, refer to our troubleshooting page.

  1. SoeFw2LWLXtBAABl
    • Remove nine 6 mm screws from the bottom cover of the laptop using a Phillips #0 screwdriver.

    A Philips #1 might work better, less risk of stripping the screw head

    Fritz Borrelnootje -

  2. oy3KEAT4TpODtExE
    oy3KEAT4TpODtExE
    dVZaLXPWuDUANPqI
    • Remove stylus from the lower left corner of the back panel.

  3. nigtXIYFJFKZnqSZ
    nigtXIYFJFKZnqSZ
    Xsj3vgrPsvAt3Wkg
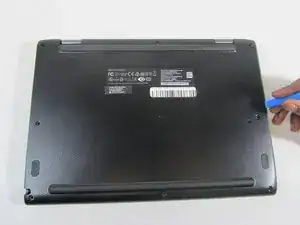
    • Go along the edge of the back panel with an iFixit opening tool until it pops loose.

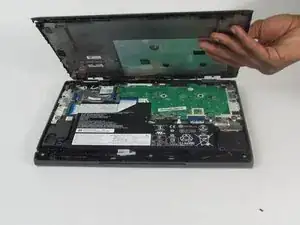
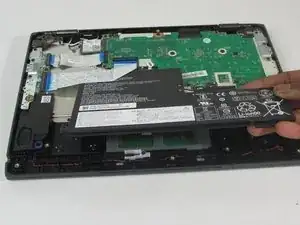
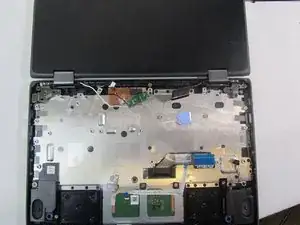
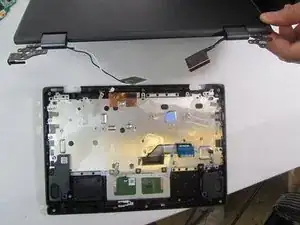
    • Remove the back panel from the laptop.

  4. wP6MKQoBsQPlqPwX
    • Remove the four 4 mm Phillips #00 screws holding the battery in.

    Removing the battery is not necessary for removing/replacing the WiFi card. However, as a precaution, do unplug the battery as shown in Step 5

    Fritz Borrelnootje -

  5. qUlttjsrIQGyK3F1
    qUlttjsrIQGyK3F1
    ZotFu1kDW4DQP3YG
    • Use the iFixit opening tool to unplug the battery from the motherboard.

    • Potential for device damage: Make sure to be gentle while removing the wire.

  6. xSuPNY5pHBdUrEPt
    • Remove the battery from the laptop.

    Removing the battery is not necessary for removing/replacing the WiFi card. However, as a precaution, do unplug the battery as shown in Step 5

    Fritz Borrelnootje -

  7. WCLWpOOm66dZl5bh
    WCLWpOOm66dZl5bh
    Yd1MHOBeYLnMRqLZ
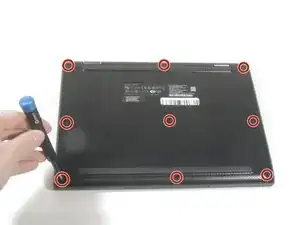
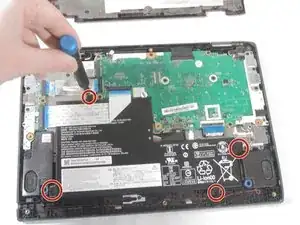
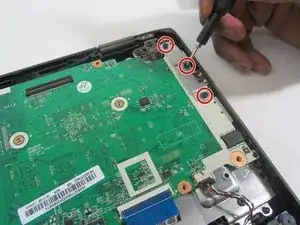
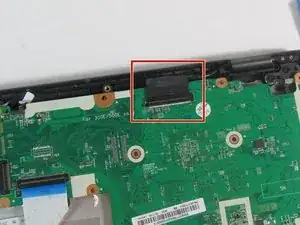
    • Remove the three 4 mm screws (six total) from the left and right side brackets using a Phillips #00 screwdriver.

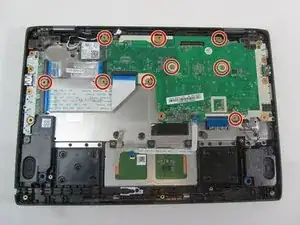
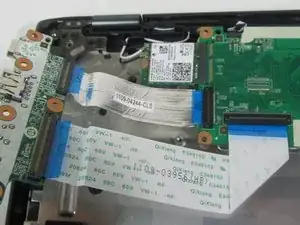
    • Gently remove the metal brackets from the motherboard.

  8. TZA6nQkCbqAPWhTk
    TZA6nQkCbqAPWhTk
    NFZpAZoWmOTPbWNR
    • Remove the nine 4 mm screws from the motherboard using a Phillips #00 screwdriver.

  9. wWR6DwwnHbKqRqNV
    wWR6DwwnHbKqRqNV
    MbowEaqHNyJlwnJU
    • Gently remove the USB port from the side housing using an iFixit opening tool.

  10. UGFUheO2WOuJk3jU
    UGFUheO2WOuJk3jU
    EIHpbZMVYOcciHDC
    • Gently peel the metal strip away from the metal backing.

  11. XCaZU63lPiTXZMee
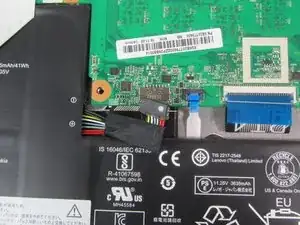
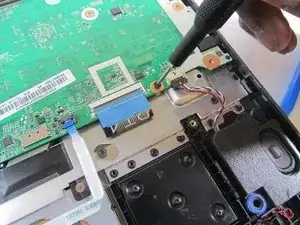
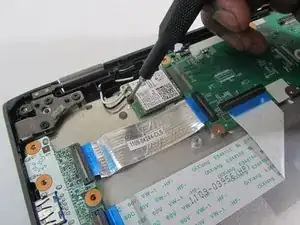
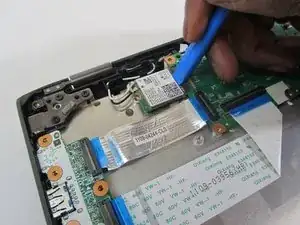
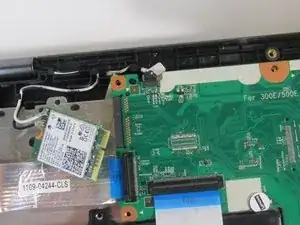
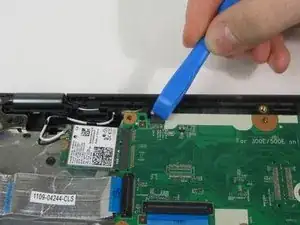
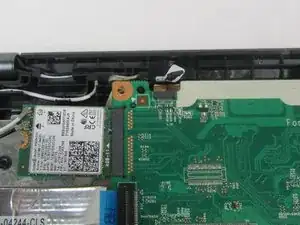
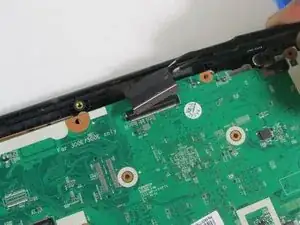
    • Remove the single 3 mm screw that holds the Wi-Fi card in place using a Phillips #00 screwdriver.

  12. uiG4vG3a1LjFFfJr
    uiG4vG3a1LjFFfJr
    waJvrjbbbrTfepYF
    • Disconnect the Wi-Fi card from the motherboard using an iFixit opening tool.

  13. iCyWEGflALS2fluM
    iCyWEGflALS2fluM
    CC3lxuKKB4QqSKBG
    QUBJIpjZ1VSBgOMl
    • Using an iFixit opening tool, disconnect the camera cable.

    • Potential for device damage: Be gentle while removing the wire.

  14. IJ3fZWTUmGv2OAky
    IJ3fZWTUmGv2OAky
    aPUtj4bmTu2tKQeV
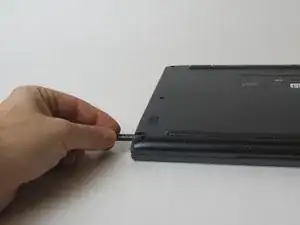
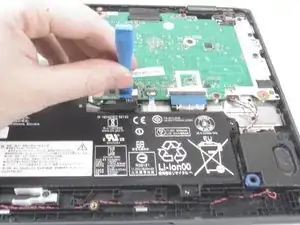
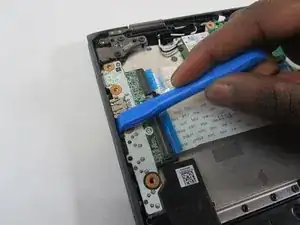
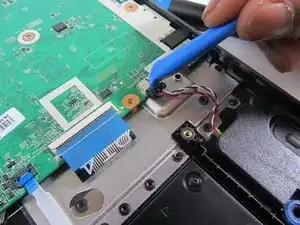
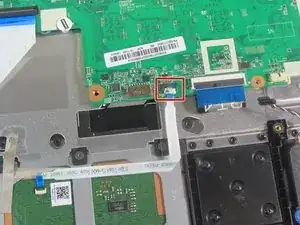
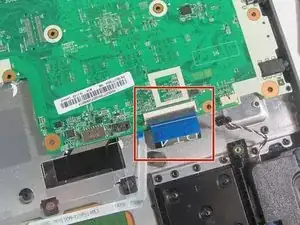
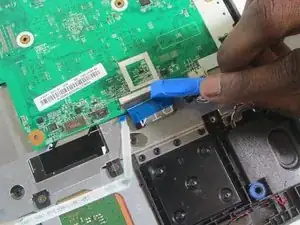
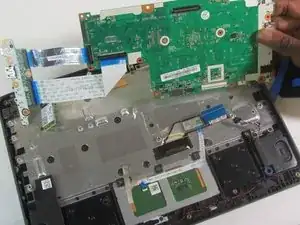
    • Using an iFixit opening tool, detach the speaker wiring from the motherboard.

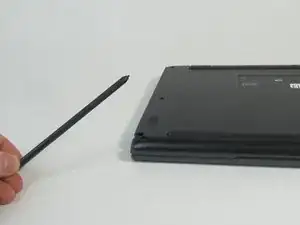
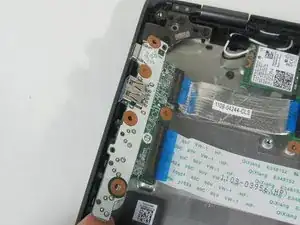
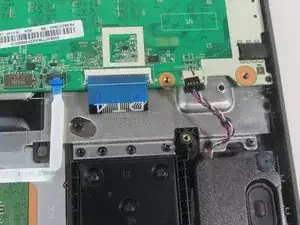
    • Set speakers aside for reinstallation.

    • Potential for device damage: Be gentle while removing the wire.

    If adding new keyboard, you will need to keep the speakers.

    Ben Henker -

  15. 3r2ReLCbWAPQQEJt
    3r2ReLCbWAPQQEJt
    OJR4DNx4SGnIejDg
    • Using an iFixit opening tool, detach the track pad connector from the motherboard.

    • Potential for device damage: Be gentle while detaching the connector.

  16. F4YuFkRLTTjSGmSD
    F4YuFkRLTTjSGmSD
    hcJIjjCFmexLlE3a
    MhXUZLKYdp1X4AcS
    • Using an iFixit opening tool, detach the keyboard cable from the motherboard.

    • Potential for device damage: Be gentle when detaching the cable.

  17. HMeSiIBjHy1hL2PS
    HMeSiIBjHy1hL2PS
    xwBWnUZI3agCFYkO
    • Using tweezers, disconnect the black cable from the motherboard.

    • Potential for device damage: Be gentle while detaching the cable.

  18. MsJoFNYiSRJOEt1U
    • Gently remove the motherboard from the laptop.

  19. Eduhk2MvJIedLIAI
    • Remove the three 5 mm screws (six total) from each hinge using a Phillips #0 screwdriver.

  20. yIVMsrvqFHHimb3p
    yIVMsrvqFHHimb3p
    hXXI4veLYNGjTOJJ
    • Gently open the laptop screen and it will separate from the keyboard.

Conclusion

To reassemble your device, follow these instructions in reverse order.

Nicolas Lidinsky

Member since: 10/01/22

701 Reputation

0 comments