Introduction

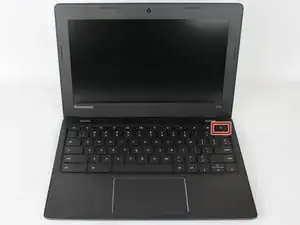
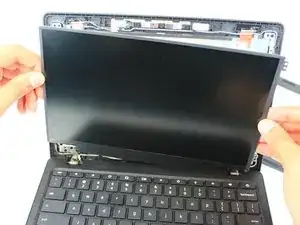
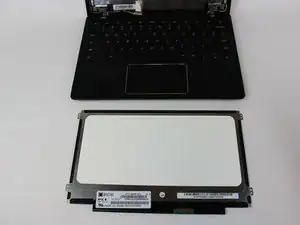
This guide will show how to remove the screen for the Lenovo 100s Chromebook-11IBY. This removal will allow you to replace or upgrade the screen for your laptop.

  1. eW2SP6tVUHoMi1wa
    • Ensure your device is turned off and unplugged.

  2. ta16TZLMtKWn3dTE
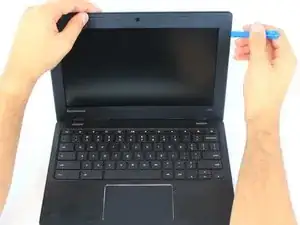
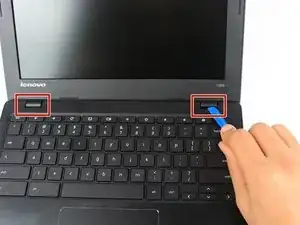
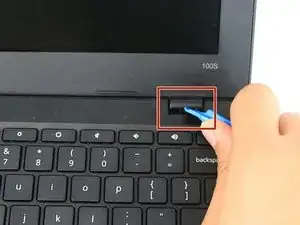
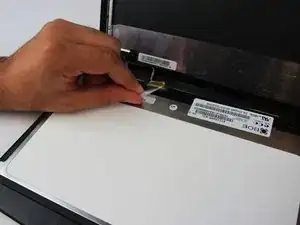
    • Use the plastic opening tool on the recessed notch to gently pry each side of around the screen up.

  3. 4na1LMIrtpfpvYyr
    4na1LMIrtpfpvYyr
    pCygSBo2AILyOPGY
    • Carefully pry up and underneath both the (left & right) hinges of the screen cover.

  4. TsQCO6rwWZNKDGXD
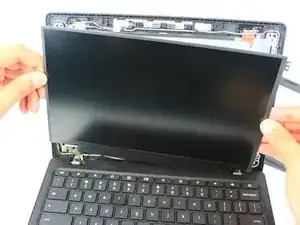
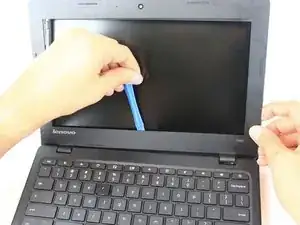
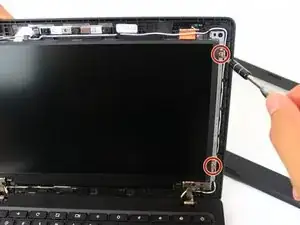
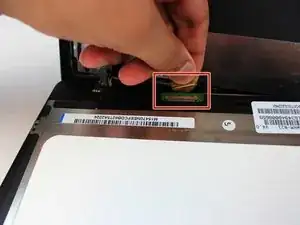
    • Use the opening tool on the inside of the screen plate and again on the sides to gently remove it.

  5. CAOUwiSmsu4sHhyw
    CAOUwiSmsu4sHhyw
    iVoHgmpyyQgclxZR
    • Use the #0 Phillips screwdriver to remove the four 6mm screws from the screen.

  6. AE3tTAd5hkA2tAkh
    • Gently remove the screen from the plate and place it on the keyboard.

    • Be careful not to pull screen the immediately or completely out because cables are attached.

  7. mq5qFaWyE4nPvHew
    • Gently remove the adhesive tape from the back of the screen.

  8. KBVIo15wMaDOp5nP
    • Unplug the screen from the laptop.

  9. iitbmGI4NtXM3wpf
    iitbmGI4NtXM3wpf
    cSfpptSDddZGQt2D
    • The screen may now be removed completely from the laptop.

    • The back side of the screen has the screen's model number and manufacturer.

Conclusion

To reassemble your device, follow these instructions in reverse order.

Milton Perez

Member since: 09/03/17

630 Reputation

0 comments