Introduction
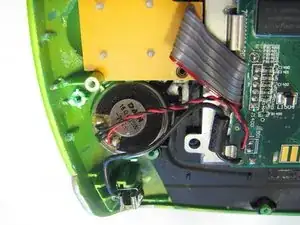
Is your device not making sound? Amplify your happiness by replacing the speaker.
This guide will require soldering equipment and skill.
Tools
-
-
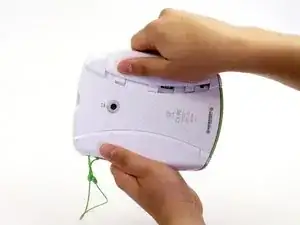
Before disassembling your LeapPad, ensure your device is shut off.
-
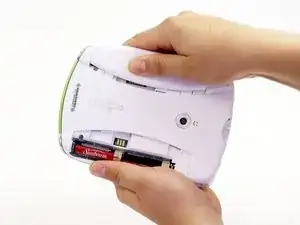
Push outward on the plastic side panels to remove and reveal battery.
-
The panels should detach fully from the main device.
-
-
-
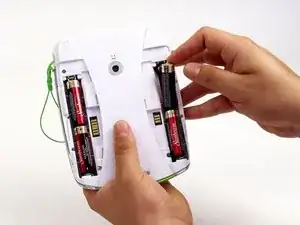
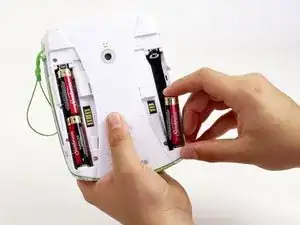
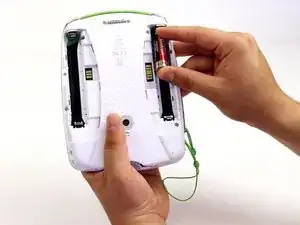
Push down from the positive end of the battery towards the negative end to pry the battery up out of its dispenser.
-
Remove all four AA alkaline batteries from the device.
-
-
-
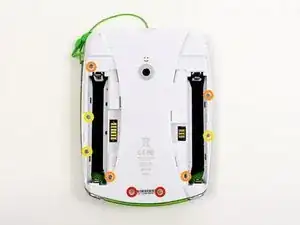
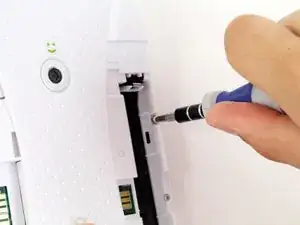
Remove the following screws securing the back cover to the main device:
-
Two 10.0 mm Phillips screws
-
Four 4.0 mm Phillips screws
-
Three 3.0 mm Phillips screws
-
-
-
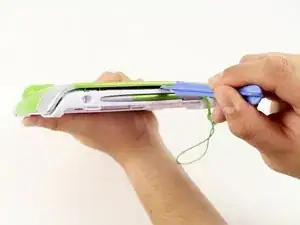
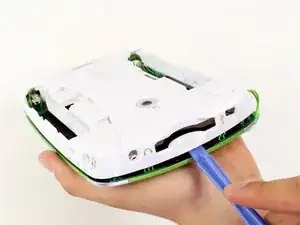
Insert a plastic opening tool into the seam between the front and rear covers to detach the back cover from the rest of the device.
-
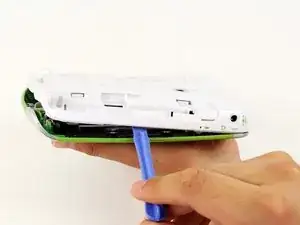
Move the plastic opening tool around the perimeter of the LeapPad2.
-
Lift up and remove the rear case from the tablet.
-
-
-
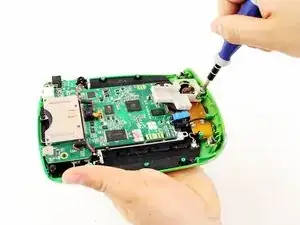
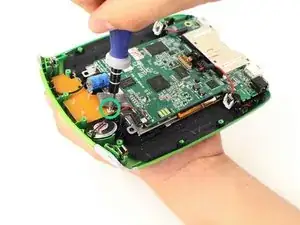
Remove the following screws securing the front cover to the main device:
-
Three 6.0 mm Phillips screws
-
Three 7.0 mm Phillips screws
-
Two 10.0 mm Phillips screws
-
Three 7.0 mm Phillips screws (bulkier screw head than other 7.0 mm Phillips screws)
-
-
-
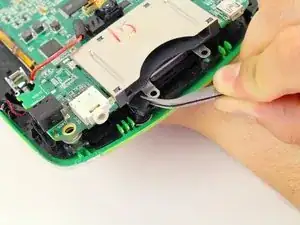
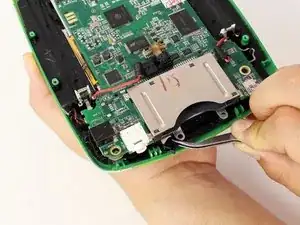
When unscrewing the game cartridge screws, you will find a loose black plastic component underneath the game cartridge.
-
Use tweezers to remove the piece.
-
-
-
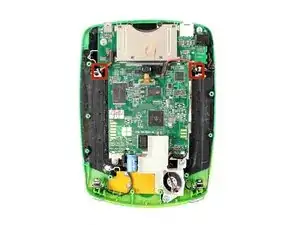
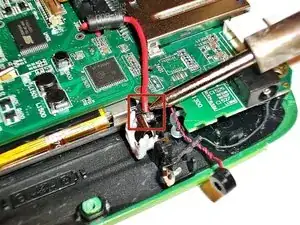
Desolder the through hole-components in power plugs on both sides of the device where the batteries were once connected.
-
-
-
Pry the power cables from the device using your fingers or tweezers.
-
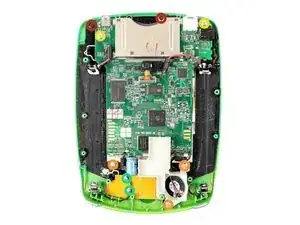
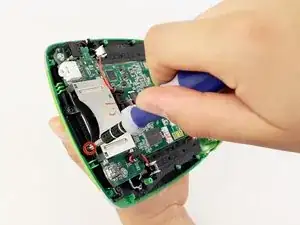
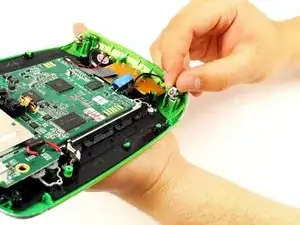
Now you should be able to lift up the front cover, leaving you with the motherboard and screen.
-
-
-
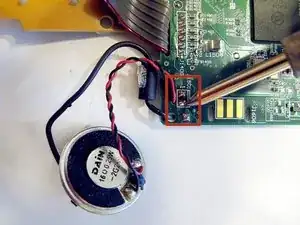
Finally, locate and desolder the remaining connections from speaker wires on the circuit.
-
Once finished desoldering, flip to the other side of the circuit board to remove the wires.
-
To reassemble your device, follow these instructions in reverse order.
One comment
What type of speaker do I need to use to replace it with?
Bond Dye -
