Introduction
If the images taken are black or not displayed at all, it may be time to replace the camera. Replacing the camera is a moderately easy task, and the step-by-step disassembly is listed below. No out-of-the-ordinary tools will be required for this guide.
Tools
-
-
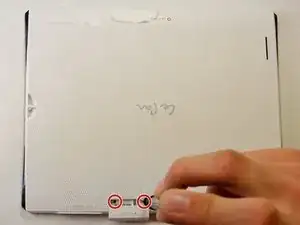
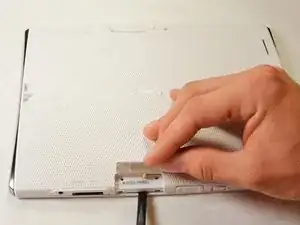
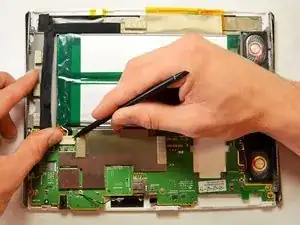
Insert the spudger between the front and back panel in order to pry them apart.
-
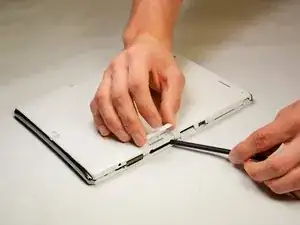
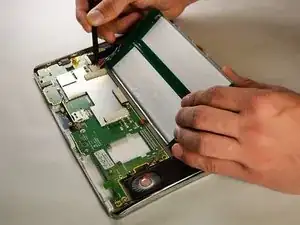
Pry open the rest of the Le Pan S by dragging the spudger across the side.
-
-
-
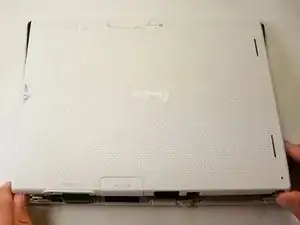
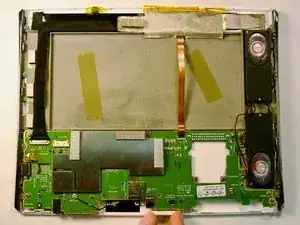
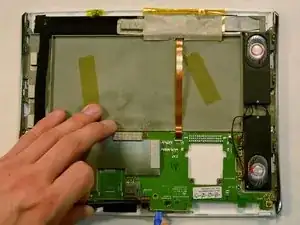
Once the front and back faces are completely separated, remove the back cover to reveal the inside components.
-
-
-
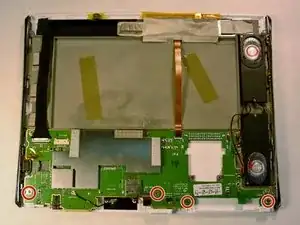
Remove the four 3.5 mm Phillips #00 screws from the circuit board near the bottom of the tablet.
-
-
-
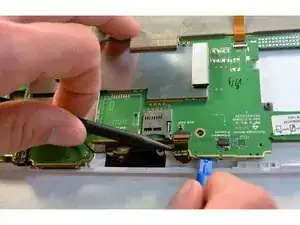
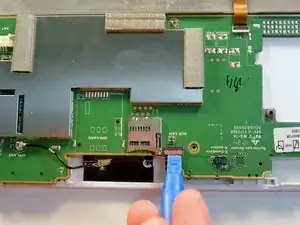
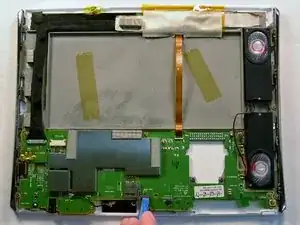
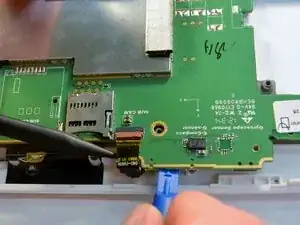
Remove the zero insertion force connector (ZIF) by using a plastic opening tool, spudger, or fingernail to lift retaining flap.
-
To reassemble your device, follow these instructions in reverse order.
