Introduction

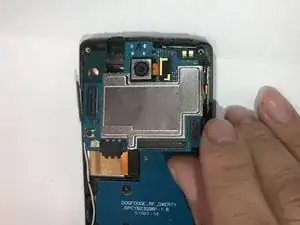
This guide will assist you while you take your phone apart. This disassembly is not a very difficult task. There will be a few connectors that will be disconnected during the process. Make sure to be cautious with them so they do not rip. There are many little screws that will be taken off the phone. Make sure that you have a clean and organized work space.

  1. PSNGOeAIrRMMLrnM
    PSNGOeAIrRMMLrnM
    C1ptsTGC1wdXxwBR
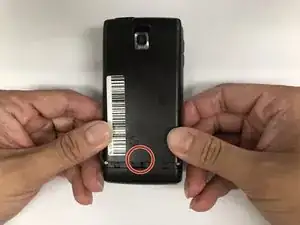
    • Remove the back cover by firmly pressing the triangle and push upwards.

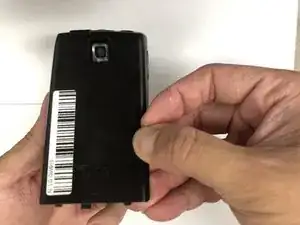
    • Lift the bottom section to remove the cover.

  2. BSjJCdqCFIuoarla
    BSjJCdqCFIuoarla
    3ApZgCOxSQKGtoum
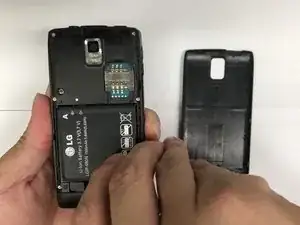
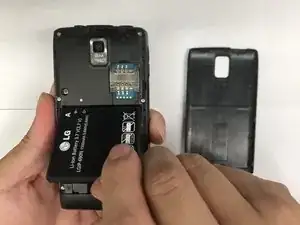
    • Remove the battery by lifting from the bottom.

  3. BIMhARwDJGvoD32W
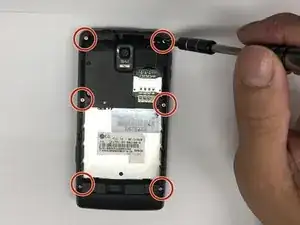
    • Remove six 3mm PH000 screws.

  4. X3oxmnbWUkkSjVTH
    X3oxmnbWUkkSjVTH
    Ag4vKnqvdYpdQwkn
    JJ36GR5Cd5VquROj
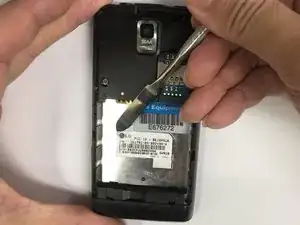
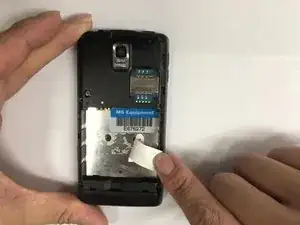
    • Peel off the sticker with the metal spudger.

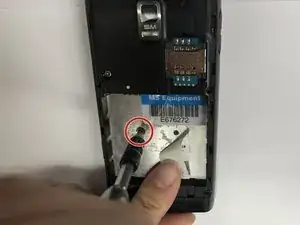
    • Remove one 1mm PH000 screw.

  5. XqtracPQLFyIaIGO
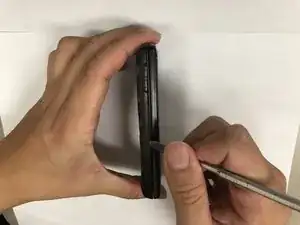
    • Pry open all four sides of the back-frame gently, using the metal spudger.

    • The back-frame should come out easily.

    • Volume button and shutter button may fall out during the process.

  6. gLEFCkRdZKGuPrFS
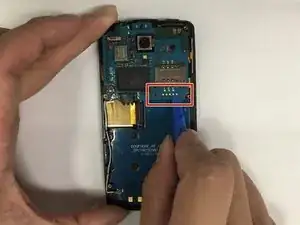
    • Pry off the connector using the iFixit opening tool to remove the communication board.

  7. pRcOXXYZRGiQWXcH
    pRcOXXYZRGiQWXcH
    IxlC13dCfZOyBVZp
    fH3qAsWQMMWtki1j
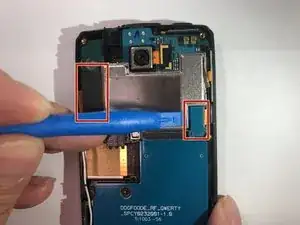
    • Pry off the connectors using the iFixit opening tool.

    • Disconnect the antenna using the iFixit opening tool.

    • The motherboard should be able to be removed easily.

  8. hNDXAfgquGchLNAJ
    hNDXAfgquGchLNAJ
    pitE1rlkUPJG6T6D
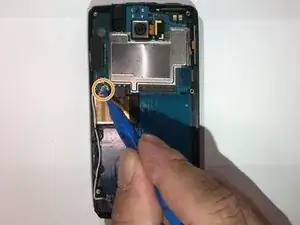
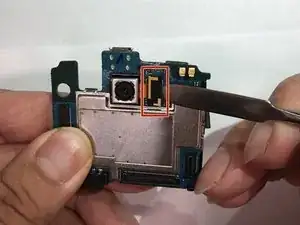
    • Disconnect the connector using the metal spudger.

    • Peel back the tape on the side.

    • Replacement tape might be needed.

  9. jRIZHTVyYHa5W2jf
    jRIZHTVyYHa5W2jf
    XpJUgmNjPqqXPL2d
    KwuudSVqsg4XMovo
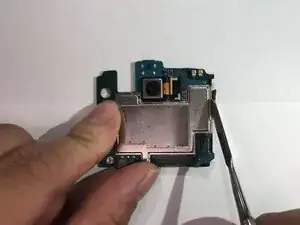
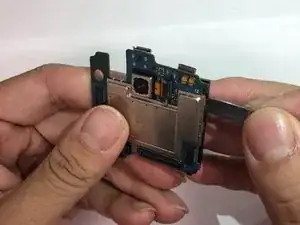
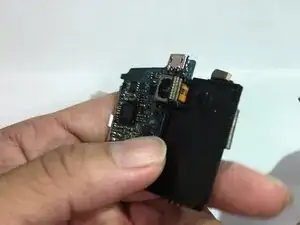
    • Pry open the two plastic hooks using the metal spudger tool.

    • Crack open the black plastic cover using the metal spudger tool. The cover should be easily turned over.

    • The connector might get stuck in the opening while turning over the cover. Twist the connector if needed.

  10. qYDQ2qXFYPW53ATv
    qYDQ2qXFYPW53ATv
    PIGMfxQg2v6ZW1bY
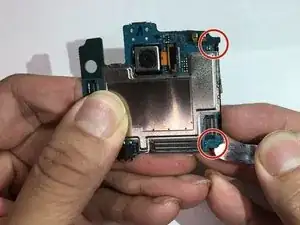
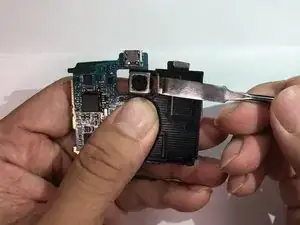
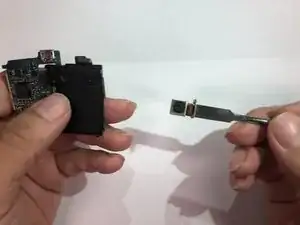
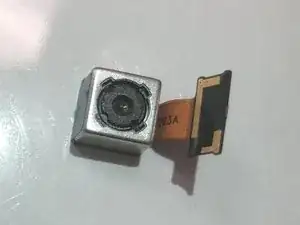
    • Remove the camera unit by prying on it.

    • Adhesive will be needed for reassembly.

Conclusion

To reassemble your device, follow these instructions in reverse order.
Jonas Ke

Member since: 06/11/18

492 Reputation

0 comments