Introduction

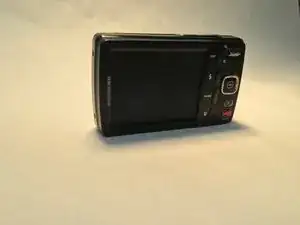
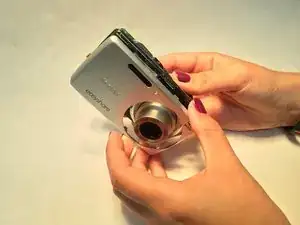
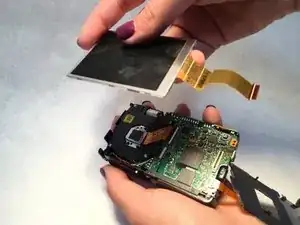
This guide is a quick and easy way to replace your Kodak M532 screen.

  1. eCetO6YpCiZiIiYh
    eCetO6YpCiZiIiYh
    JCUix62bRQhTYUpg
    • Open the battery compartment on the bottom of the camera and remove the battery.

  2. LTNaDCSOByOJcOaK
    LTNaDCSOByOJcOaK
    QKQ1Mf5JmMdLy5BU
    ISUFrHkZKXMFLgjt
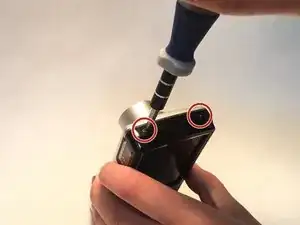
    • Remove two Phillips screws from each side of the camera (four screws total).

    • Remove one additional Phillips screw from the bottom of the camera.

  3. MSRWiYKDU5F1GJjH
    MSRWiYKDU5F1GJjH
    6ZKr6Uhhvi1koXTs
    sa2JtLgTCiNvihMP
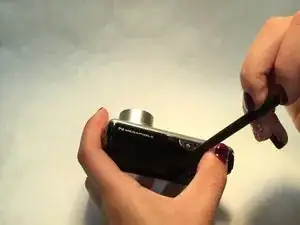
    • Inserting the prying tool as shown, gently separate the front and back pieces of the camera exterior.

  4. lCVaoxTCGbCWRNLW
    lCVaoxTCGbCWRNLW
    er3Y2RVWK4GBHqBA
    MXkAuOpDCsL6EkHl
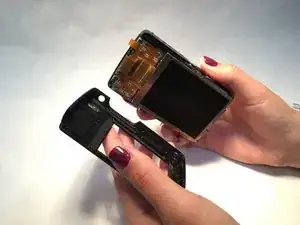
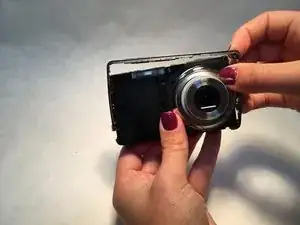
    • Carefully remove the front and back exterior pieces from the camera body.

  5. Jkl5GAIWNdCHFBh4
    Jkl5GAIWNdCHFBh4
    TeupDWYypw21u6yj
    XNAIWNwcrIIbxCTE
    • Gently remove the frame with the top buttons.

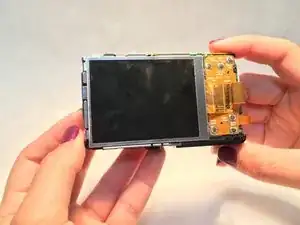
    • You should now have the screen and inside parts exposed as shown.

  6. mEcWRbgFQjvDqyPs
    mEcWRbgFQjvDqyPs
    Fae63HNaGrBCKsXT
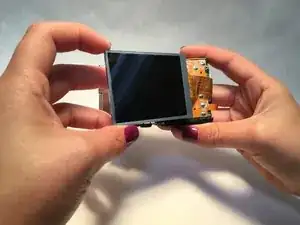
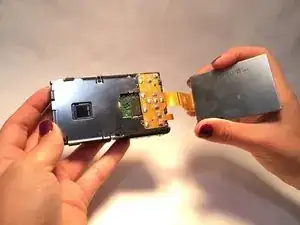
    • Lift the screen off the body. Note that it is still connected on one side by the orange tape.

    • Flip it over gently and let it rest off to the side where the tape is.

    • It is okay if the orange tape clips out of its spot.

  7. Fdj5LSuDgBnuFT13
    Fdj5LSuDgBnuFT13
    aBEecdRIqumyb5kx
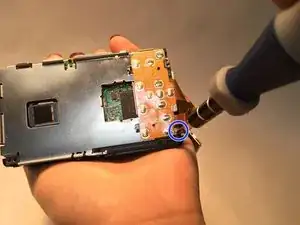
    • Remove the two Phillips screws. There is one at the top center and one in the bottom left corner.

  8. QkXTG2RTF2tGnu4Z
    QkXTG2RTF2tGnu4Z
    qMsDYOtl4TD4opB6
    tBoMTHWWi3uPwQFA
    • Remove the top Phillips screw from the right side.

    • Move the silver tape aside to access and remove the Phillips screw in the bottom corner.

  9. IEWxv3xNXniKMgtq
    IEWxv3xNXniKMgtq
    AQQdQZ2UqtUtCabG
    nqLnxCgXkqESPeaq
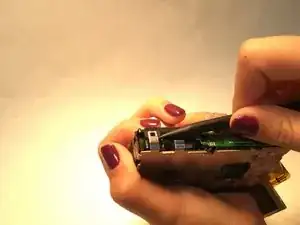
    • Gently pry up the clip on the top corner to release the metal casing and lift the casing out of the way.

    • The casing is also connected via an orange tape on the right side that you may leave in place.

    • Be sure to wear safety glasses while prying the clip.

  10. tsEq5MjGwuGOYWHm
    tsEq5MjGwuGOYWHm
    43QLYCwCMnccwpnC
    vEfpf5XBwjhLGQHG
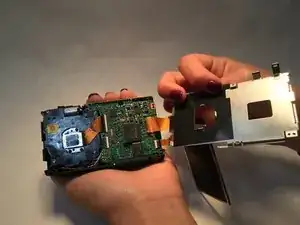
    • Find the silver clip where the orange tape from the screen attaches to the circuit board.

    • Lift up the silver clip. The orange tape will slide out, completely disconnecting the screen from the camera.

Conclusion

To reassemble your device, follow these instructions in reverse order.

Samantha Vasquez

Member since: 31/05/16

101 Reputation

0 comments