Introduction

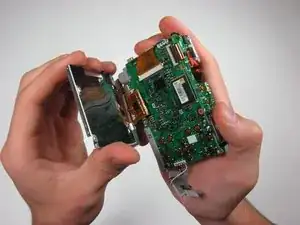
If your Kodak EasyShare C913 screen is cloudy or scratched, use this guide to remove and replace the screen. Special skills needed.

Before replacing screen, you will need to remove batteries and the casing of the camera.

  1. HTMAhkS4RfXfLBgS
    HTMAhkS4RfXfLBgS
    EuF4iL5paOFigtmt
    GlpgkGRXcwJi2xun
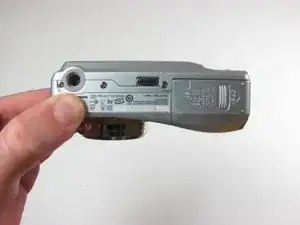
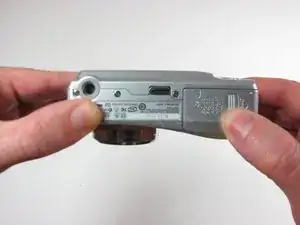
    • Position the camera with the bottom facing up.

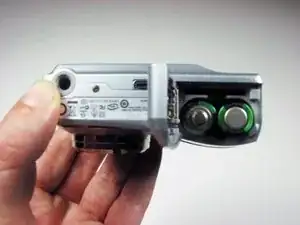
    • Slide the battery cover in the direction of the arrow with your finger gently.

    • Remove the batteries

  2. 6LIqgUDboJnmEo3R
    6LIqgUDboJnmEo3R
    GOMRsP1Z5NljhAbp
    IqRk3srHwcbMoPaY
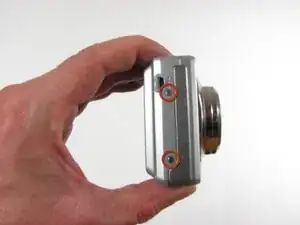
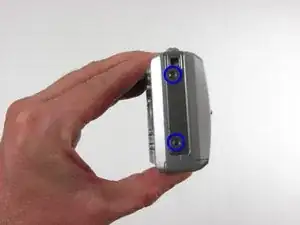
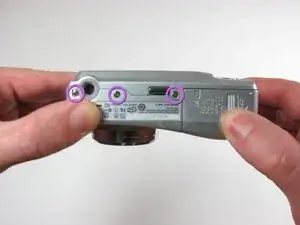
    • Remove the seven 4.5mm screws with a Phillips #00 screwdriver.

    • 2 on the left

    • 2 on the right

    • 3 on the bottom

  3. SxXyAH3qX2WtCWhh
    SxXyAH3qX2WtCWhh
    IaStNm4kjUjDwxvo
    2VuA5FPQnlSRtrRp
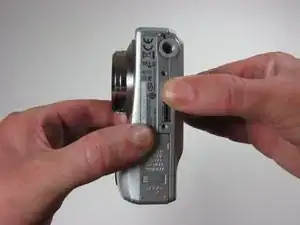
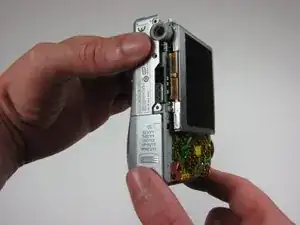
    • Firmly grasp the back of the camera and pull the away the casing.

  4. SakkFYWG1gNxc21C
    SakkFYWG1gNxc21C
    HTE45rESN1DvUA46
    2q6cXrwYMKT5nRXJ
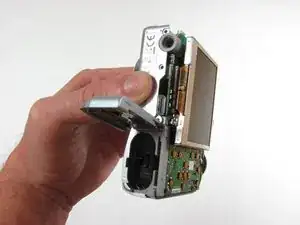
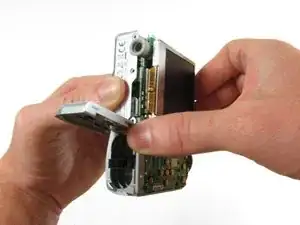
    • Keep the battery door open

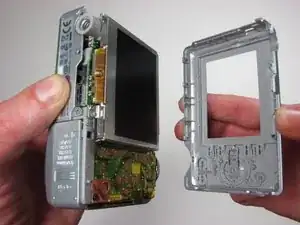
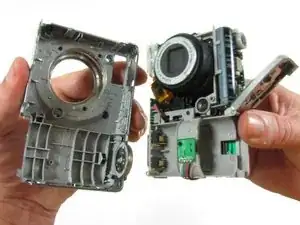
    • Firmly grasp the front casing and pull away from the camera.

  5. fGCWhQFFvXmsqIXv
    fGCWhQFFvXmsqIXv
    2E6NhJI3mxx64En5
    E46RbAcUNIePye2J
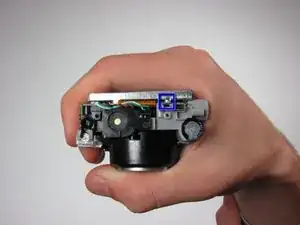
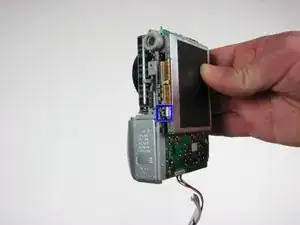
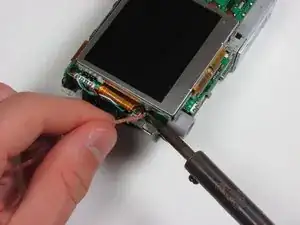
    • Locate the 2 solder joints on both sides of the LCD casing.

    • De-solder the joints.

  6. 1fYZvKLwU3ycyZDW
    1fYZvKLwU3ycyZDW
    V4cKM34WvCRhUEfv
    Uxu1HCB1WqJKAf1G
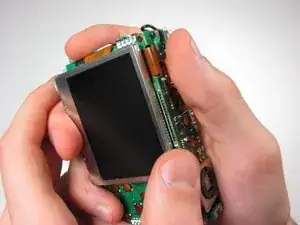
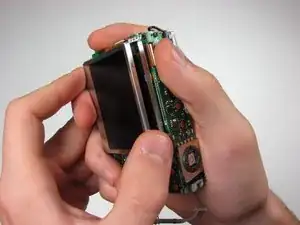
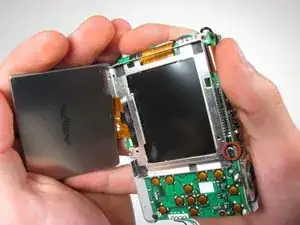
    • Gently grasp the lower right side of LCD screen.

    • Lift the screen out of its casing.

    • Remove 3mm screw from LCD casing using #00 screwdriver.

  7. YMKSxfcLKsdLYX5u
    YMKSxfcLKsdLYX5u
    YcZFHRa5tMCaORsM
    HDwZe6RZRUPbW5Dr
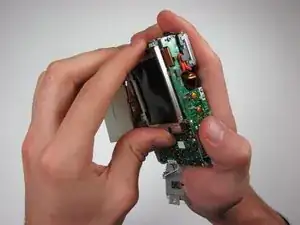
    • Gently grab the sides of the LCD casing and remove it from the camera

  8. reeKyXmK4WbIpHnn
    reeKyXmK4WbIpHnn
    T5a4cPQT2vHOy4au
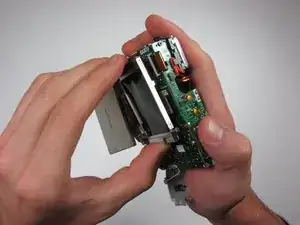
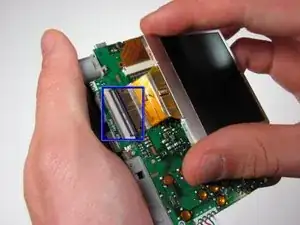
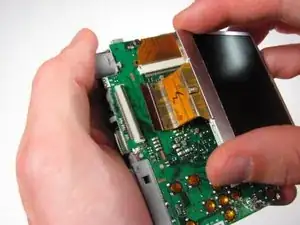
    • Lift the black tab with your finger

    • Gently remove ribbon from underneath black tab.

Conclusion

To reassemble your device, follow these instructions in reverse order.
Alan Galarza

Member since: 03/10/10

72 Reputation

0 comments