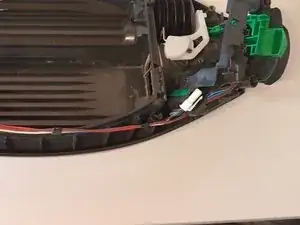
Introduction
Tools
Parts
-
-
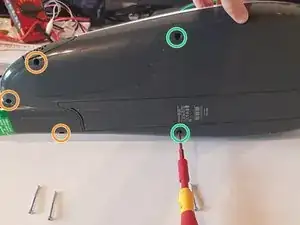
Use a TX10 screwdriver
-
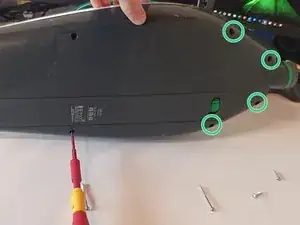
Remove the housing screws on the rear of the device.
-
6 long screws
-
3 short screws
-
-
-
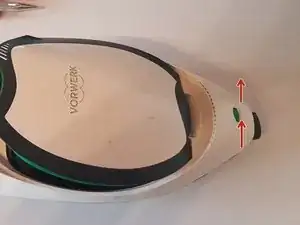
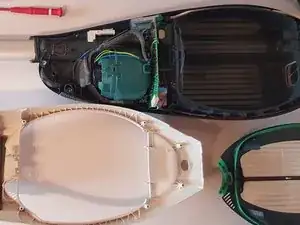
Place the device with the white lid facing up.
-
Start to carefully lift the lid at the front of the suction nozzle. Slowly work your way up to the stem.
-
-
-
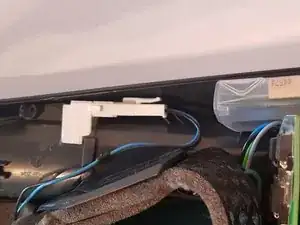
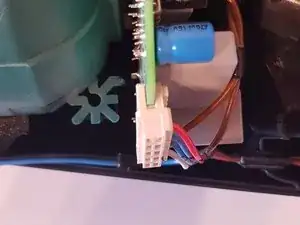
Disconnect the power supply connector by pressing the unlocking lever.
-
Unplug the motherboard connector.
-
Put the cable aside
-
-
-
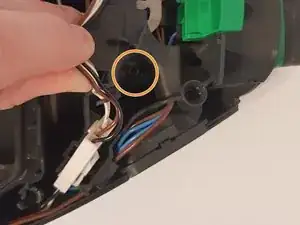
Unlock and loosen the rotary switch plug.
-
Disconnect the white air hose from the intake manifold.
-
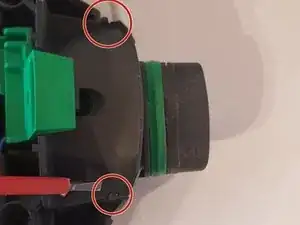
Release 2 plastic clips
-
Remove the wiring harness with the plastic holder.
-
Conclusion
Follow the steps in reverse order to reassemble your device.
