Introduction

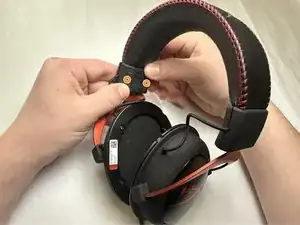
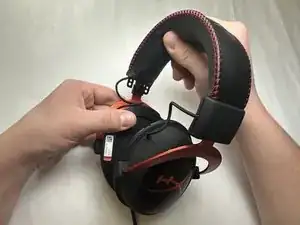
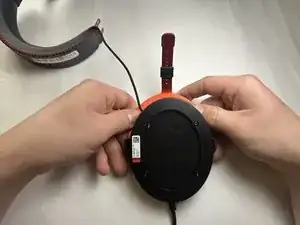
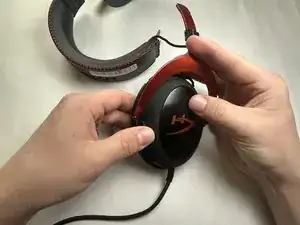
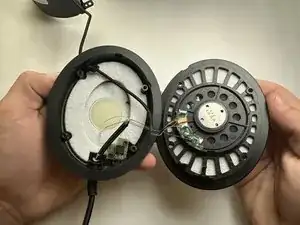
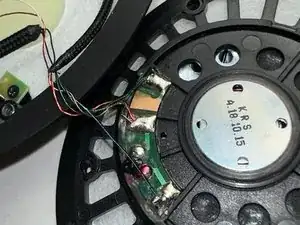
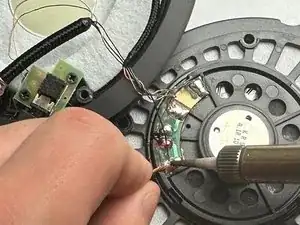
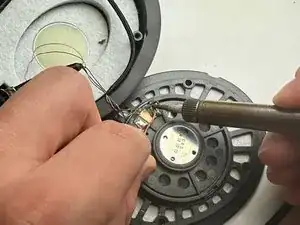
If your Kingston HyperX Cloud II speaker is having connection issues, use this guide to reconnect your speaker wire to the driver. The blue and green wires are the wires that must be soldered to fix the speaker feedback for the speakers to be repaired. This problem occurs when the wires get disconnected from the speaker or stop working from natural causes.

  1. CKKf5xUboXcQUWHr
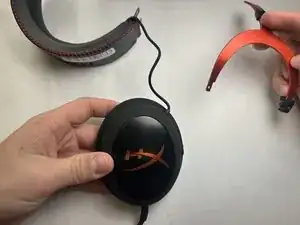
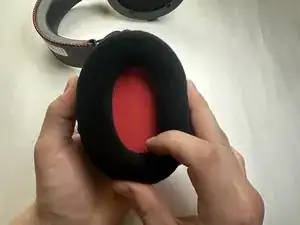
    • Pulling along the edges, take off the ear padding.

  2. AXXUCYdDeXKKQIiZ
    AXXUCYdDeXKKQIiZ
    rmW5WGSQwqMkp5yN
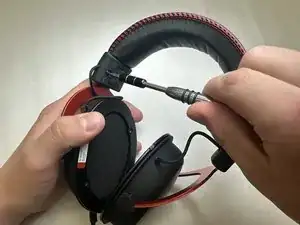
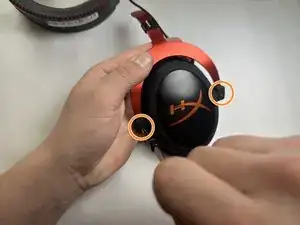
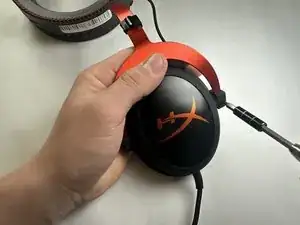
    • Use a Phillips #0 screwdriver to remove the two 11 mm screws from the bracket support.

  3. DCnUXgvqW2L2tOZ2
    DCnUXgvqW2L2tOZ2
    gmjV253AqBDaCrDD
    WnvyDv6GOEL4Q4ZC
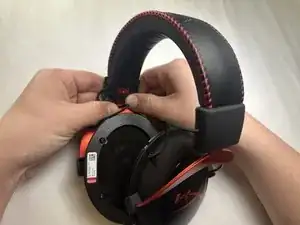
    • Remove the inside bracket support, and then remove the outside bracket support.

    • Expand and remove the microphone speaker from the frame.

  4. VKyCSuvTv5tiiatf
    VKyCSuvTv5tiiatf
    aUgLeZf1NCtpxq3d
    B44JFRsCBdKML1CT
    • Use a Phillips #1 screwdriver to remove the two 7.90 mm screws from the red support attached to the microphone speaker.

  5. QwQloAnNlWWxxZfu
    QwQloAnNlWWxxZfu
    IInOfNefEfIaHRKU
    HOjLACVHUGUe35cM
    • Separate the red frame support from the microphone speaker by putting it to the side.

  6. uNgmSKKAAEZD6DUB
    uNgmSKKAAEZD6DUB
    YpXNYqW4pyk4e1Wv
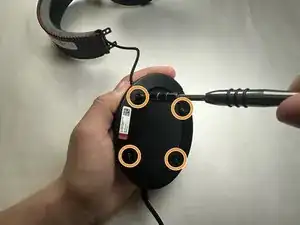
    • Remove the four 11 mm screws on the speaker frame with a Phillips #2 screwdriver.

  7. ByRSF1N1KDbXpMQR
    ByRSF1N1KDbXpMQR
    WuuySv5AKxDLLkQF
    HnuuAOW3peCOLlBi
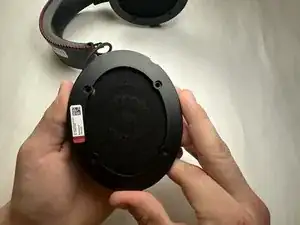
    • Remove the headphone speaker frame.

    • Solder the detached blue wire onto the driver.

    • Be cautious not to solder the wrong wire.

  8. pOtq46Ae5taqZuFV
    • Solder the green wire onto the driver.

    • Be cautious not to solder the wrong wire.

Conclusion

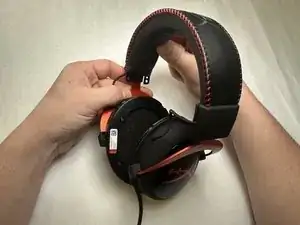
To reassemble your device, follow these instructions in reverse order.
Daniel Olaoluwa Ajagbonna

Member since: 27/03/23

325 Reputation

0 comments