Introduction

Use this guide to replace the wireless card in your Kindle 2.

  1. tFSCV5NCLvslROAv
    tFSCV5NCLvslROAv
    Y2xHVJgKixskh6jb
    uYYrYVZFo6pxGmp6
    • Lay the Kindle face down on a soft cloth to protect its screen.

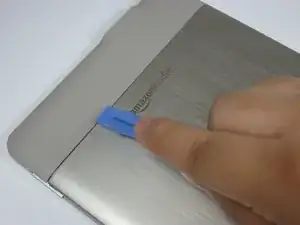
    • Wedge the plastic opening tool in the small opening between the grey plastic and the metal casing.

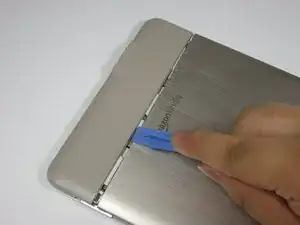
    • Move the plastic opening tool across the opening while pressing down to separate the grey plastic from the metal casing.

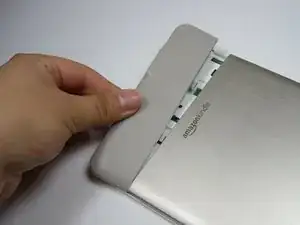
    • Slide the gray plastic top piece away from the Kindle's metal casing.

    • Once the gray plastic top piece is detached from the metal back cover, remove it.

    I had a heck of time using the spudger. I have found that grabbing the corners and using my thumbs to push the plastic away worked like a champ.

    teamhudson -

    Thanks for this tip, was successful using the thumb method :)

    Rosie A. -

    to help get enough grip with my thumbs, I used a piece of old yoga mat to increase friction between thumbs and the top plastic piece

    Rosie A. -

    For anyone still looking for this in 2020, see my comment here for how to properly remove the back.

    Kindle 2 Teardown

    Dave76 -

  2. DQfEncvDSVecVEok
    DQfEncvDSVecVEok
    atnXwbeBEbNIhSfV
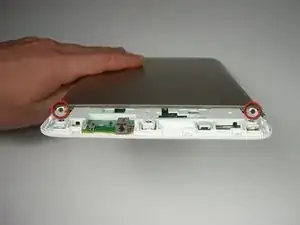
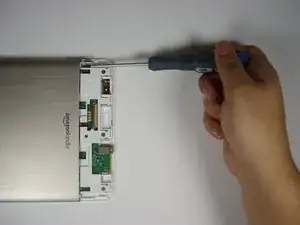
    • Use a Phillips #00 screwdriver to remove the two 4 mm screws from the metal casing.

  3. LMxReeGrxluARKYY
    LMxReeGrxluARKYY
    IbKDLrQmJsnQEEdl
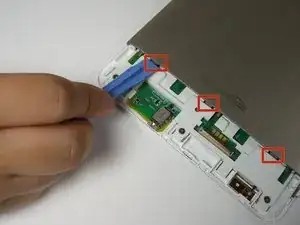
    • Use the plastic opening tool to push down and pry towards the metal casing to release each of the three clips that hold the metal case in place.

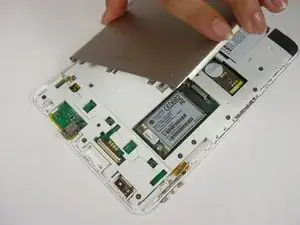
    • Remove the metal casing.

    • The volume control button rests in a slot on the side of the Kindle. When the metal casing is removed, the volume control button may fall out. When reassembling, place the volume control button back into its slot.

  4. f2kKX5vuL2PvQOOk
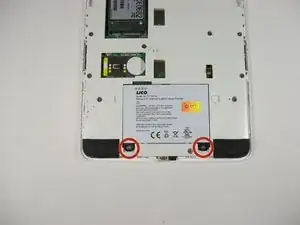
    • Use a Phillips #00 screwdriver to remove the two 3 mm screws that hold the battery in place.

    • The battery should be removed before continuing with the rest of this guide to prevent harm to you and the device.

  5. dLnFrYP2E32CGugi
    dLnFrYP2E32CGugi
    2rdSIry2RHfNoRKV
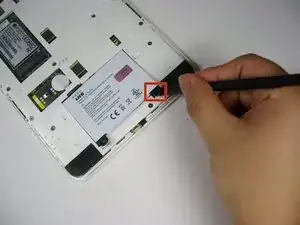
    • Pry upward under the black tab with the spudger to dislodge the battery.

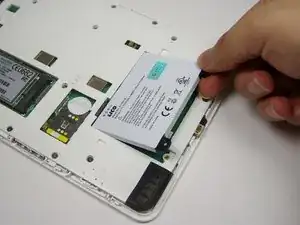
    • Use your fingers to lift the battery out of the device.

  6. BOPHFW6JBJfWHOce
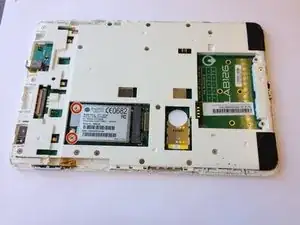
    • Rotate the Kindle 180 degrees. Locate the wireless card with the AnyData logo on the top left and the FCC symbol on the right.

    • Use a Phillips #00 screwdriver to remove the two 2mm screws from the wireless card.

  7. ResIcZ3c2epeCwyq
    • Use the plastic opening tool to wedge underneath the connection and gently pop off the wire cap.

    STEP 7.5 Remove Plastic Protector. There are 16 2.5mm screws keeping it in place. Remove them and the protector will come off easily. I used this guide a few months ago and it had a step here explaining this that now seems to be missing.

    teamhudson -

  8. AkyCATlMoh2MsXeB
    AkyCATlMoh2MsXeB
    pLsYXCrqiFQKGUJ2
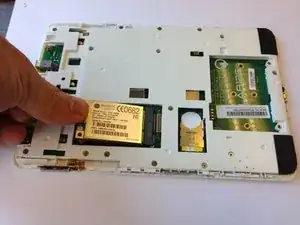
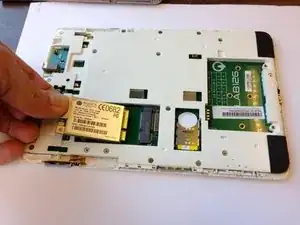
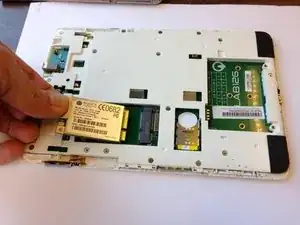
    • Use your fingers to lift the left end of the wireless card.

    • Pull the card out of the slot.

Conclusion

To reassemble your device, follow these instructions in reverse order.
Dayna Scott

Member since: 17/04/13

955 Reputation

0 comments