Introduction

  1. Y2CKG6MZ2OPyNTtc
    Y2CKG6MZ2OPyNTtc
    mU1LZxMZePlDArk5
    uohDDoUKT6jCwhXc
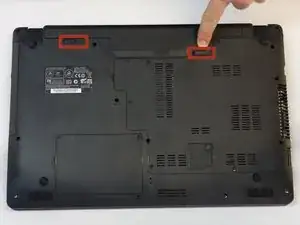
    • Turn off the computer.

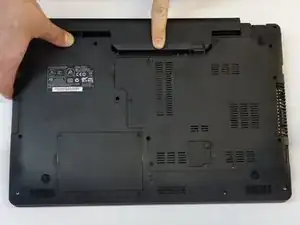
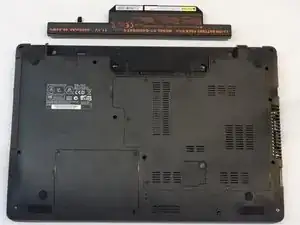
    • Before each operation it is important to start with the removal of the accumulator.

    • Take the slide unlocked into position, remove the battery.

  2. lX6JdWKsnolioTOK
    lX6JdWKsnolioTOK
    tFMBDNkaIYbExm1q
    CalsOjakZ5EFGTgj
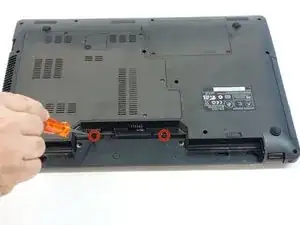
    • Use a Phillips # 1 screwdriver to remove the two screws located in the slot of the accumulator.

    • Insert a standard screwdriver into the slot in the cover above the keyboard.

    • Lift the cover with the usual care.

  3. UxRvTtofaDMKq6l4
    UxRvTtofaDMKq6l4
    6Wd56oxWWedpeJFW
    DIDbwnWcvIjfqG4M
    • Use a Phillips # 1 screwdriver to remove the four screws securing the keyboard in the upper part.

  4. eY3qGPWKUbnSXJoV
    eY3qGPWKUbnSXJoV
    gODjLVqPrVhg4P14
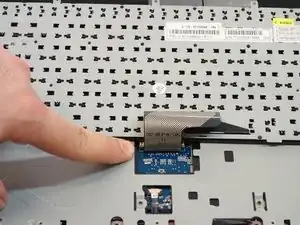
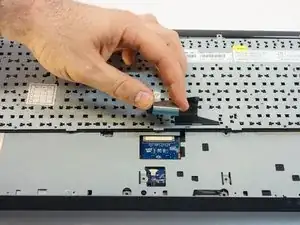
    • Turn the keyboard towards the screen.

    • Carefully remove the connection cable in the direction of the plug axis.

Conclusion

For reassembly, follow the instructions in reverse order.

Felice Suglia

Member since: 15/06/13

30527 Reputation

0 comments