Introduction
-
-
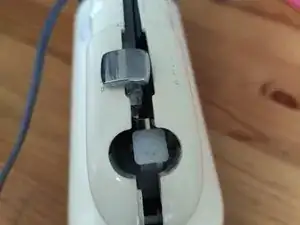
Twist rubber handle cover, and pull it down/off. Keep twisting and it will come off.
-
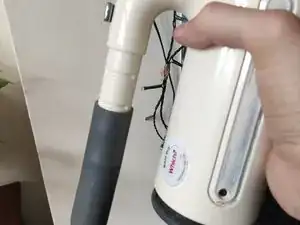
Remove the screw that holds the handle together.
-
-
-
Using a thin screwdriver/prying device, pull the metal Kenwood labels off the side. These are glued on.
-
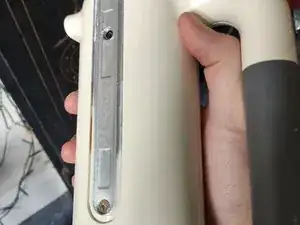
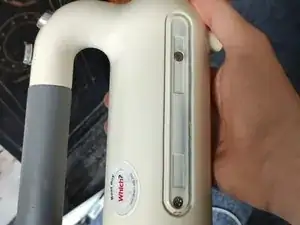
Undo the screws on both sides.
-
-
-
You should now have 5 screws out of the mixer.
-
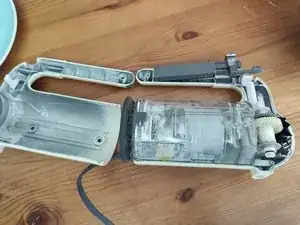
Carefully pry apart the mixer, starting at the top. Preferably pull the right side away from the left, as this has the catches in it.
-
There are two catches holding the case together, at the front and at the bottom near the beaters. Be careful not to break these, you can try pulling the right side of the mixer slightly forward as you pry apart.
-
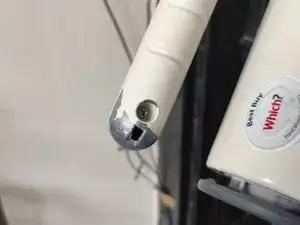
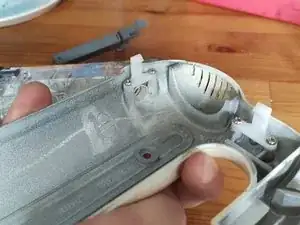
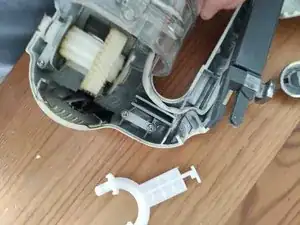
The beater release button may pop out here. Try not to lose it.
-
-
-
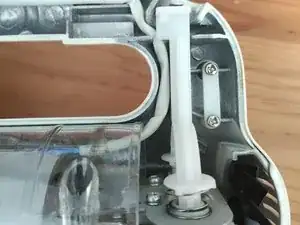
When you pull the motor body out of the casing, the white plastic mechanism here may fly loose, as it has springs under tension.
-
So be careful that doesn't happen.
-
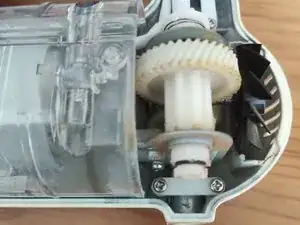
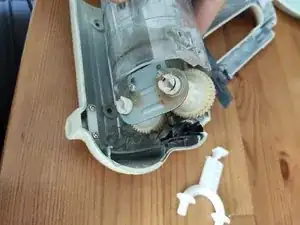
The whole motor assembly can now come out of the case. You'll need to remove the switch as well, which is in the handle.
-
-
-
The Beater Gear on this specimen is mangled. Replacements are available online.
-
Note there are lines, triangles, and circles on the bottom of the beater gear. A line should line up with a triangle when reassembling. (Or make note of your config before disassembly).
-
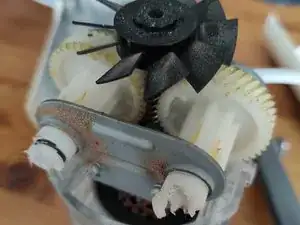
Beater gears can be accessed by removing the plate at the top or bottom, with two screws.
-

To reassemble your device, follow these instructions in reverse order.
Be careful when putting the beater gears back in, so that they align properly. Put in beaters and ensure they rotate fully without touching each other before powering up the device.
Be careful to get the cable in correctly for the switch. You’ll need glue to reattach the name labels.

9 comments
Für die ersten Schritte zum öffnen des Gerätes in Ordnung. Zum wechseln des Netzkabels oder dessen Reparatur ist dieses Gerät für Laien eine echte Herausforderung wenn nicht gar unmöglich denn, die Aderenden sind direkt auf die Leiterplatte gelötet. Dazu muss das Gerät komplett aus dem Gehäuse gelöst werden und man braucht natürlich eine Lötstation. Ich bin noch bei der Demontage, als nächstes Kabel entlöten und hoffe das Gerät am Ende wieder in Funktion zu bringen. Da kann ich mir nur selbst Mut zusprechen.
Good luck to you!
I recommend purchasing a solder sucker or solder removal wire, these are both very useful in removing components.
Really good, clear instructions
Robert -
Awesome instructions! P s. Do you put any grease on the plastic gears? Mine is making a bit of strange sound after replacement..
I believe there was some grease on the gears, it probably wouldn't hurt to add some. Preferably food grade but a small enough amount of non-food-grade grease wouldn't hurt.