Introduction

This repair might be needed in the event of a defective LCD screen.

  1. pi1vy3ENCJkUYuZQ
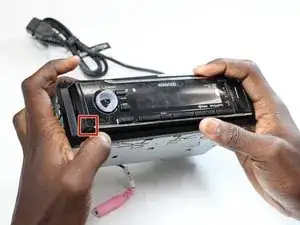
    • Press the ejection button on the lower left corner of the face plate.

  2. PHJaPWA5qpDq1J3j
    PHJaPWA5qpDq1J3j
    dGNncd5MkG4Ntrdq
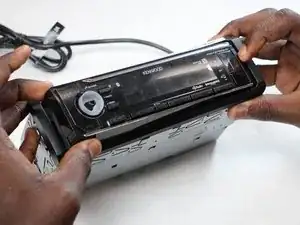
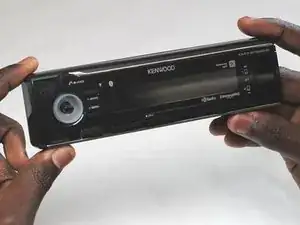
    • Remove the face plate by pulling upwards and in the direction of the ejection button.

  3. AUD42GZZFLTfMgSK
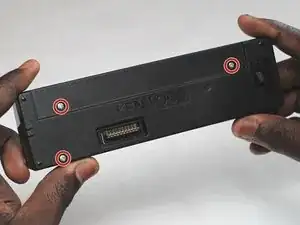
    • Remove the three 7.5mm Phillips #1 screws.

  4. kgVD2TiqZrV6gjsc
    kgVD2TiqZrV6gjsc
    VQPSs3rlgNe5IJGs
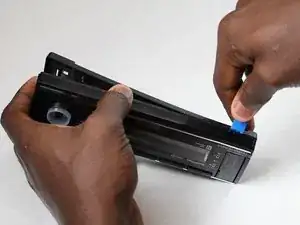
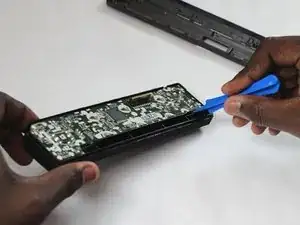
    • Separate the two halves of the housing by prying along the length of the device with a plastic opening tool.

  5. aYWFVR3wyA4SdKDE
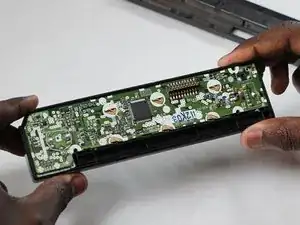
    • Remove the motherboard from the housing.

Conclusion

To reassemble your device, follow these instructions in reverse order.
Andrew Waldon

Member since: 05/07/18

265 Reputation

0 comments