Introduction

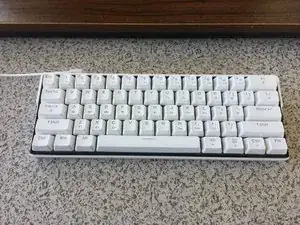
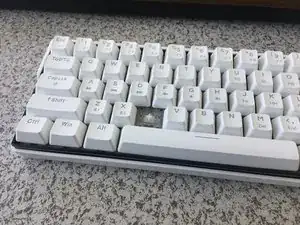
Use this guide for replacing faulty key switches on the KEMOVE Snowfox 61 mechanical keyboard.

A mechanical keyboard with a faulty switch causes multiple key inputs to be pressed or not respond. This occurs when grime build-up is left for too long in the keyboard, causing some keys to no longer function, requiring replacing the keys completely or cleaning the board.

No special skills are required.

Any Gateron switches will work, such as red, blue, green, etc.

  1. avavG2qOwkkrsrSv
    avavG2qOwkkrsrSv
    jBBNY6bsZt3AijxM
    c3SaWXA5RaoSjECp
    • Do not disassemble the keyboard if the keyboard is connected to a power source.

    • Unplug the power cable from the keyboard.

  2. L3lYisYXfjq2sSSC
    L3lYisYXfjq2sSSC
    6fOCOr22CDLguqOT
    eElfTSYTyxKGvlUZ
    • Do not pull the keycap other than straight up.

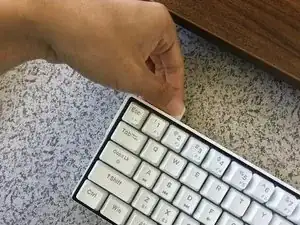
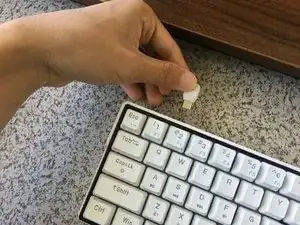
    • Position the keycap puller directly above the keycap.

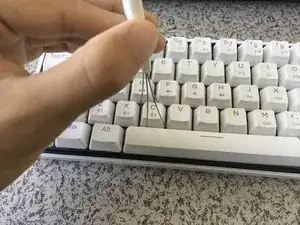
    • Push the keycap puller down until the two handles are underneath the keycap.
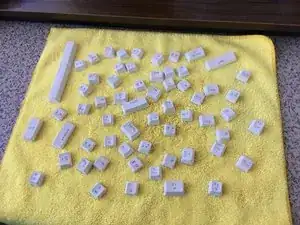
    • Remove all keys.

    • It may be easier to pull by rotating the puller at a 45-degree angle.

  3. FMBFcontYtPvV1nC
    FMBFcontYtPvV1nC
    gKyCahMuSkbL3dya
    TNhDZ6CVMvQFJMvP
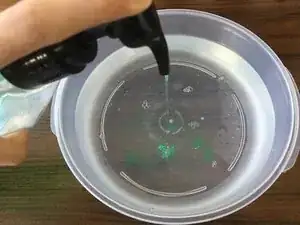
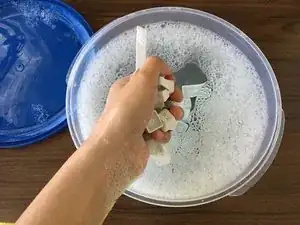
    • Fill the plastic container with water.

    • Add 2-3 drops of dish soap.
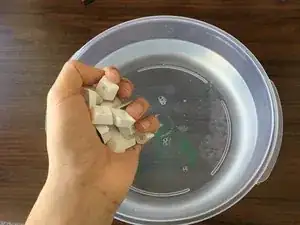
    • Put the keycaps in.

    • Let the keycaps soak for about 20-30 minutes.

  4. gptRx6RJMISCUpLm
    gptRx6RJMISCUpLm
    LPcdrjKAkPhBSdaw
    cRIWQoQAYqoVrWFW
    • Do not leave in sunlight or use a hairdryer because the heat might cause the plastic to warp or bend.

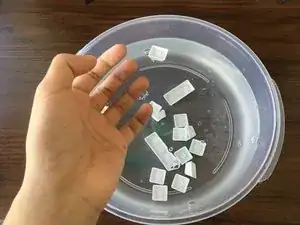
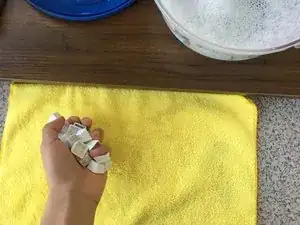
    • Take out the keycaps.

    • Ensure that the keycaps are separated and facing down.

    • Let the keycaps dry for 45 minutes.

    • If you cannot wait for 45 minutes, you may use a microfiber cloth and hand dry the keycaps. But be thorough in the cleaning process as there may be excess water inside the keycaps.

  5. yhupTgYR1PUULoQp
    yhupTgYR1PUULoQp
    IUOEWVA4PXSFdYYu
    jDXM2vZ3Aoelofjx
    • Do not pull the key switch other than straight up.

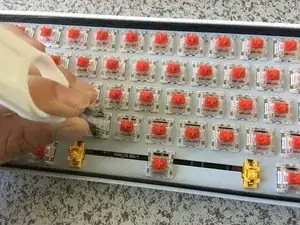
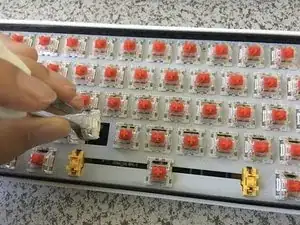
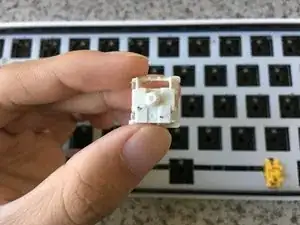
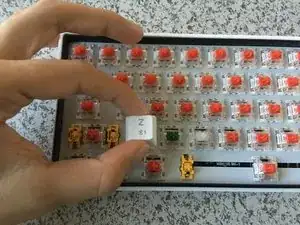
    • Place the key switch puller above the key switch.

    • Push the tongs inward on both the white top and bottom ends.

    • Pull the key switch out.

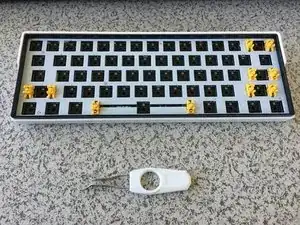
    • Remove all key switches.

  6. DVa5thqYZPcDHAVh
    DVa5thqYZPcDHAVh
    pI2qqWUJGLSsoeWD
    rcwZwTUicDIliQUL
    • Do not squeeze or clean roughly as you may leak liquid into the board's interior.

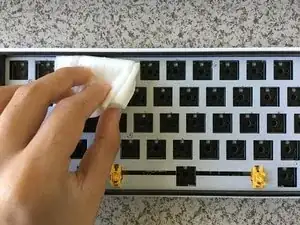
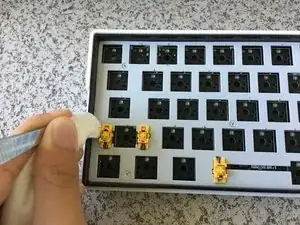
    • Use a wet/ alcohol wipe and gently clean the surface board.

    • Use any tweezers or cotton swabs to clean tight corners of the board.

  7. xx3FBhFqoEMvKOuU
    xx3FBhFqoEMvKOuU
    d1nNWPxXDQEYZ1kn
    skZ4a35TkedMDAyM
    • Do not bend or hold by the golden pins.

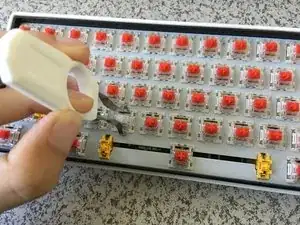
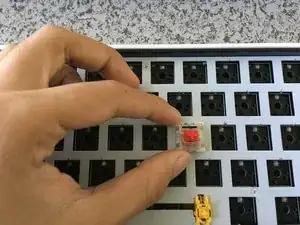
    • Match the key switch with the keyholes.

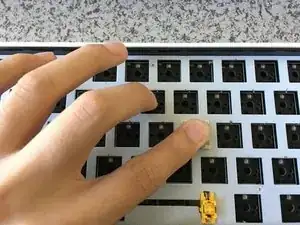
    • Align the two golden pins with the two tiny holes located by the bottom.

    • Push down.

    • You will hear a loud clicking noise when the key switch has locked in place.

  8. bB6g4NgJwQ3GXYRN
    bB6g4NgJwQ3GXYRN
    scuslPZTS2UiSVKG
    syinqJCIDrjQhHUj
    • Match the keycaps with the key switches.

    • Align the keycaps facing down and push straight.

    • Place all keycaps in their respective positions.

Conclusion

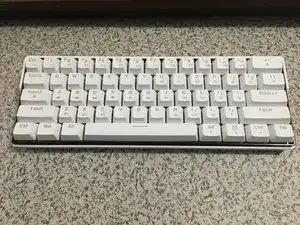
Just like brand new!

Chandara Young

Member since: 05/10/21

157 Reputation

0 comments