Introduction

This guide shows how to remove and replace the vacuum motor for a Karcher Vacuum Universal 14286230 2014.

When you perform this repair, it is a good opportunity to replace the two rubber motor seals:

  • Part 6.903-300.0 (69033000)
  • Part 6.903-246.0 (69032460)
  1. alfLpCqELZZeV4wO
    alfLpCqELZZeV4wO
    bPMU2uG1FOiKWfwI
    eHwxdfXnm5AuXM3c
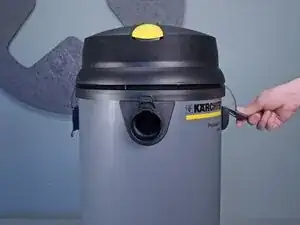
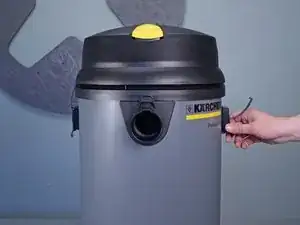
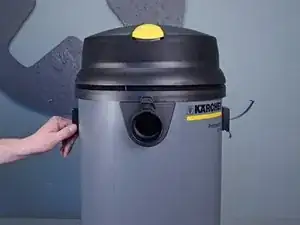
    • Before you begin, unplug the vacuum and disconnect all hose accessories.

    • Release the two latches locking the top assembly in place.

  2. mkCbSYSOaMvorvem
    mkCbSYSOaMvorvem
    LBjveSSRvmXcInfF
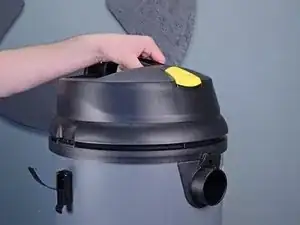
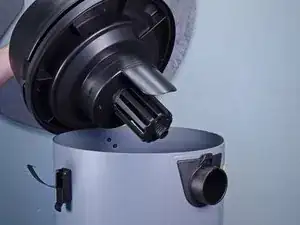
    • Lift and remove the top assembly from the tank.

  3. fOWlsHUnKN2T5bWO
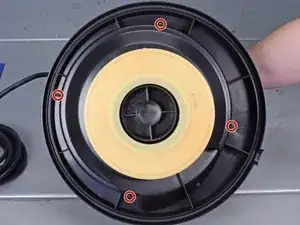
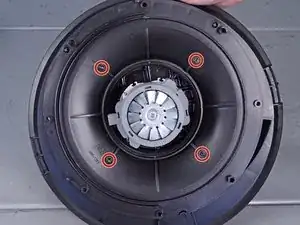
    • Remove the four T15 screws securing the top assembly.

  4. KyUAlnAHo5DlyaC3
    KyUAlnAHo5DlyaC3
    UmSybvr6QcaspKyJ
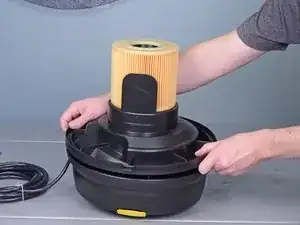
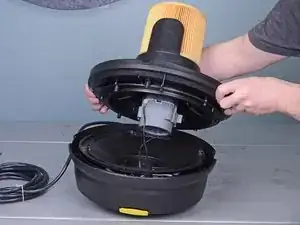
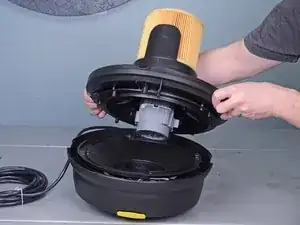
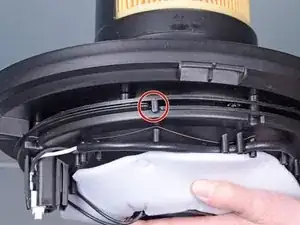
    • Carefully lift the motor/filter away from the housing until you can access the motor wires.

    • Do not separate the motor/filter from the assembly completely, or you risk damaging the motor wires.

  5. nRJYudFFwcoAGSYH
    nRJYudFFwcoAGSYH
    mWSN4KINCbYe1RGW
    CotgGlIHGA2FSPMf
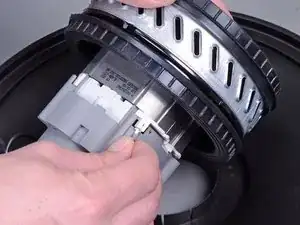
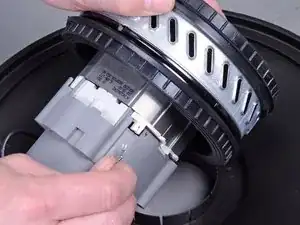
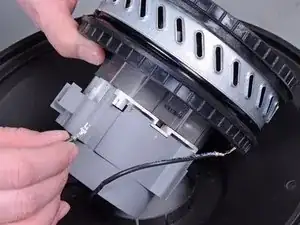
    • Disconnect the two motor wires from the motor by pulling them straight out of their sockets.

    • Reassembly tip: The wires are not polarized and can be plugged into either socket.

  6. LGZ4K2UQGjB6VfES
    LGZ4K2UQGjB6VfES
    eKGQ5bu1WfvcaZUI
    • You can now fully remove the motor/filter assembly from the housing.

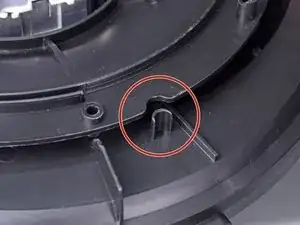
    • Reassembly tip: Use the alignment tab to help you align the motor/filter with the housing assembly.

  7. sNMHG2GlaUDFEi4g
    • Remove the four T15 screws securing the motor flange.

  8. amC2AapNOB5otGVI
    amC2AapNOB5otGVI
    q4lXWU1eCgMxB5x5
    sJfru3e5XXlVam16
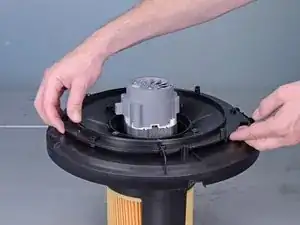
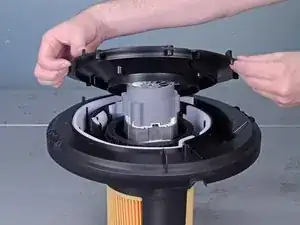
    • Lift the motor flange and remove it from the motor assembly.

    • Re-assembly tip: Use the marked notch to help you align the motor flange to the assembly.

  9. GHT1ABDIZghdwrjG
    GHT1ABDIZghdwrjG
    NYlDadoJPp6CuGFA
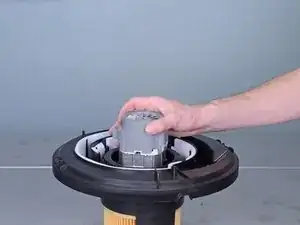
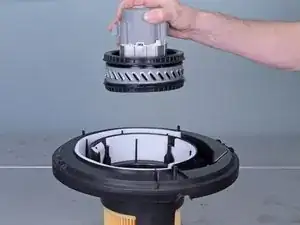
    • Lift the motor straight out of the assembly and remove it.

    • Re-assembly tip: The motor is not keyed into the assembly. As long as the motor wires can reach their sockets, the motor can sit in any rotation.

  10. drhSvlDLPIpx2Hu4
    drhSvlDLPIpx2Hu4
    daSC1KDJcYvfoYpi
    ZfhsLcoGOYs5dNLr
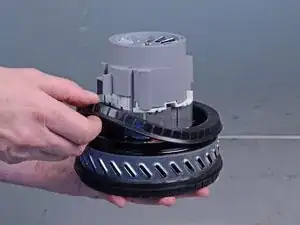
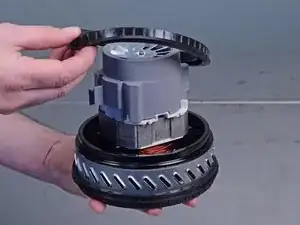
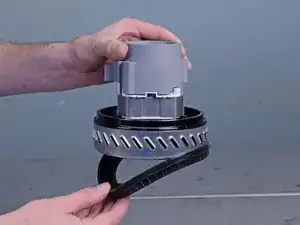
    • Peel and remove the two black rubber seals from the motor.

    • Transfer the rubber seals to the replacement motor.

    • If the seals look torn or worn, discard the used seals and install replacements.

  11. mlRSCUp3ZUdVGDUV
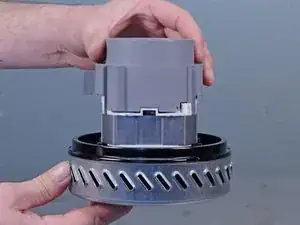
    • Only the motor remains.

Conclusion

To reassemble your device, follow these instructions in reverse order.
Arthur Shi

Member since: 03/01/18

248651 Reputation

0 comments